Sure, old-fashioned egg dyeing is fun, but this year we wanted to try something different. With the help of some volunteers, we tried 5 new egg decorating techniques that we think you and your little one will love!
#1 Easter Egg Scramble
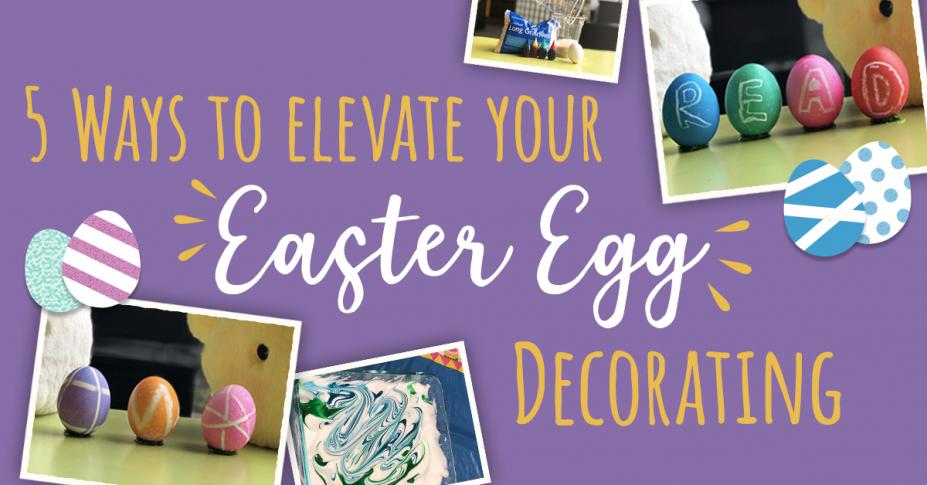
You can use Easter eggs to teach preschoolers how to spell and read! Take your 2019 kid crafts to the next level and bond with your little one using this fun, interactive egg dying tutorial!
Fun ideas to do with your finished ABC eggs:
- "Scramble" and unscramble your eggs! Mix up consonants and vowels, and see how many words your little one can make! (We recommend using the letters for "READ" because we love books, and those letters have lots of possibilities (are, dare, dear, ear, red...).
- Practice handwriting! The curvy shape of the egg makes kids concentrate harder on the shapes of their letters, which makes writing on paper later even easier.
- Practice putting the letters in the right order. Which letter comes before K? Which letter comes after Y?
#2 Rice Speckles
Volunteer favorite!
Easter eggs don't have to be boring OR messy. For Easter 2019, create unique, easy, and fun decorated eggs that WON’T spill dye all over your clothes. Kids love this DIY because it’s interactive (they get to shake the cup!), and adults love the classy, Instagram-able aesthetic.
Fun tips for your rice-dyed Easter eggs:
- Use more than one color! First, shake your egg in rice that’s a light color, like yellow. Then pat it dry with a paper towel, and do it again with a darker color on top. That way you get multicolor eggs with a great texture.
- Use less food coloring for a pastel, speckled look. If you want something bolder, feel free to add more dye! (Careful: if you use too much dye, your rice will dye the whole egg instead of leaving the fun texture.)
- If you don’t have plastic cups or if you’re worried your little one might break the egg, try putting the rice and egg in a large, sealable plastic baggie. That way you can grab the top of the bag and shake, shake, shake without it falling out!
#3 Gorgeous Glitter
Your Easter eggs deserve some GLAM this year! It’s 2019, and that means it’s the perfect time to update your Easter traditions with a fun, flashy new DIY craft that will stun your family and friends.
Tips to minimize mess:
- Get ready, not messy. Make sure to tie your hair back and wear short sleeves. If you don’t want to risk getting your hands sticky, consider wearing form-fitting disposable gloves.
- Use a fast-drying, washable glue, and try not to make your glue lines too puddle-y. These tips will help your eggs dry faster, which means your designs will be less likely to get messed up during the drying process.
- Of course, we’ve all learned the hard way that glitter is messy, but save yourself some trouble by laying down paper towels or newspaper on the surface you’re working on. For even easier clean up, put a bowl on top of the paper towels, and glitter your egg above the bowl so it collects the mess!
- -And finally, embrace imperfection! These glitter Easter eggs won’t dry immediately, so there’s a good chance they’ll get a little messy. Don’t worry too much about the smears and fingerprints you leave on your eggs. They add character, and it’s part of the fun!
#4 Washi Tape/Rubber Bands
Finally, an Easter egg decorating idea that is easy, fast, kid-friendly, AND aesthetic! This 2019 tutorial will show you one of the fastest ways to create one-of-a-kind eggs that are simple, fun, and elegant.
Fun tips for your rubber band Easter eggs:
- Use multiple colors! The stripes left by your rubber bands or Washi tape don’t have to stay white. To get a few different shades on each egg, remove one or more of the rubber bands before putting the egg back into a different color of dye.
- If you’re using Washi tape, get creative! Stripes and zig zags are fun, but you can also use the tape to make smiley faces, stars, or anything else you can think of.
- If you want your stripes to be clean and crisp, make sure your rubber band is tight, but not too twisted. If you prefer a softer, more watercolor effect to the edges of your stripes, feel free to let the twists and kinks in the rubber band create fun, blurry lines instead!
#5 Shaving Cream Tie-Dye
Give your Easter eggs an EASY, fun, and unique splash of color this year! Spring 2019 is all about pastel and watercolor aesthetics.
Tips for your shaving cream Easter eggs:
- Let your shaving cream covered egg sit for a while before wiping it off. This will help you make sure you give the dye plenty of time to stain the egg.
- Start by using less food coloring at first, then test it on egg. If you dry the egg off and the colors are too light, you can add more and more dye until you get the right hue. (Remember: You can always add more color, but you can’t remove color if your egg is too dark!)
- The more you stir and mix your shaving cream, the more the food dyes you use will blend into one color. If you want your egg to have a mix of red AND blue, mix lightly. Mixing it too much will lead to the whole egg being purple!