
Princess parties are SO in right now! Earlier this week, one of our crafty team members, Kelsey, walked us step-by-step through how to plan the perfect first birthday party, including a tutorial on how to make this fun DIY punch board game for kids to get their party favors from. But that's not where her creativity ends! In her birthday planning post, Kelsey talks about the fun of getting to plan the perfect birthday outfit for your little one. She decided on an adorable white onesie with the word "one" written in gold sparkles over the chest and topped it off with a baby pink headband bow. Then, she took her fashion inspiration to the next level and created an absolutely precious tulle tutu with four colors and a ton of volume! Her pink and gold color scheme gave the prettiest princess vibes, and everyone fawned over the little birthday princess!
But enough from me! Kelsey, take it away:
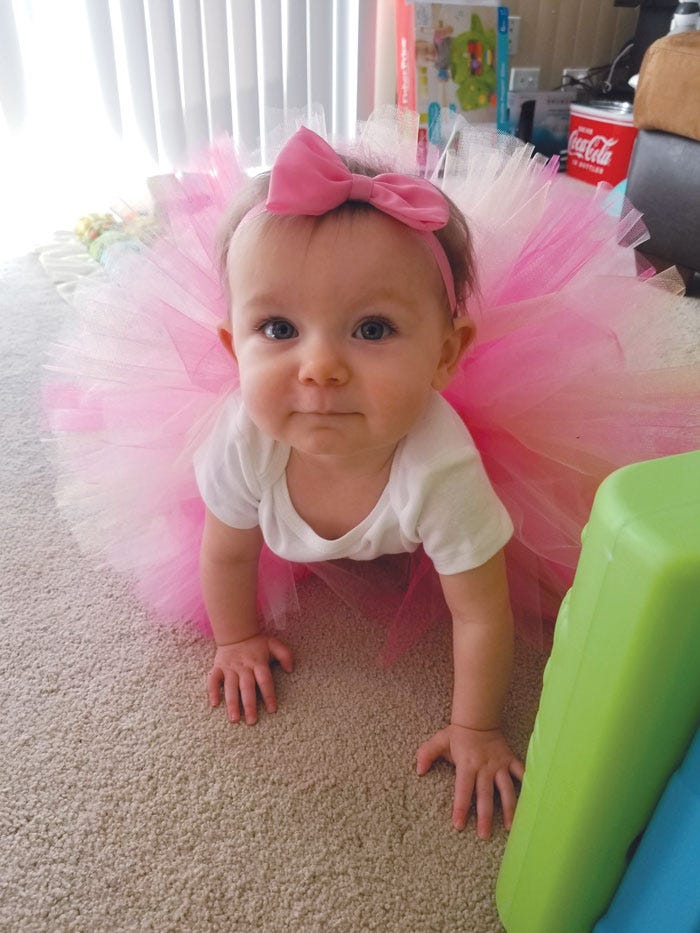
Here’s a couple shots of it on the birthday girl! As you can see this homemade tutu is SUPER FLUFFY!
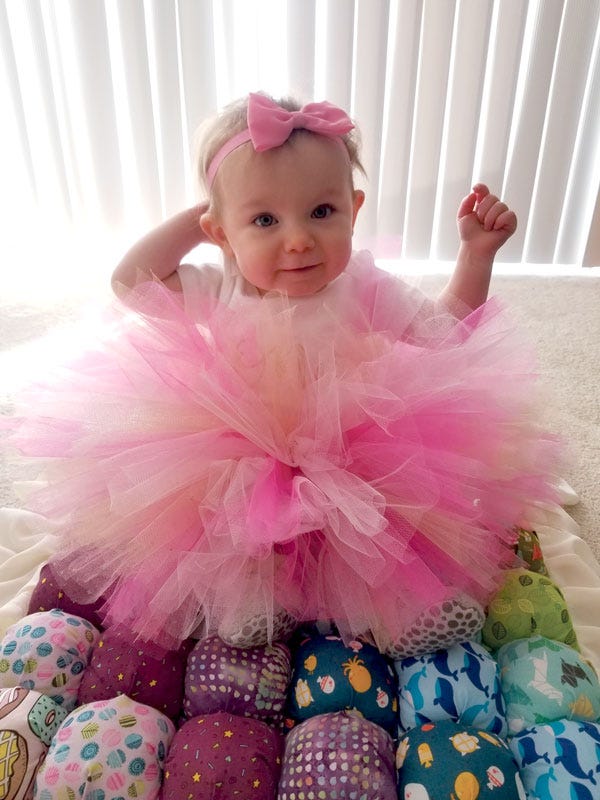
If you'd like your tutu to be less full, never fear. You can still follow all the steps below using a thinner elastic band and fewer pieces of tulle in your rows. And even though this poofy tutu slowed down the birthday girl a bit, it didn’t stop her from being on the move!
What you’ll need:
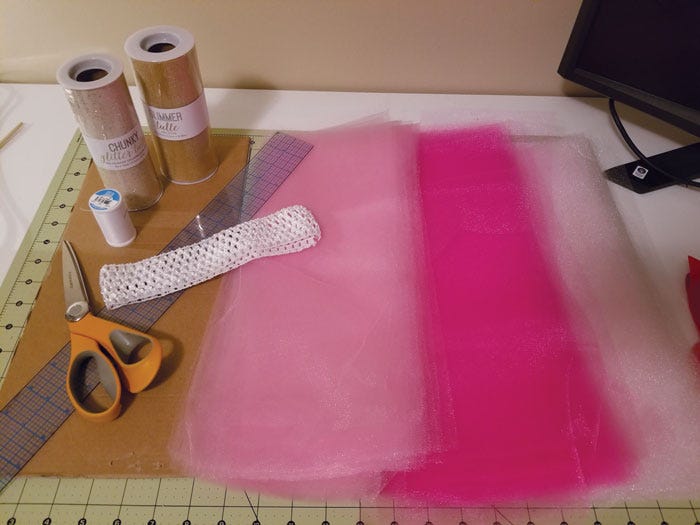
- Tulle (Tip: Don’t use glitter tulle. I quickly learned how big of a mistake that was when I cut it. If you do opt for glitter, you will be living in it for weeks!)
- A spool of elastic
- Thread and needle (or sewing machine)
- Ruler
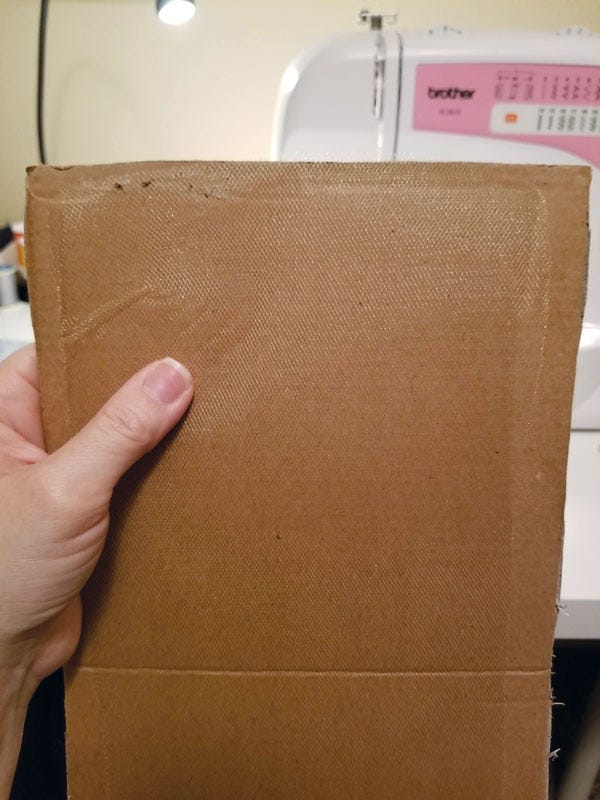
- Piece of cardboard
- Scissors
- Lots of rubber bands
1. First we’re going to prepare the elastic band. Measure your baby around the waist. My little girl was 18 inches around, so I cut my elastic to 17 inches. (In the end, this did end up being a little large because the elastic stretched when I added the tulle. If you want it more snug, cut 2-3 inches shorter than the waist size.)
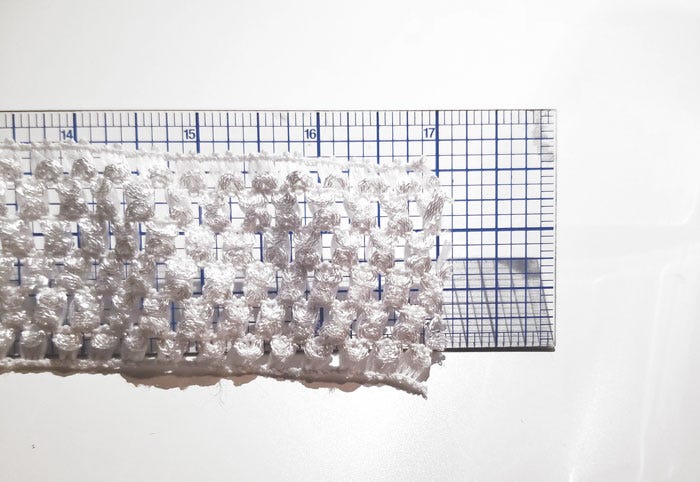
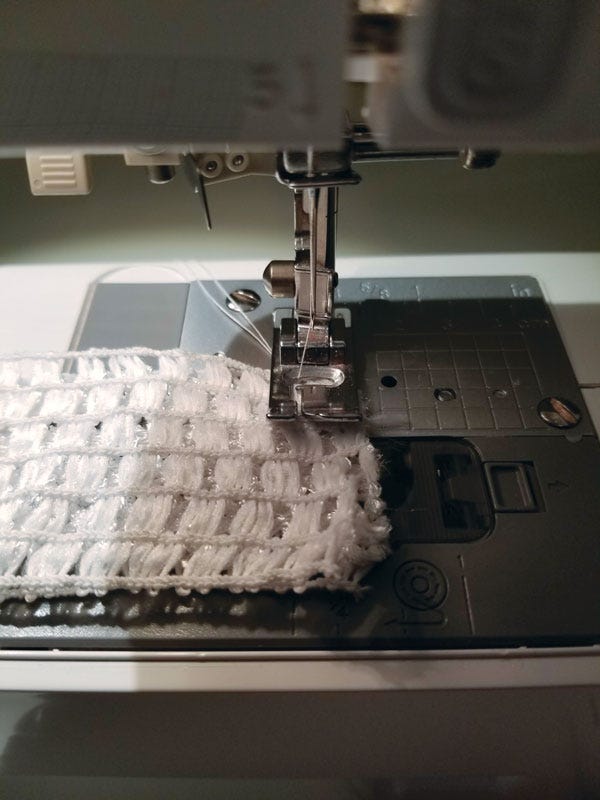
2. Take the elastic’s raw edges and line them up. Use a needle and thread or sewing machine to stitch them together.
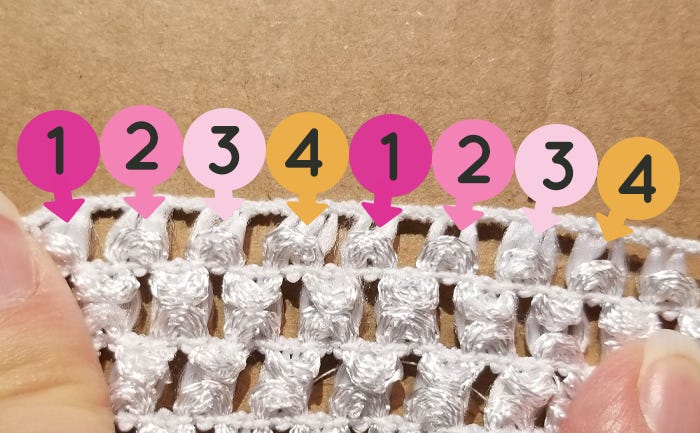
3. To know how much tulle you’ll need to cut, you’re going to count how many rows of tulle will fit around the band. Start at the seam you just made and go around the whole band.
I had 4 colors I was using, so I counted the rows in the elastic in sections of 4. I had 14 sections of 4 rows all the way around. Because I wanted the skirt to have 3 pieces of tulle per row to keep it fluffy, I knew I needed 14 sections x 3 pieces = 42 pieces of tulle per color. If you want a less poofy skirt, you can create the tutu using only one or two pieces of tulle per row.
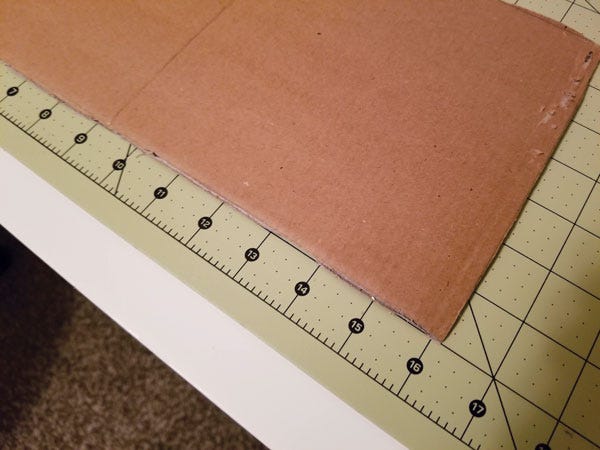
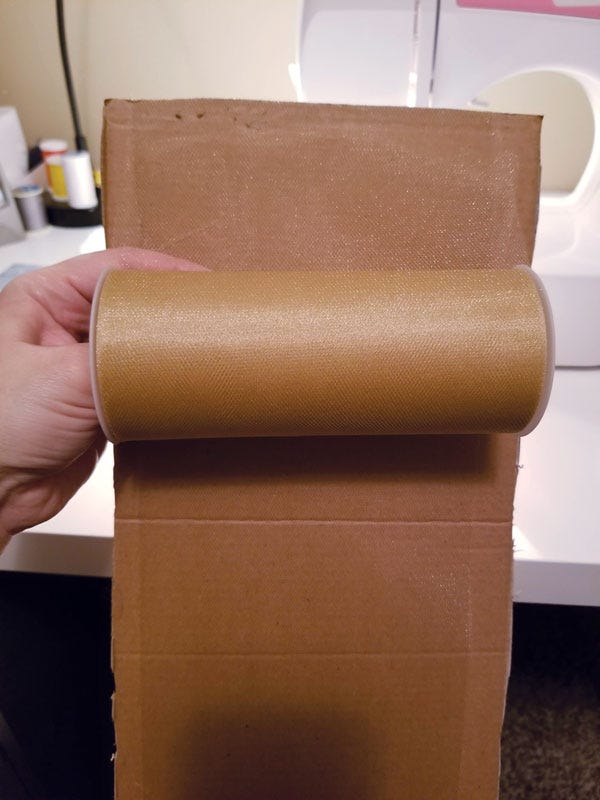
4. When cutting your tulle, you need it to be twice the length you want your skirt to be. This is because you will tie the the center of the tulle to the elastic. The easiest way to cut this much tulle is to use a piece of cardboard cut to length. For my skirt, I wanted it to be 8” long, which means I needed to double that to 16” for the length of tulle. I cut a piece of cardboard that was 16” long, then proceeded to wrap the tulle around it. When wrapping, keep in mind that folding the tulle once over and once under the cardboard equals 2 pieces, so getting to 42 goes quickly.
Line up the edge of your tulle with the edge of the cardboard.
Wrap it around until you get to the number of pieces you need.
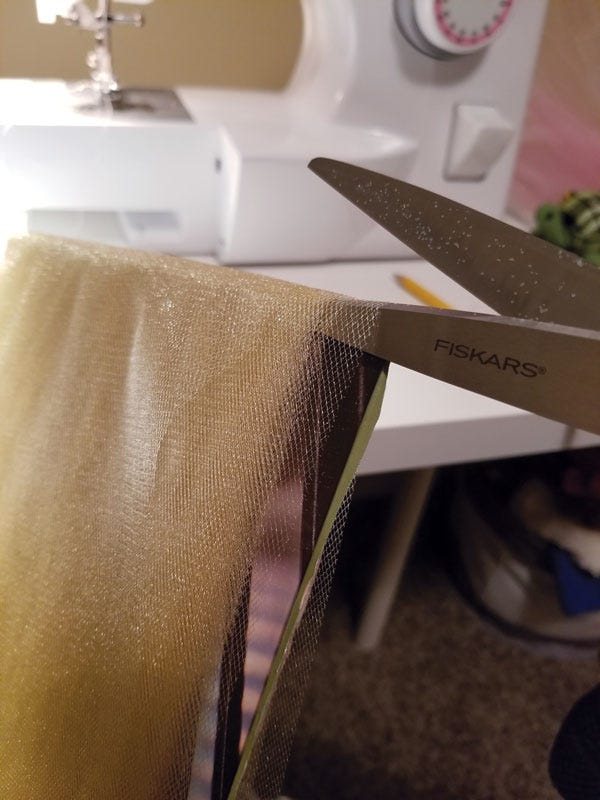
5. Once it’s all wrapped, keep a tight hold on the tulle. Cut across the tulle at one edge of the cardboard, and then flip it over and cut across the other end. Do this for each color.
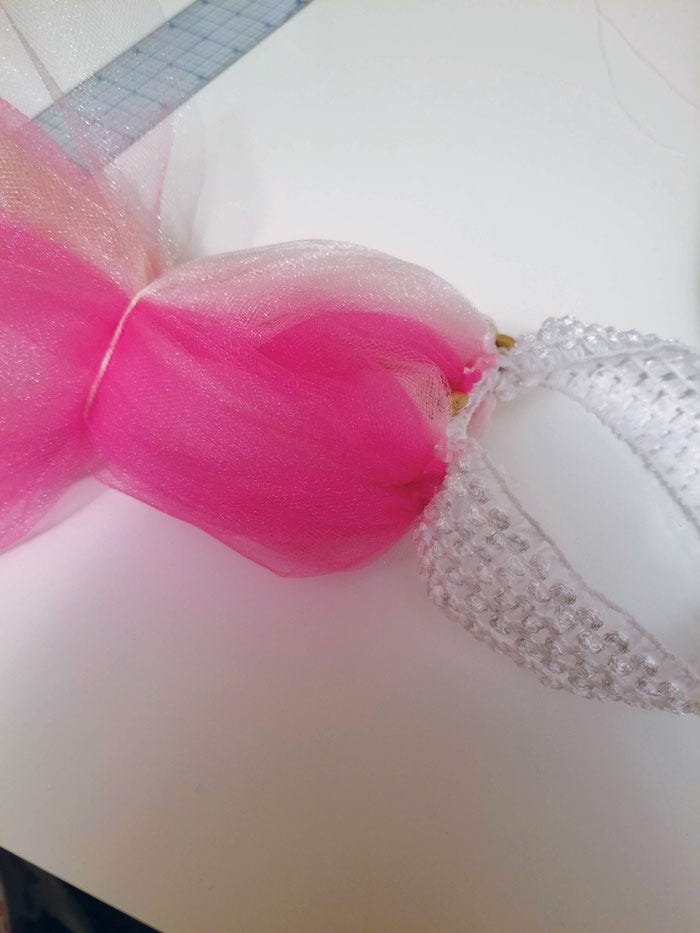
6. Once all the tulle is cut, take one piece of the color you’re starting with, and fold it in half.
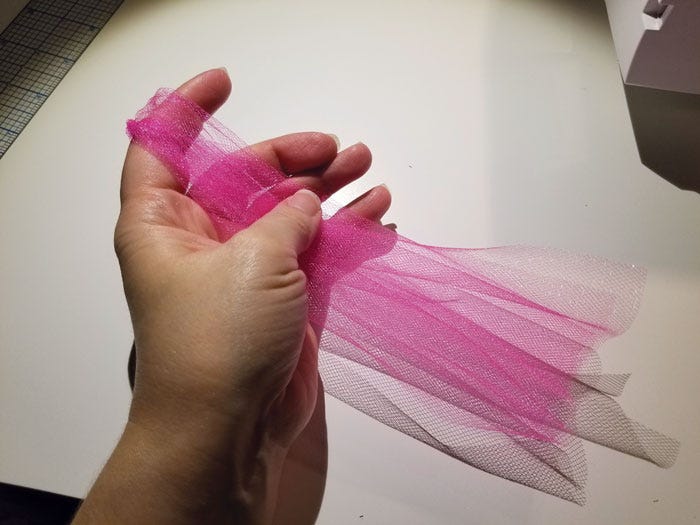
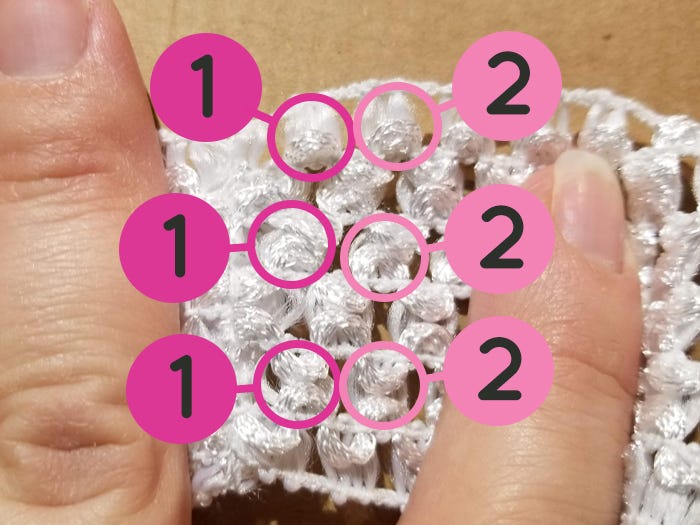
7. Face the seam of the elastic away from you so it’s on the “inside” of the skirt. You’re going to insert the folded edge of the tulle into the hole above the square you want it to wrap around. Starting from the outside, push the folded edge to the inside, then pull it from the inside to the outside.

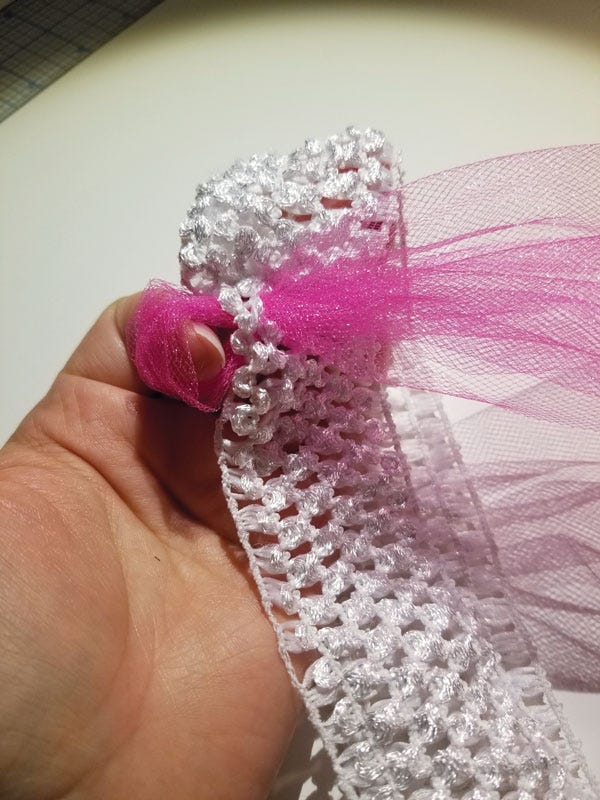
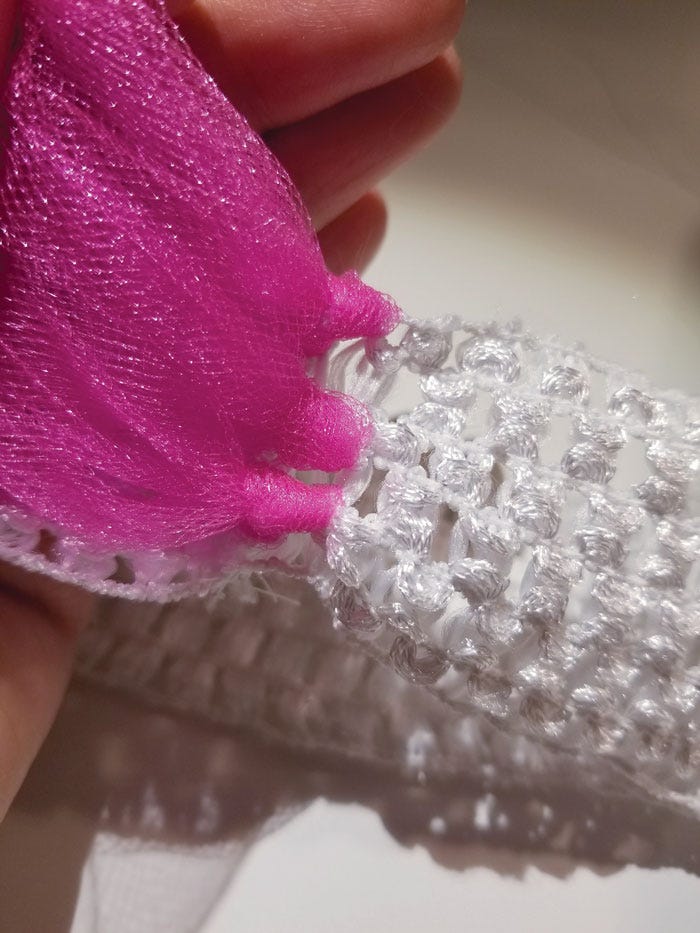
8. Now, take the loose ends, and pull them through the loop of tulle you just made.
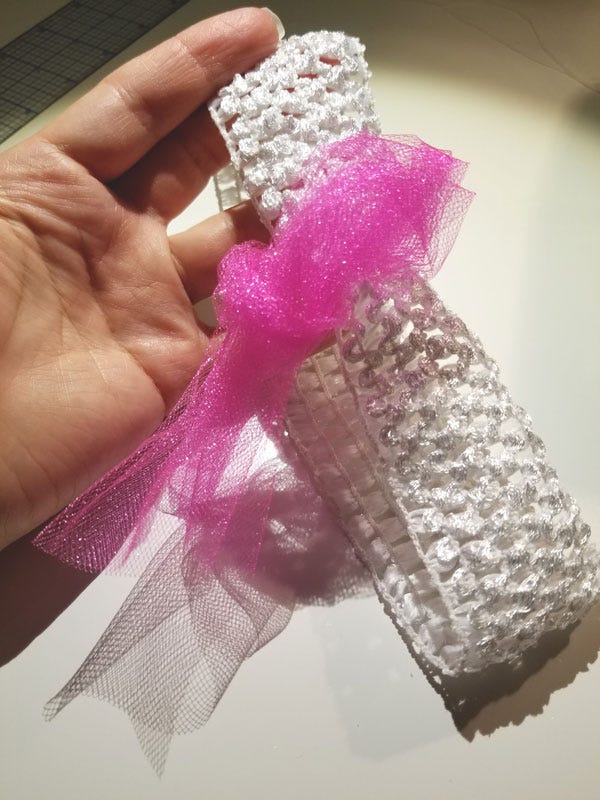
9. Pull it tight.
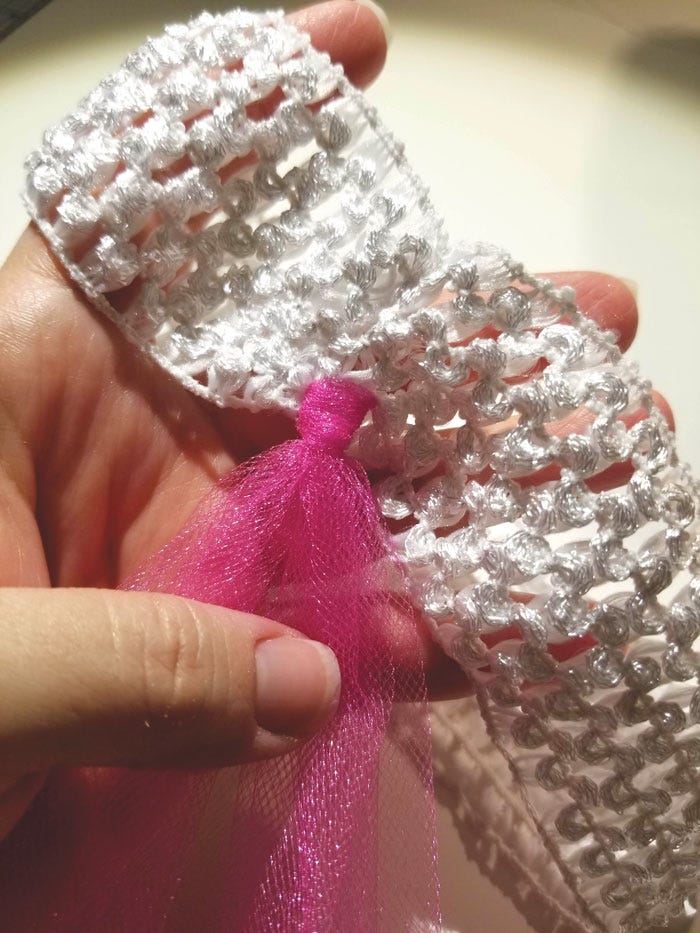
10. Now, do that twice more going up the row.
11. One row done! Now, start on the next row with your next color and keep going until you’ve finished one row of each color.
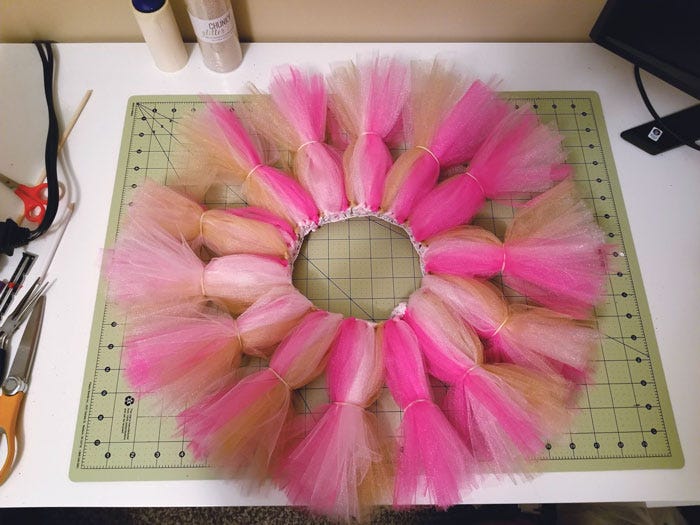
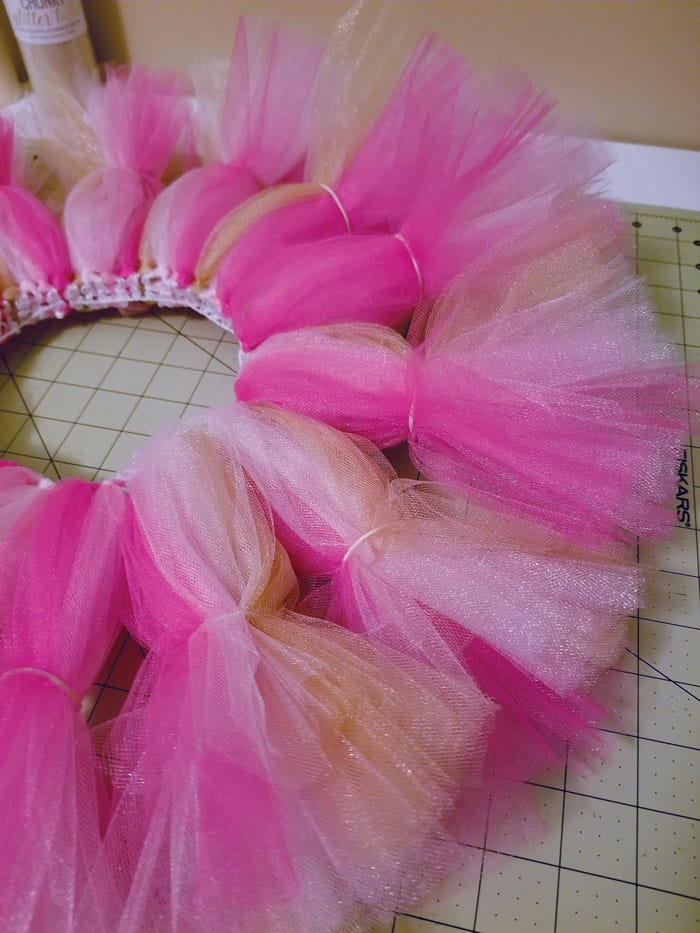
12. When you're done with the first section of your colors, take a rubber band and wrap it around the tulle to bunch it together. This will keep the tulle in control as you add more.
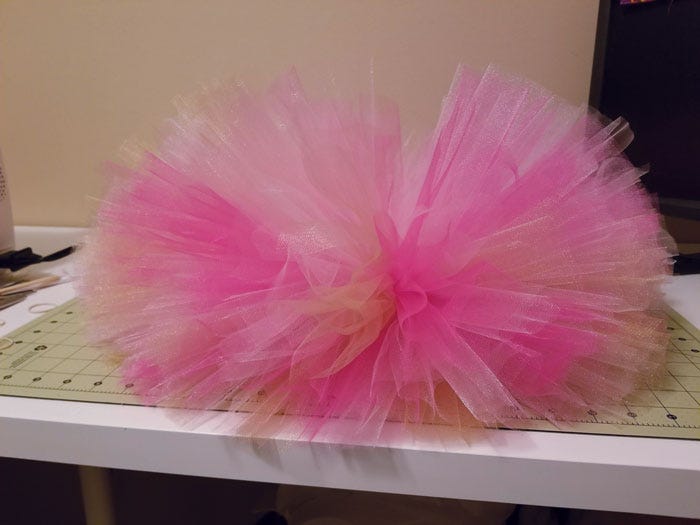
13. This is what my skirt looked like when I finished adding all the tulle.
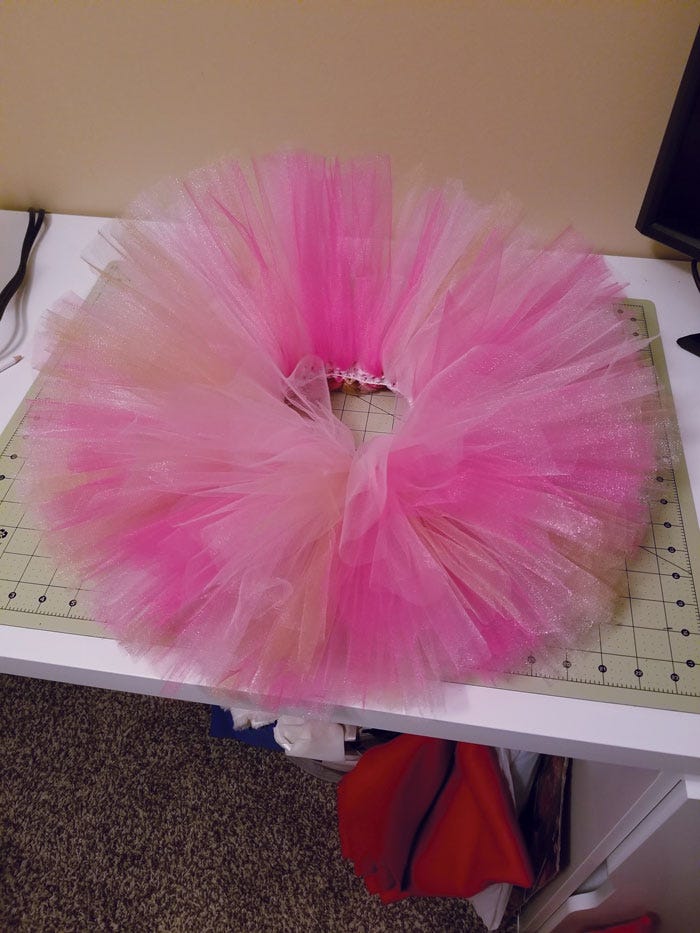
14. Now for the fun part! Start taking those rubber bands off and fluffing up the tulle. This is my skirt when it was all done!
15. Then you're all done, and it's time for the birthday princess to get dressed! Look how cute she is in her new outfit!

If you have leftover tulle, feel free to get creative! I used all my extra tulle to make a skirt for her highchair. I kept the tulle the same length, and I used the same looping technique. The only difference is that I used a single strand of twine instead of the thick elastic. Here’s how that turned out:

What do your little ones think of their fun princess tutus? Tag @PutMeInTheStory on Instagram so we can show our fans how cute your tutus turned out!