Now that you've learned how to plan the perfect birthday party, you know you need exciting games and memorable party favors to keep the fun alive. Kelsey, one of our crafty Put Me In The Story team members, found the perfect solution to combine these two with an innovative and inexpensive craft. (She also created this super fluffy DIY princess tutu that you simply must see to believe.)
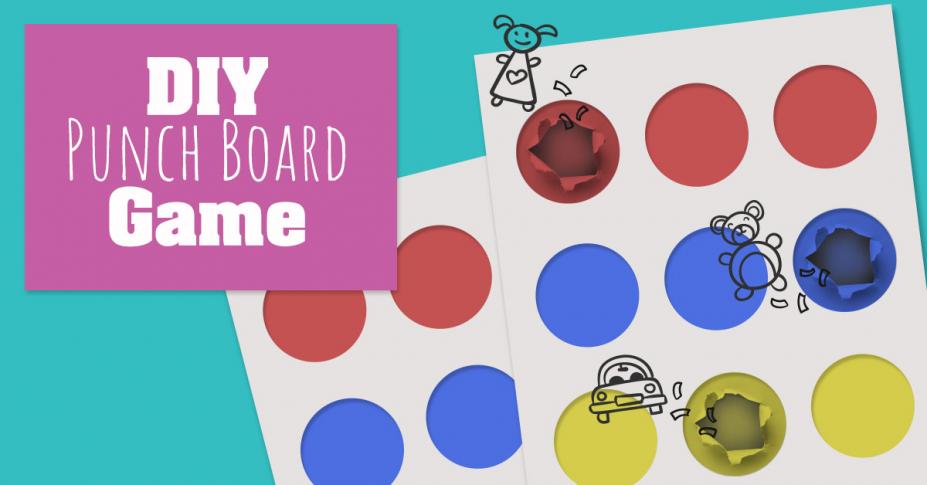
For those who don't know, punch board games are easy to make and have very simple rules. It's like a fresh new take on a piñata, except it's even better because it's a safe game to play indoors, and it's sure to wow the parents and kids who haven't seen anything like it before. With adult supervision, kids simply line up and (gently) punch through a tissue paper circle to find surprise party favors inside. Easy! Kids love the excitement of finding secret treasures, and parents love knowing that their little ones will stay busy and safe with a fun way to channel their sugar-fueled energy.

You’ll need:
- Thick poster boards (Size will depend on how many prizes you want to include. I used two large poster boards, which fit 9 prizes each.)
- Paper lunch bags
- Colored tissue paper (Feel free to mix it up with more than one color!)
- A bowl or some other round object to trace around (When selecting the round item, make sure it will fit around the largest prize you purchased.)
- Prizes (candy, yo-yos, stickers, etc.)
- Scissors
- Tape
- Pen or pencil
- A ruler or other straight edge
- A piece of cardboard the size of your poster board (This is optional, but it will help you move the punch board without the prizes breaking through the tissue paper.)
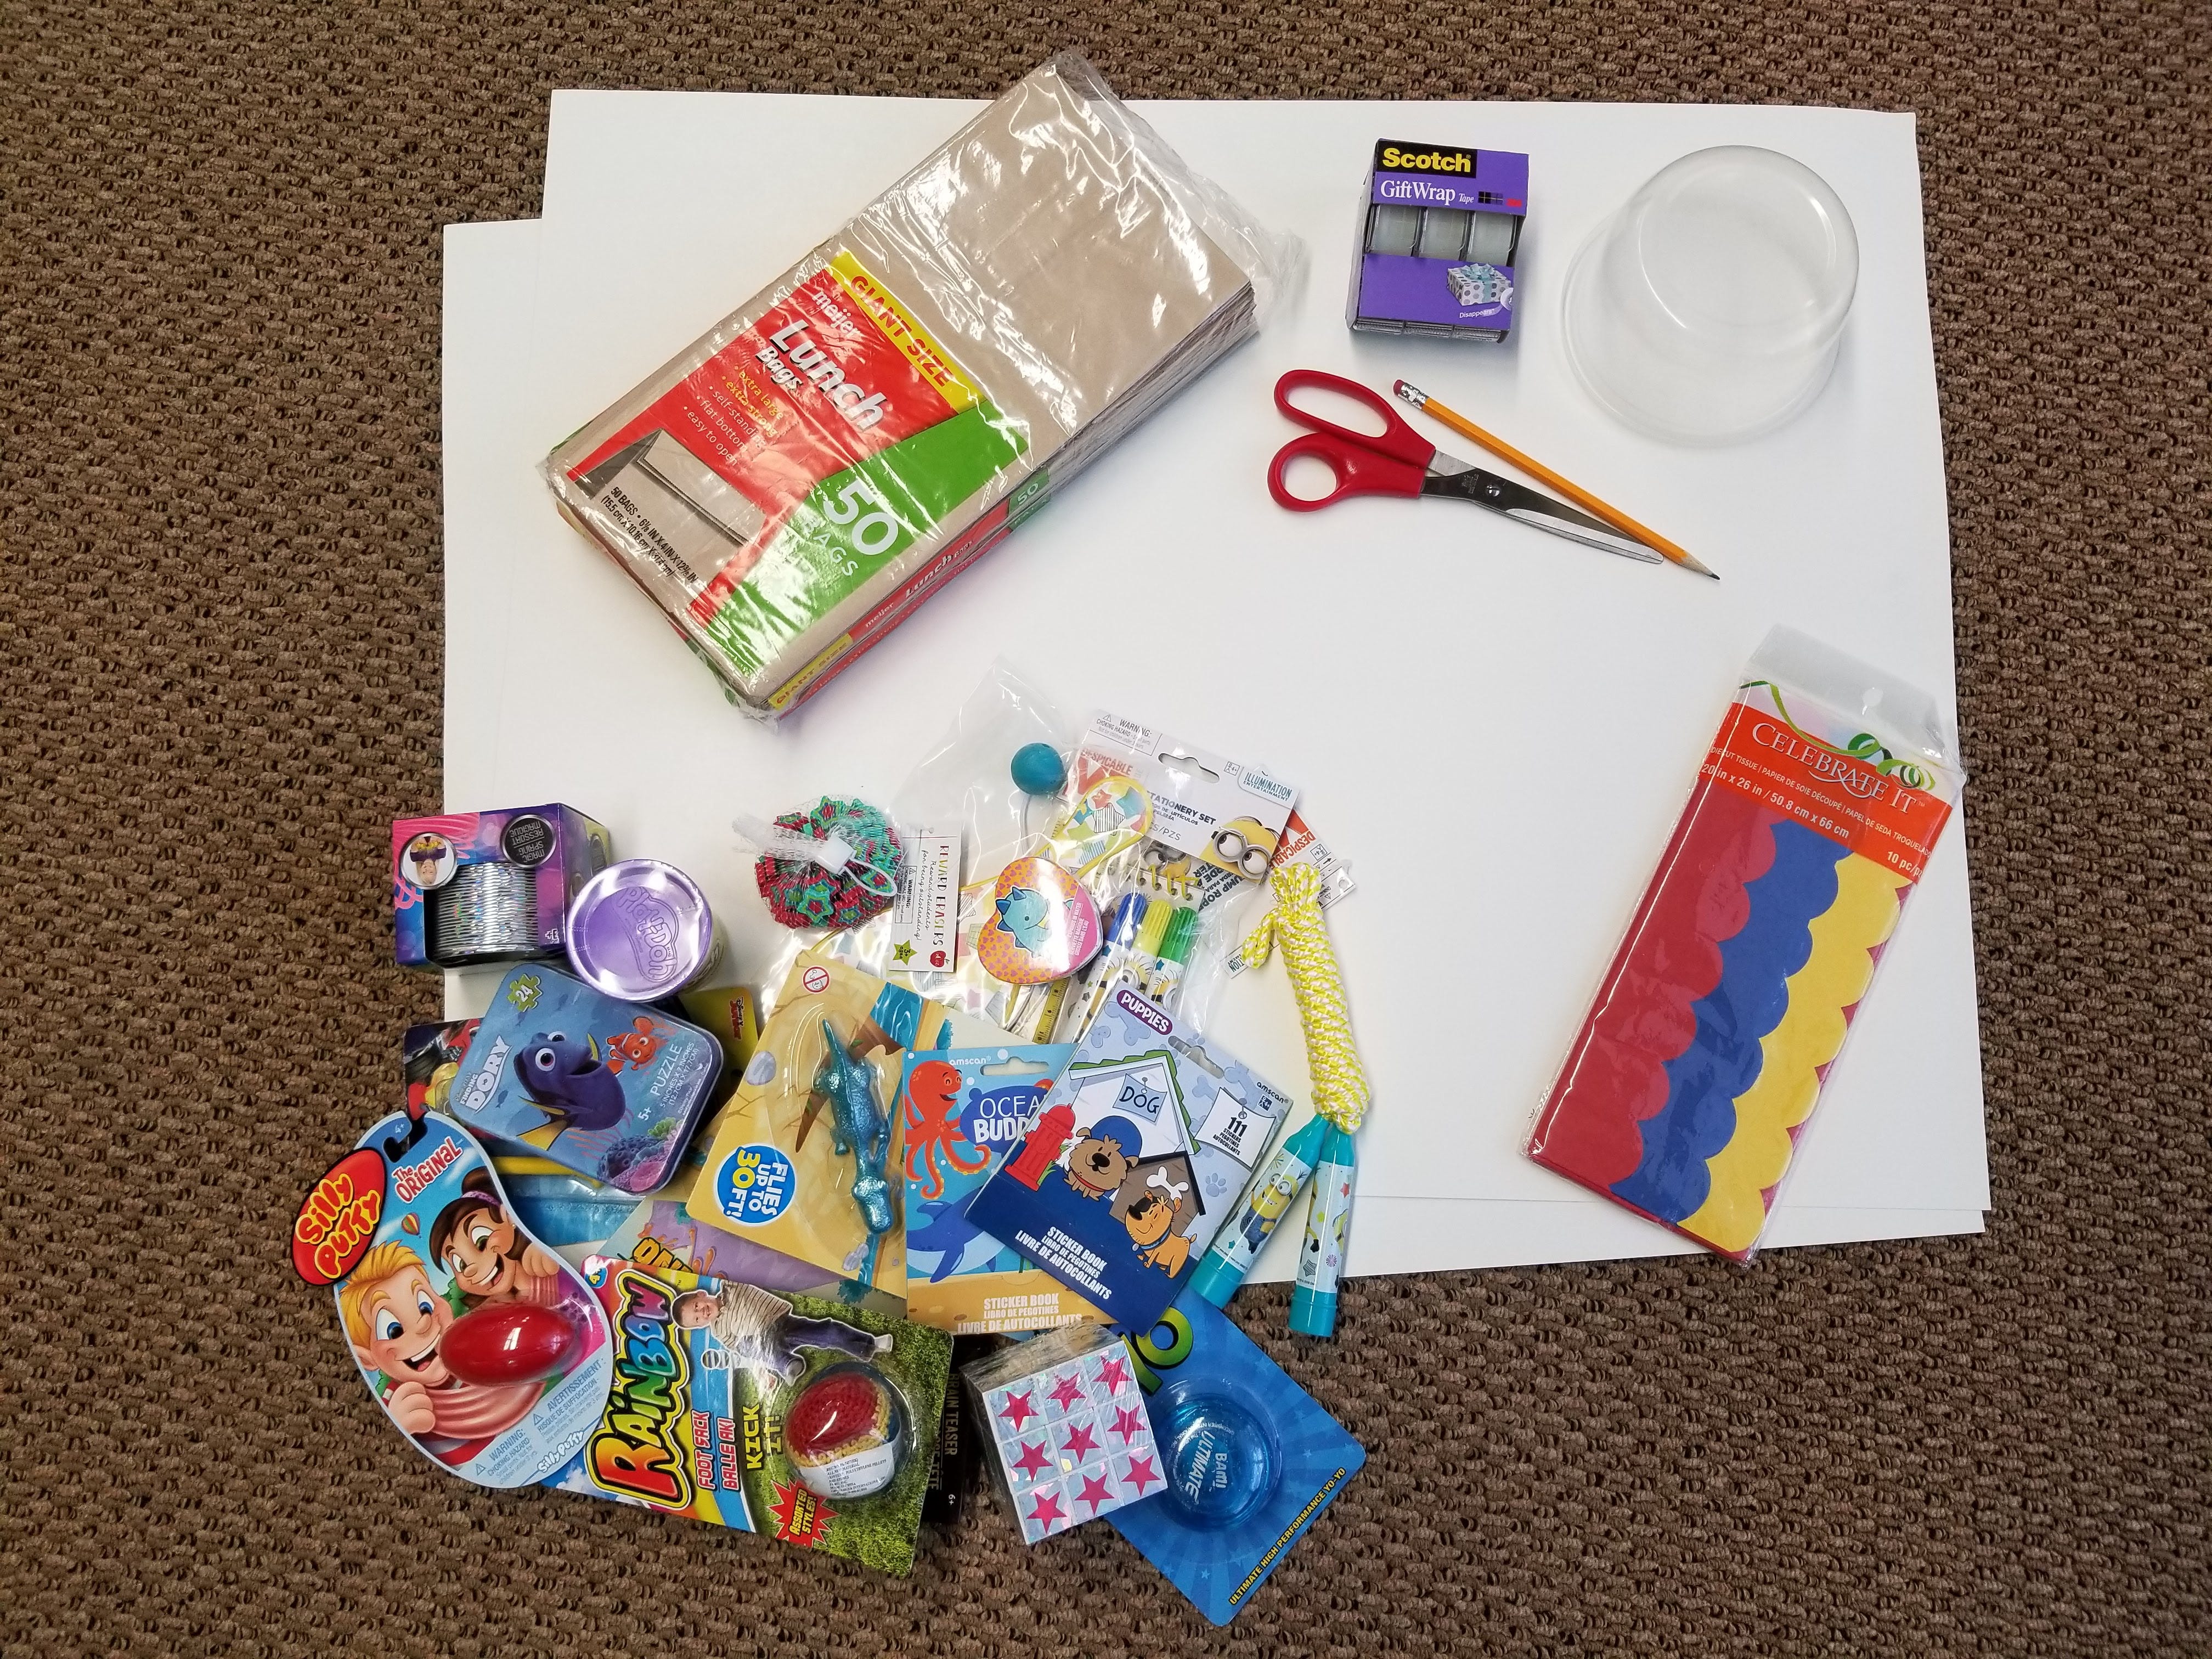
This DIY project is fun to make for adults and kids of all ages! After everything was purchased, the whole project cost around $30, and that included 18 prizes. All the prizes were $1, and I was able to find a variety of items at multiple stores.
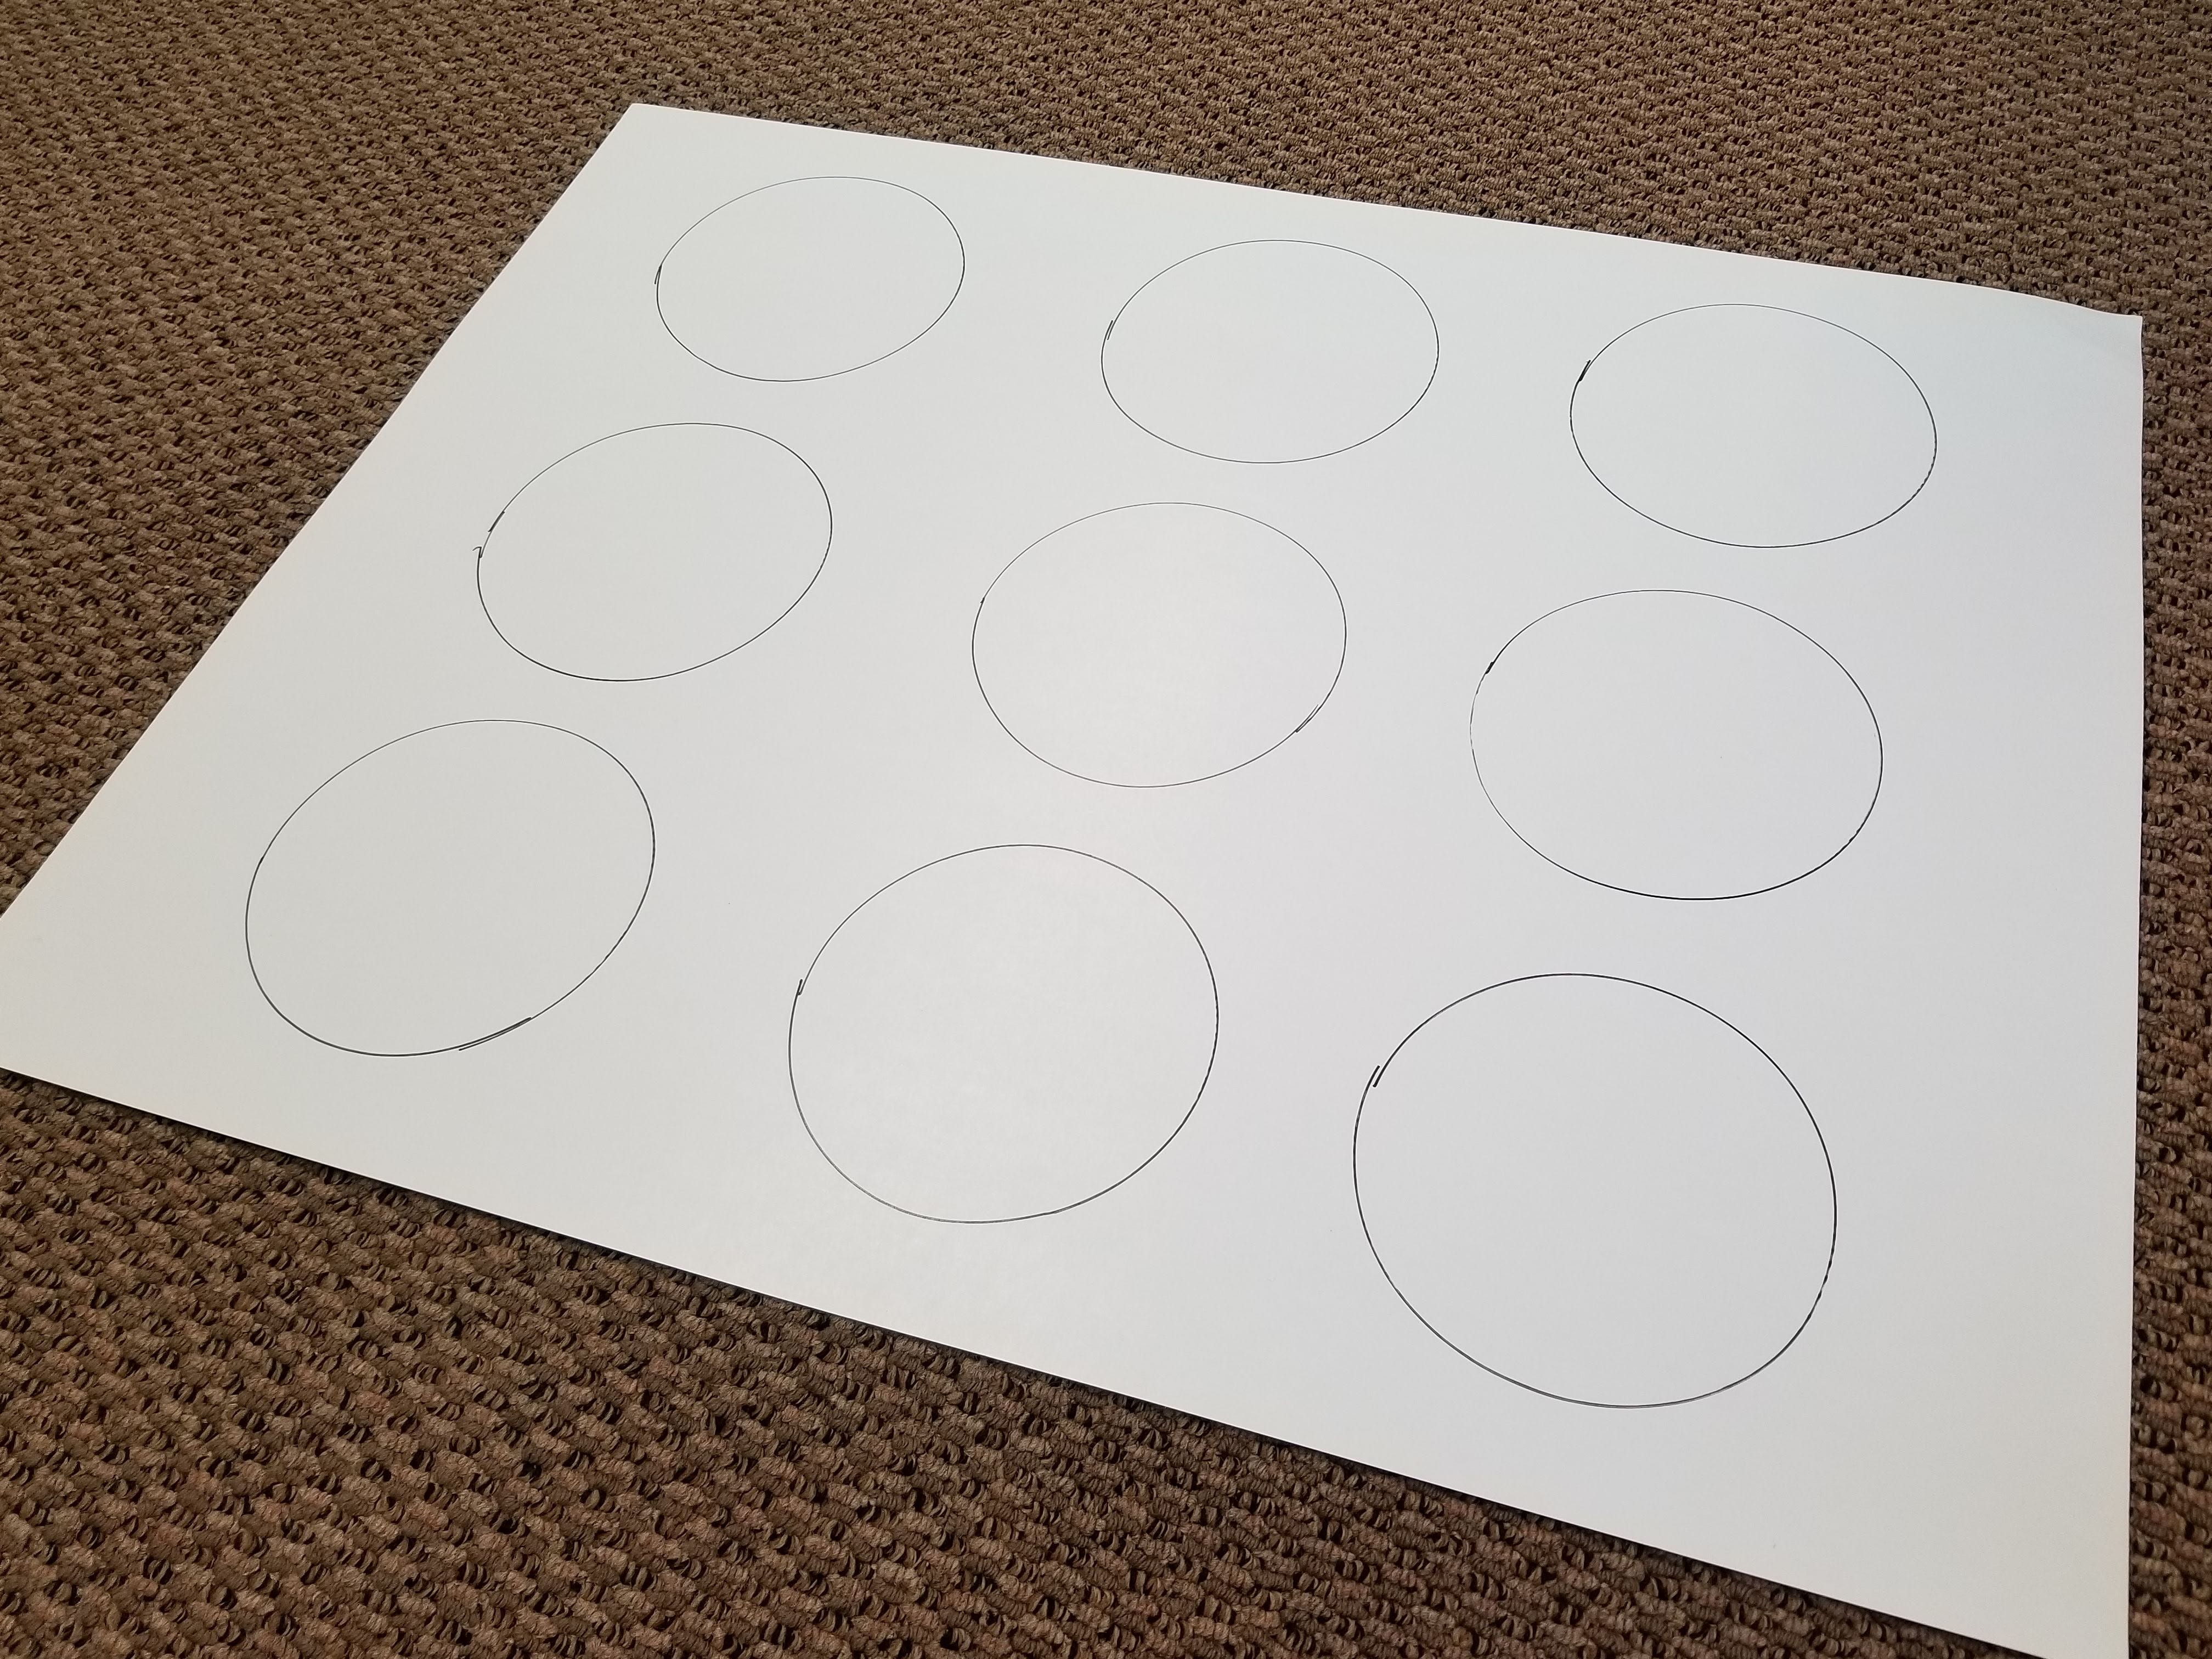
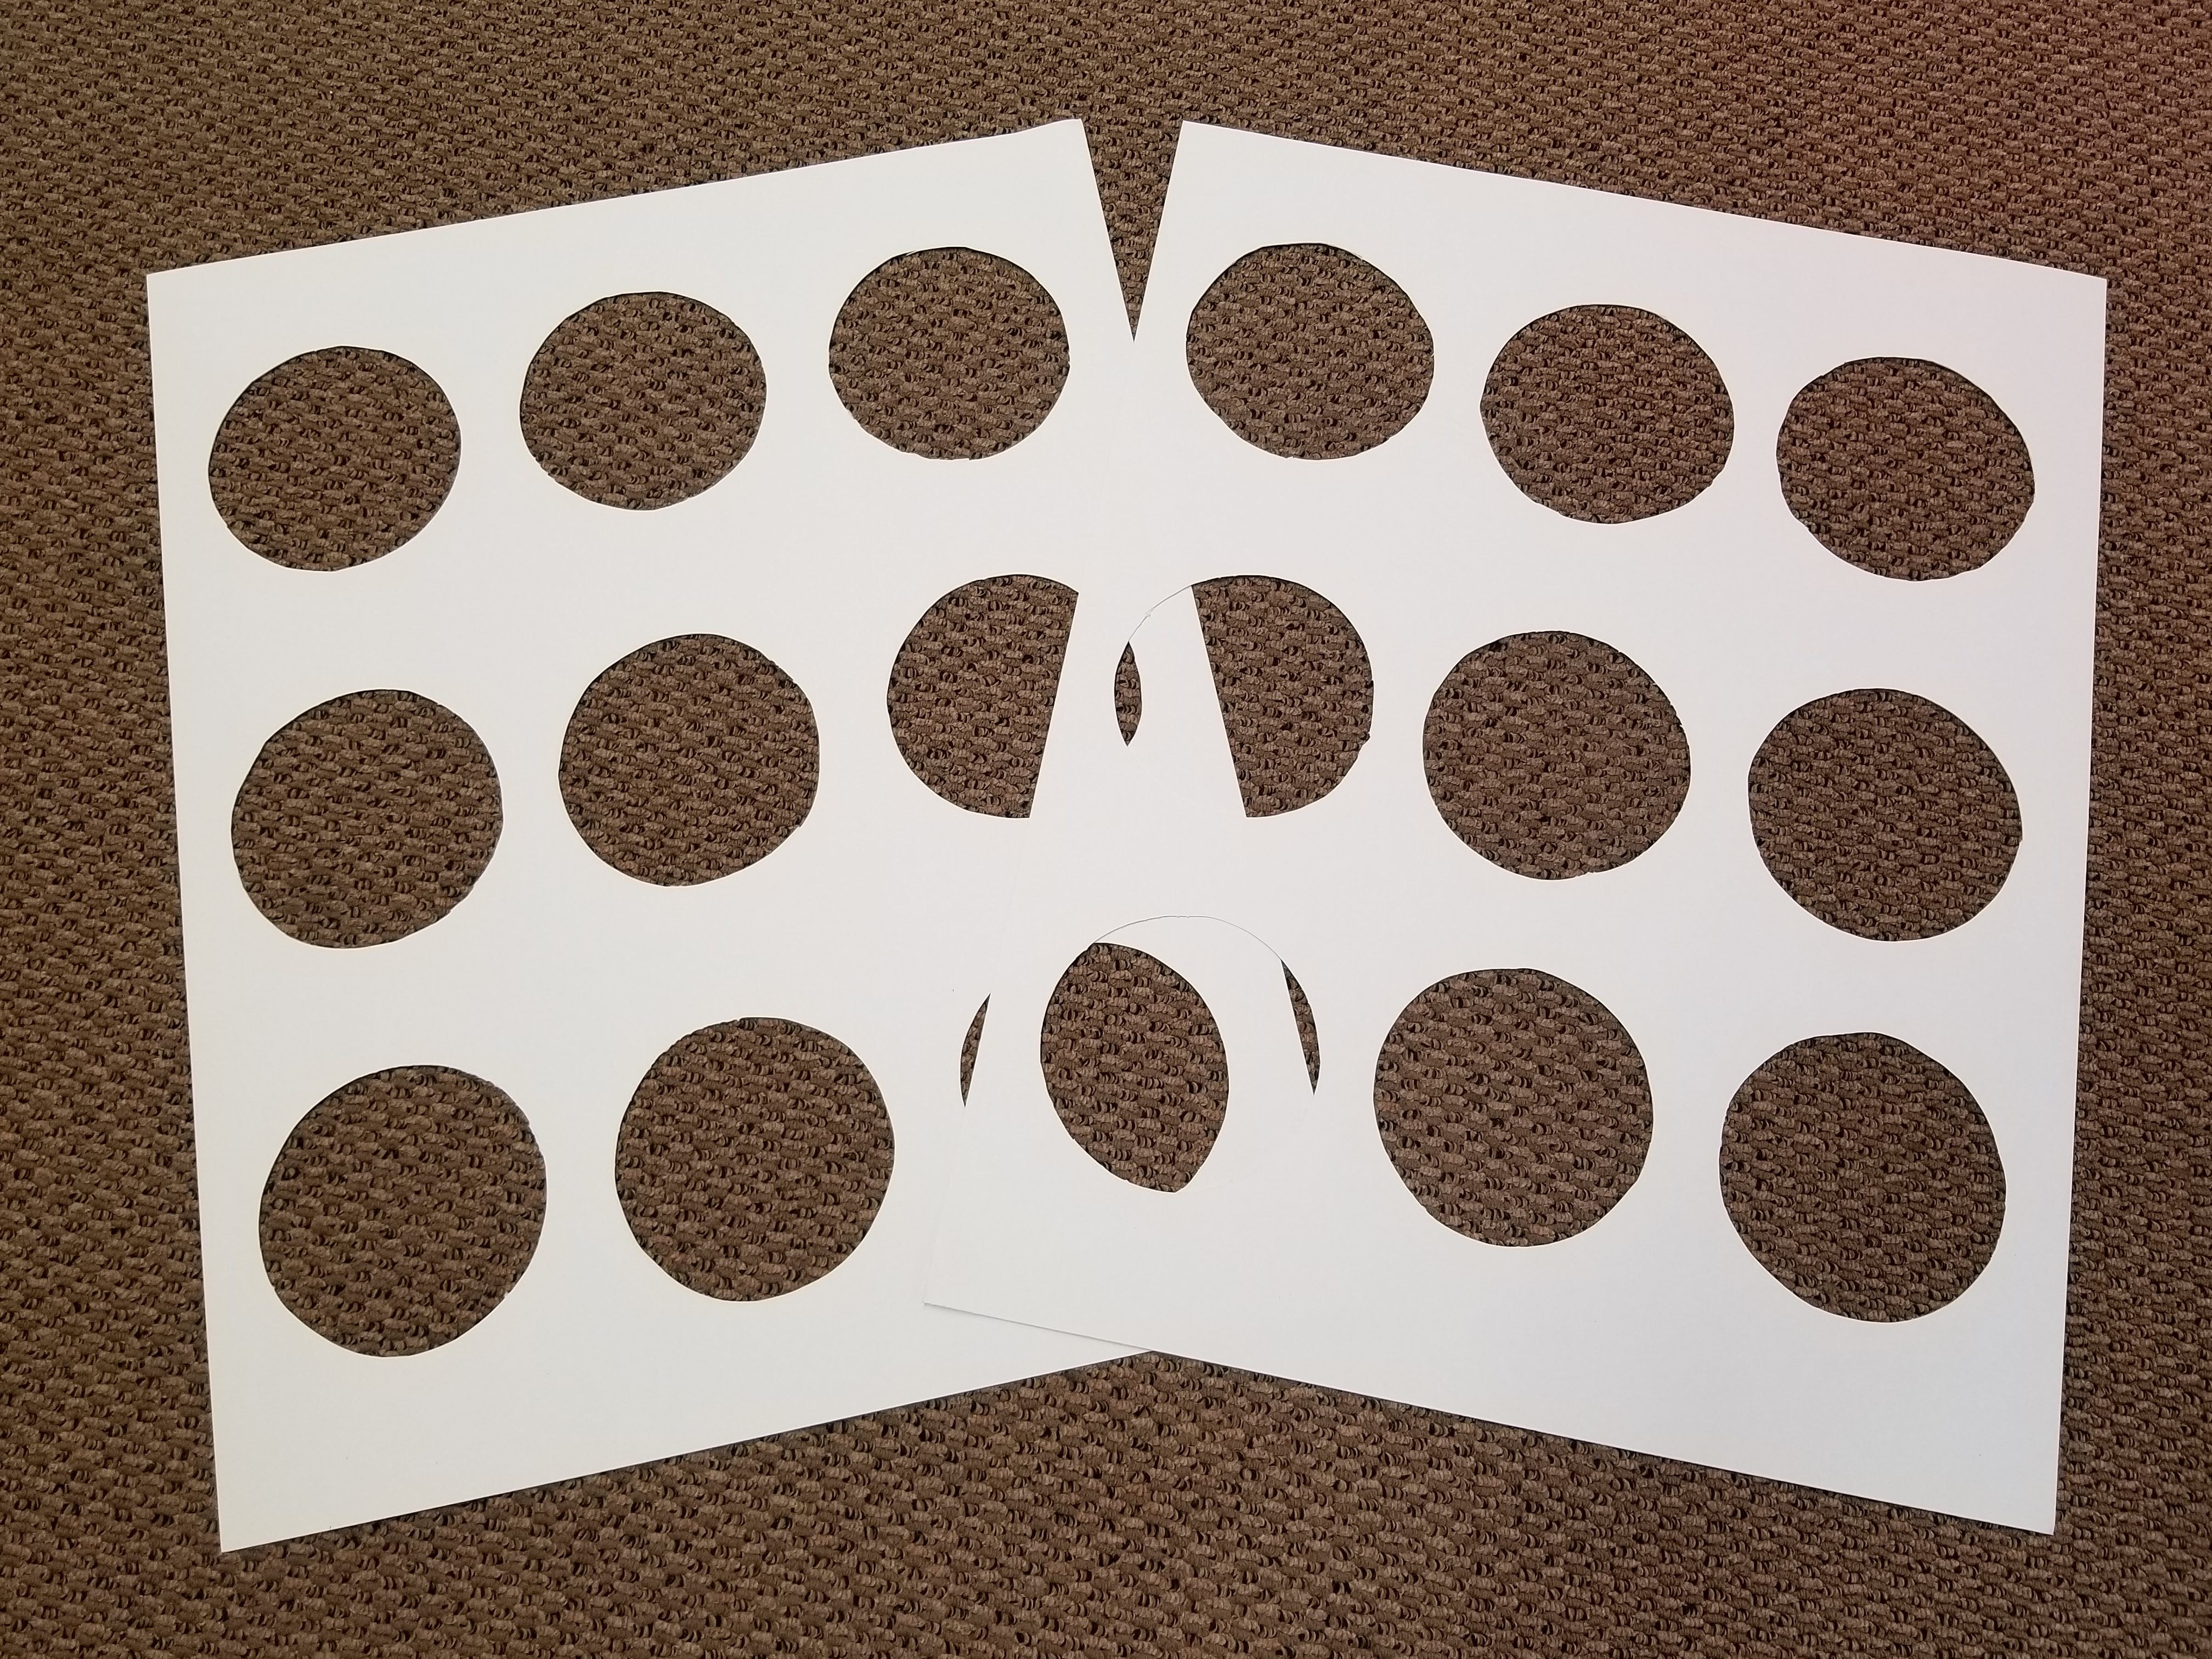
1. The first step is figuring out how many punch holes you want to have per board. I chose to do 9 per board, so 18 holes total.
2. Making sure to evenly space your circles, take your round object and trace around it with your pen or pencil.

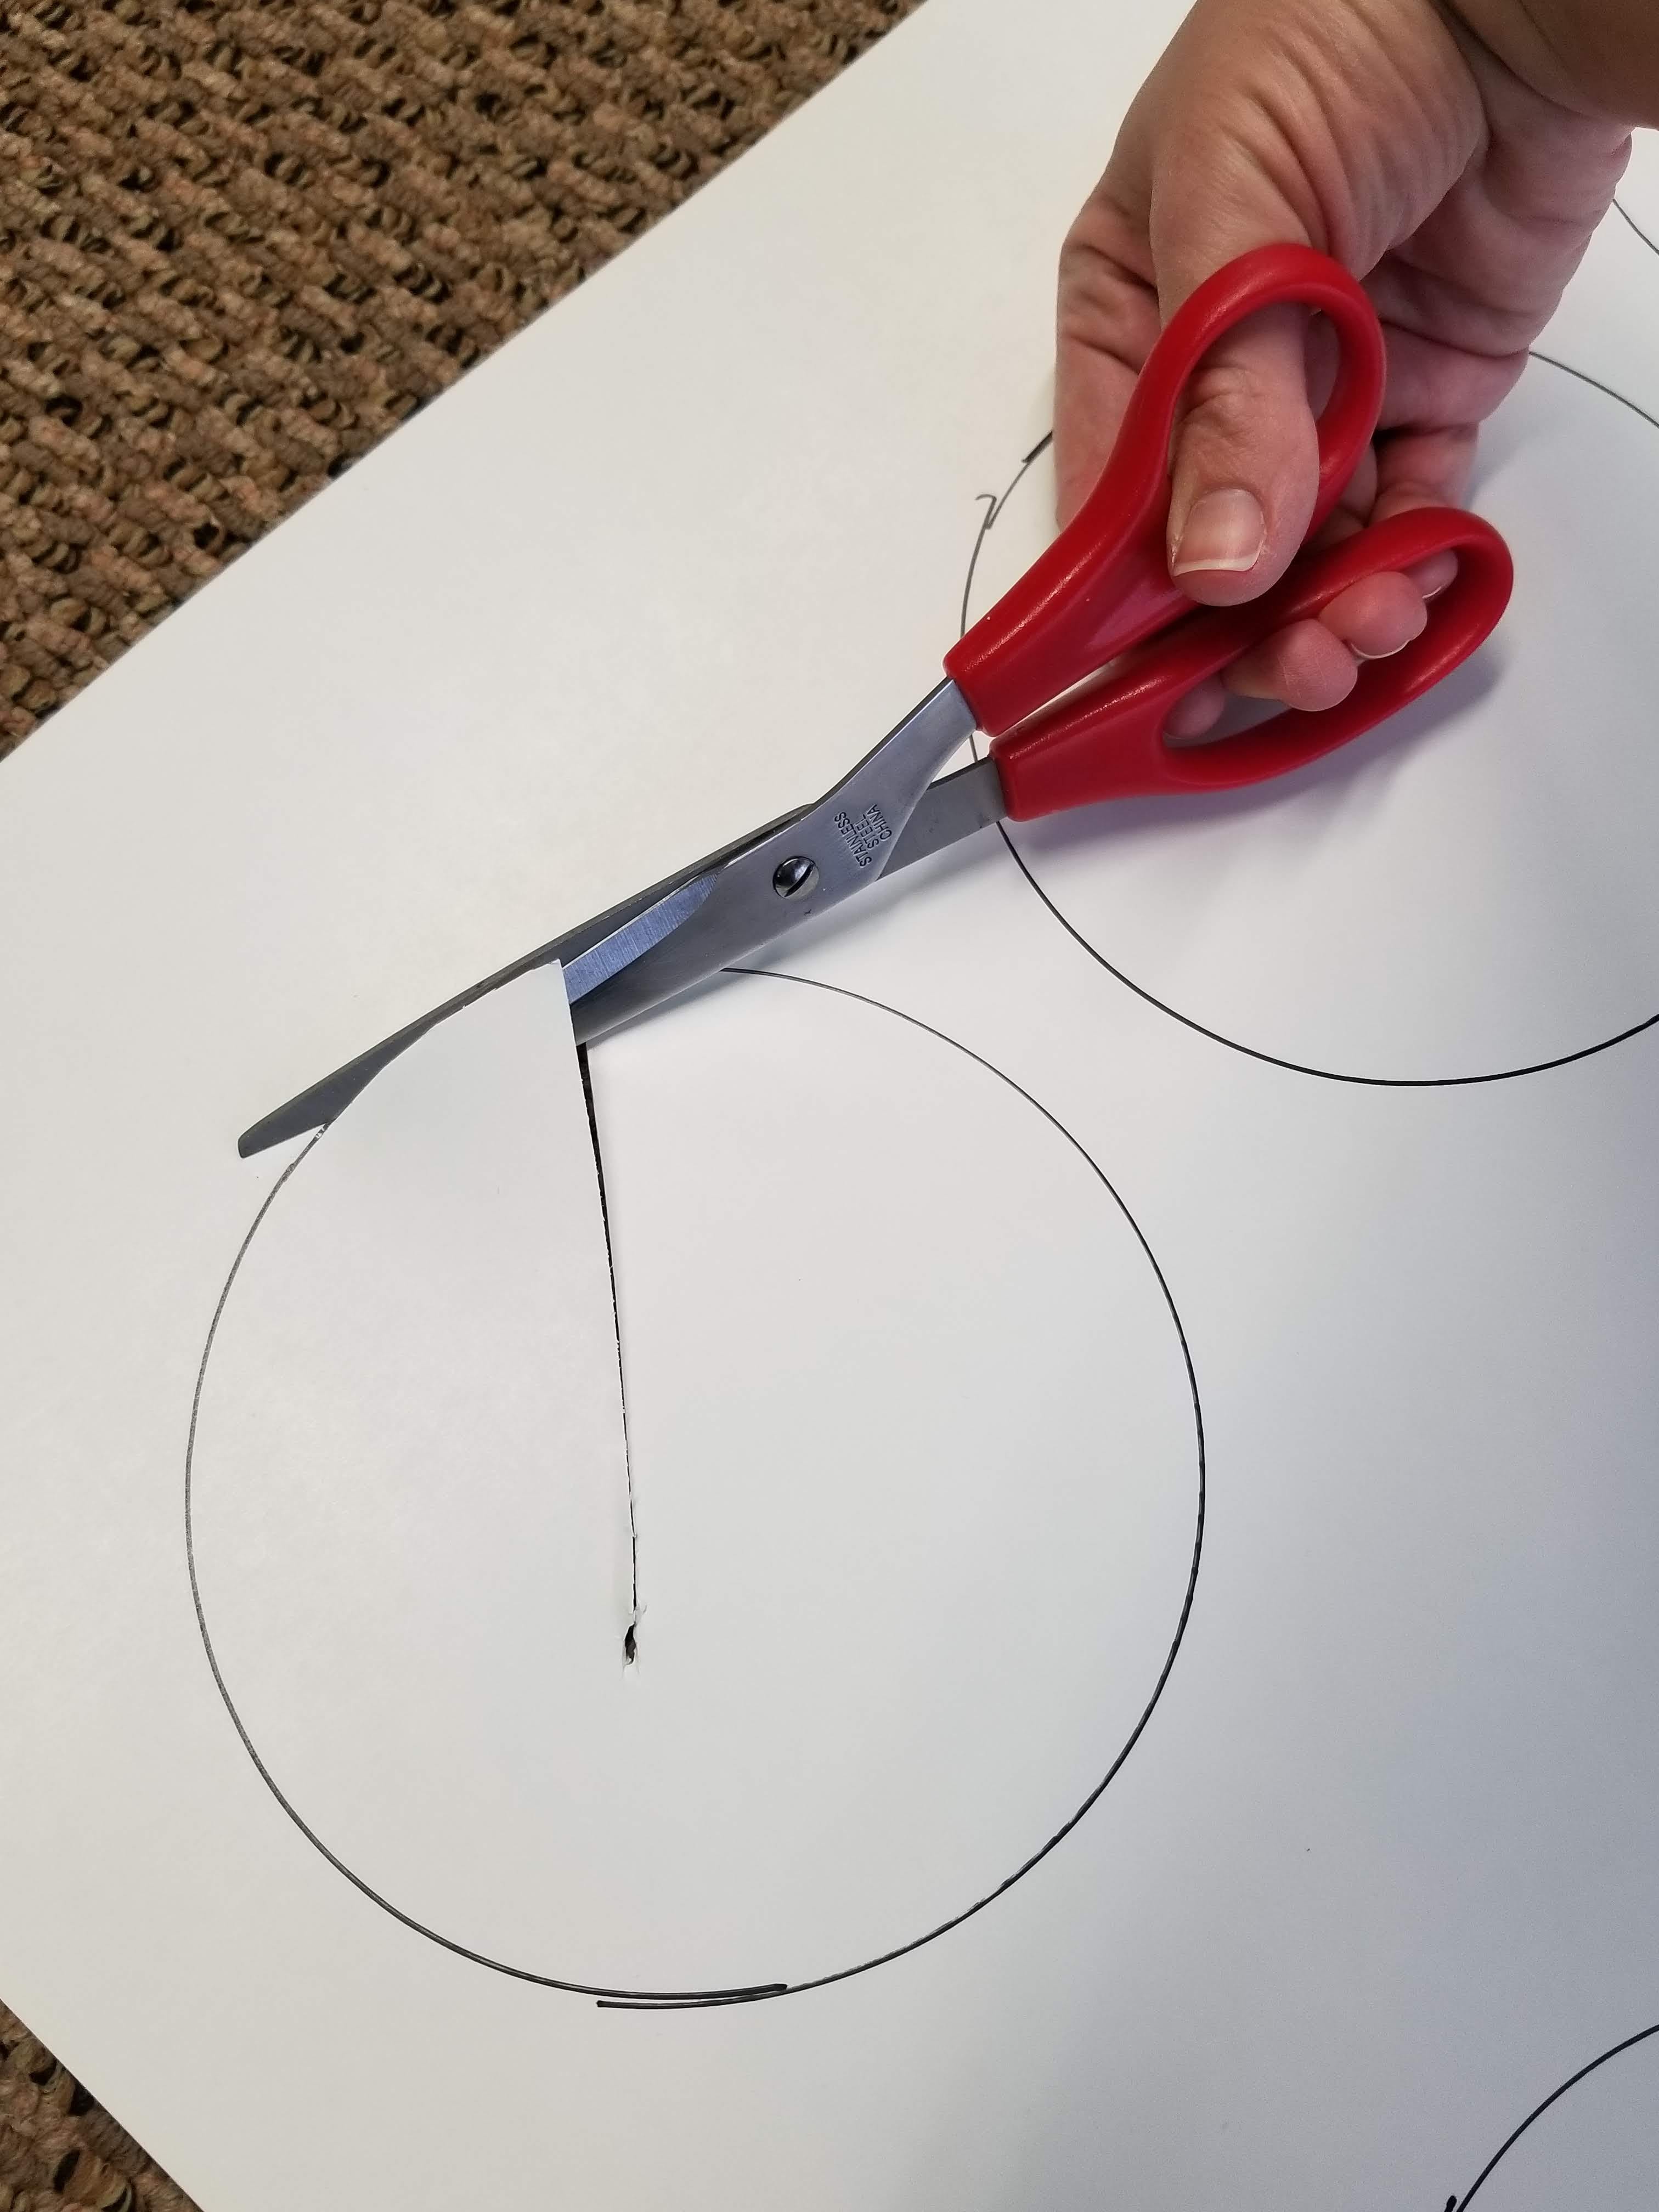
3. Next, cut along your lines to remove the circles and make your holes.
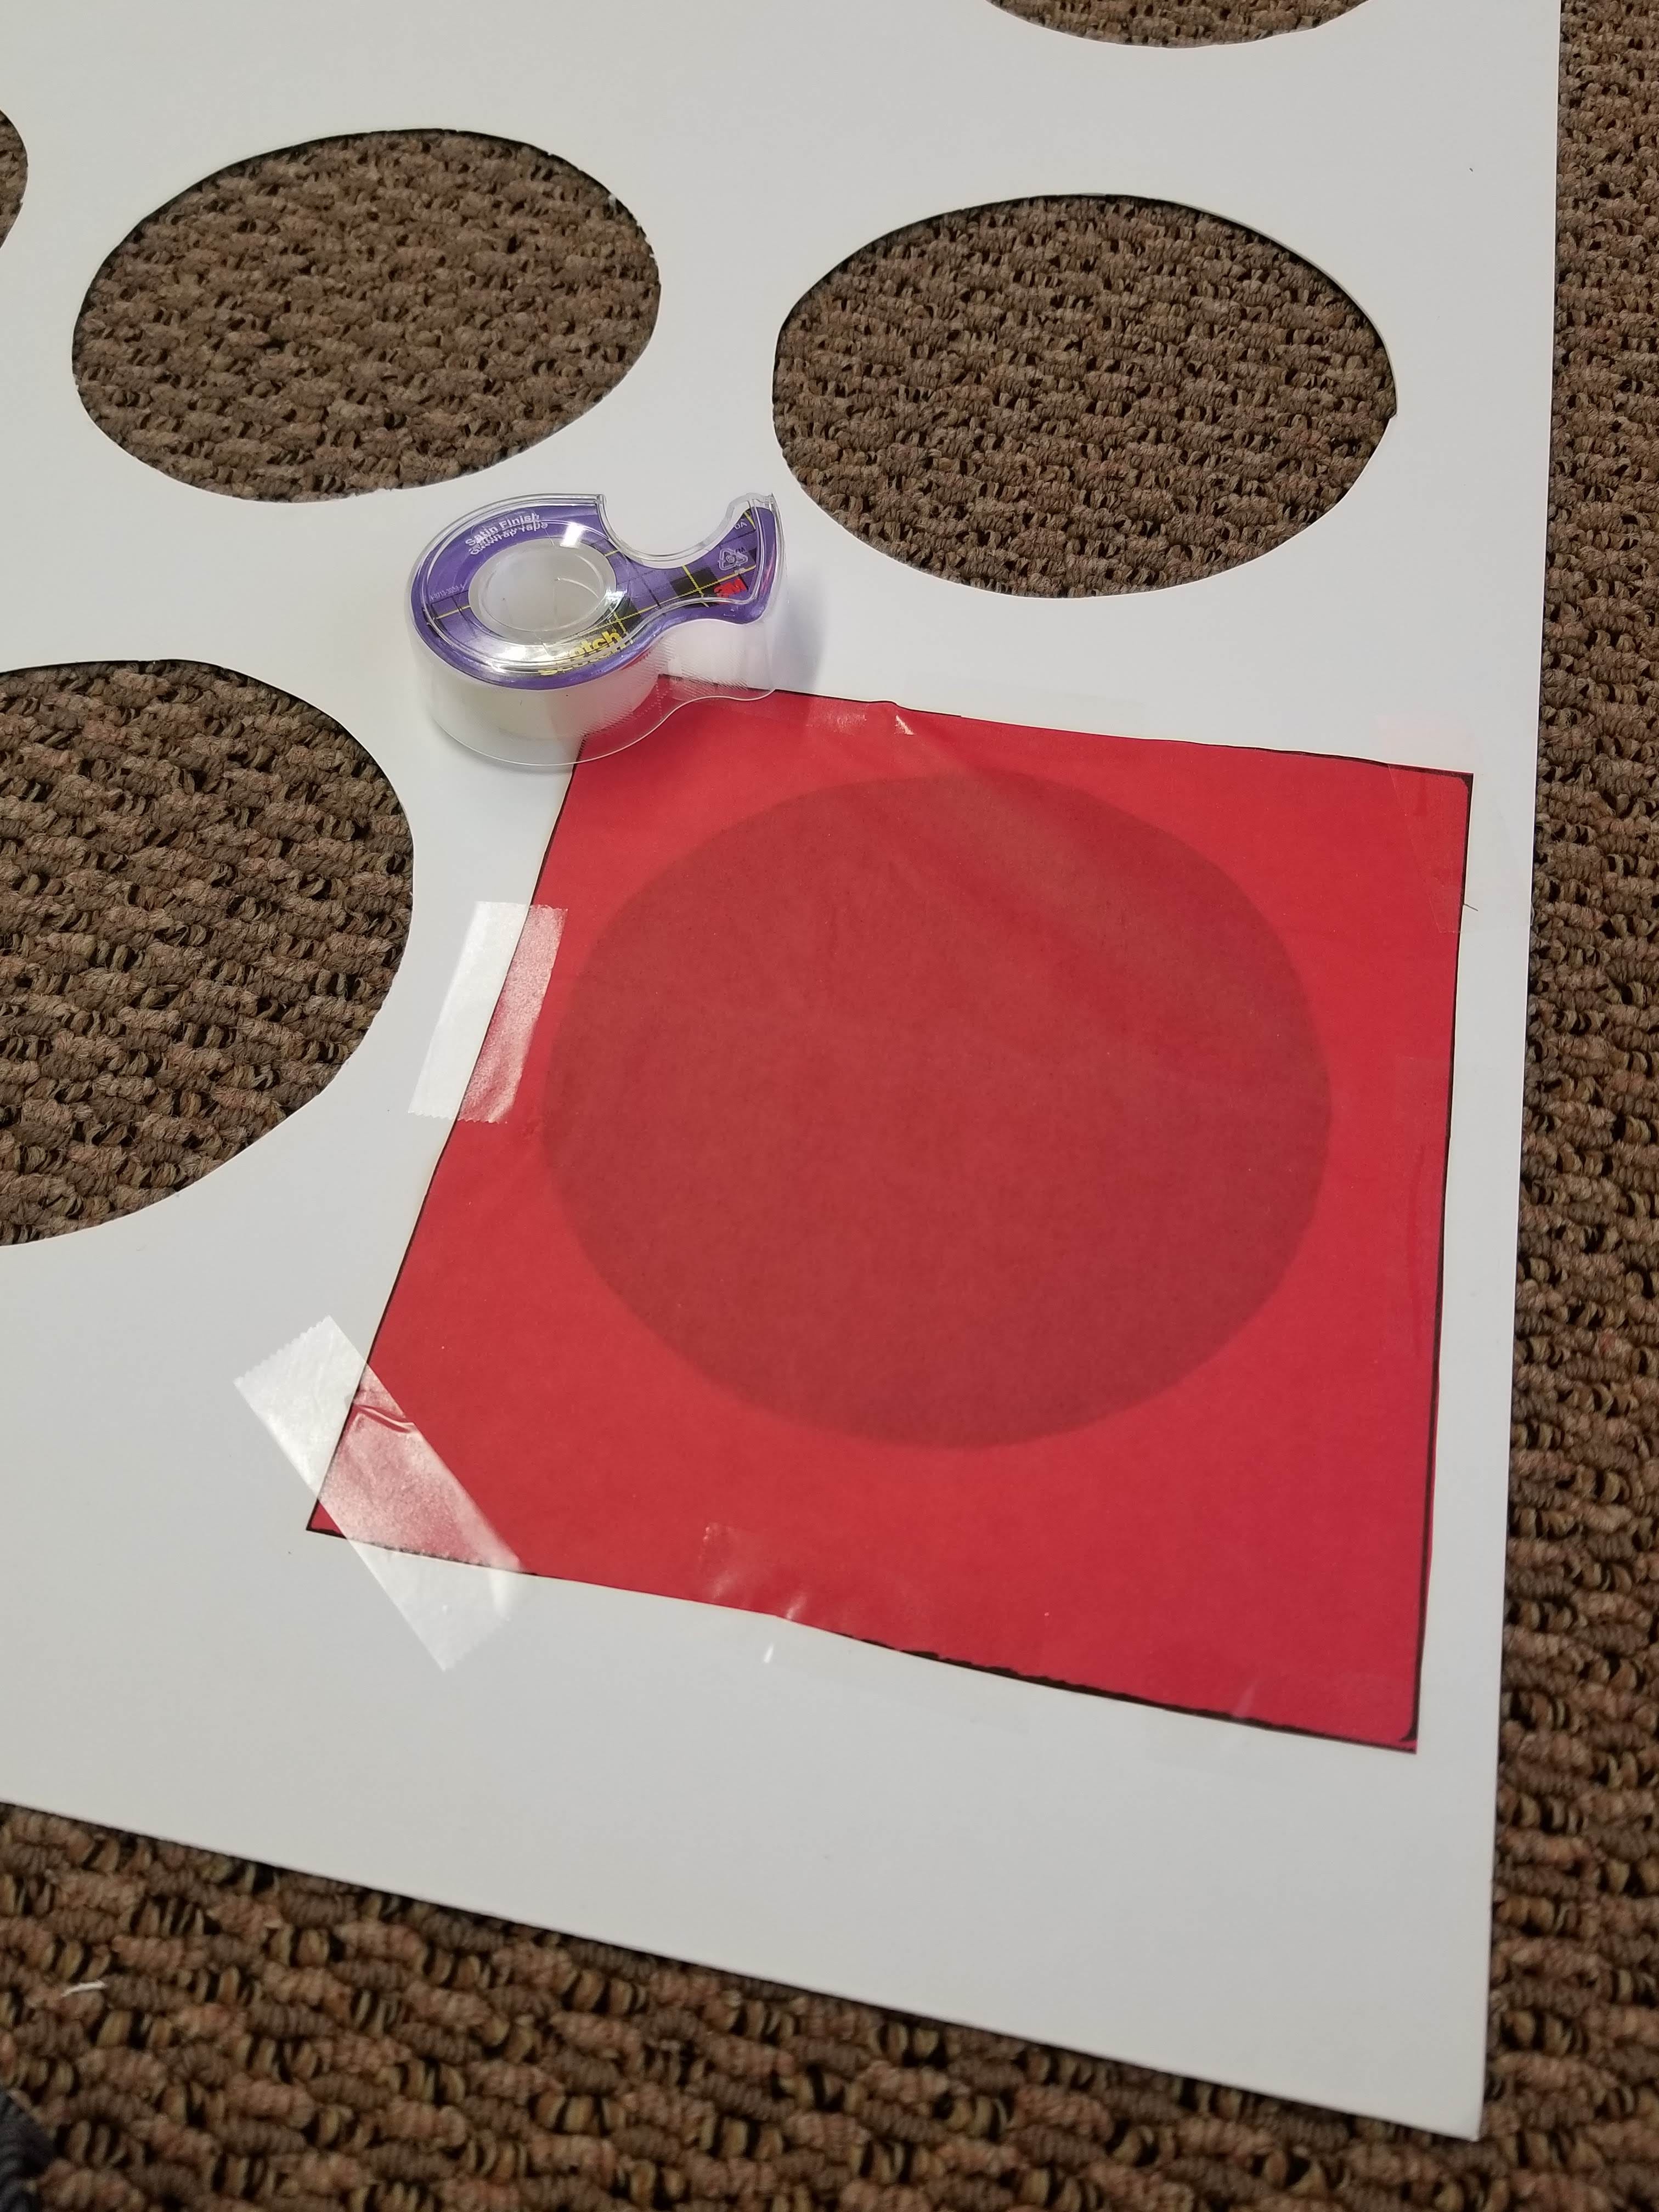
4. Once all the holes are cut out, it’s time to cover them with squares of tissue paper. To keep this step quick, I kept the tissue paper folded and cut multiple squares at once. I needed 6 squares of each color. To make them the right size, put the bowl on the tissue paper, then use a ruler or other straight edge to draw a square around the bowl. Be sure to make each square a couple inches larger than the bowl, so they’re easy to tape over the holes in your poster board.

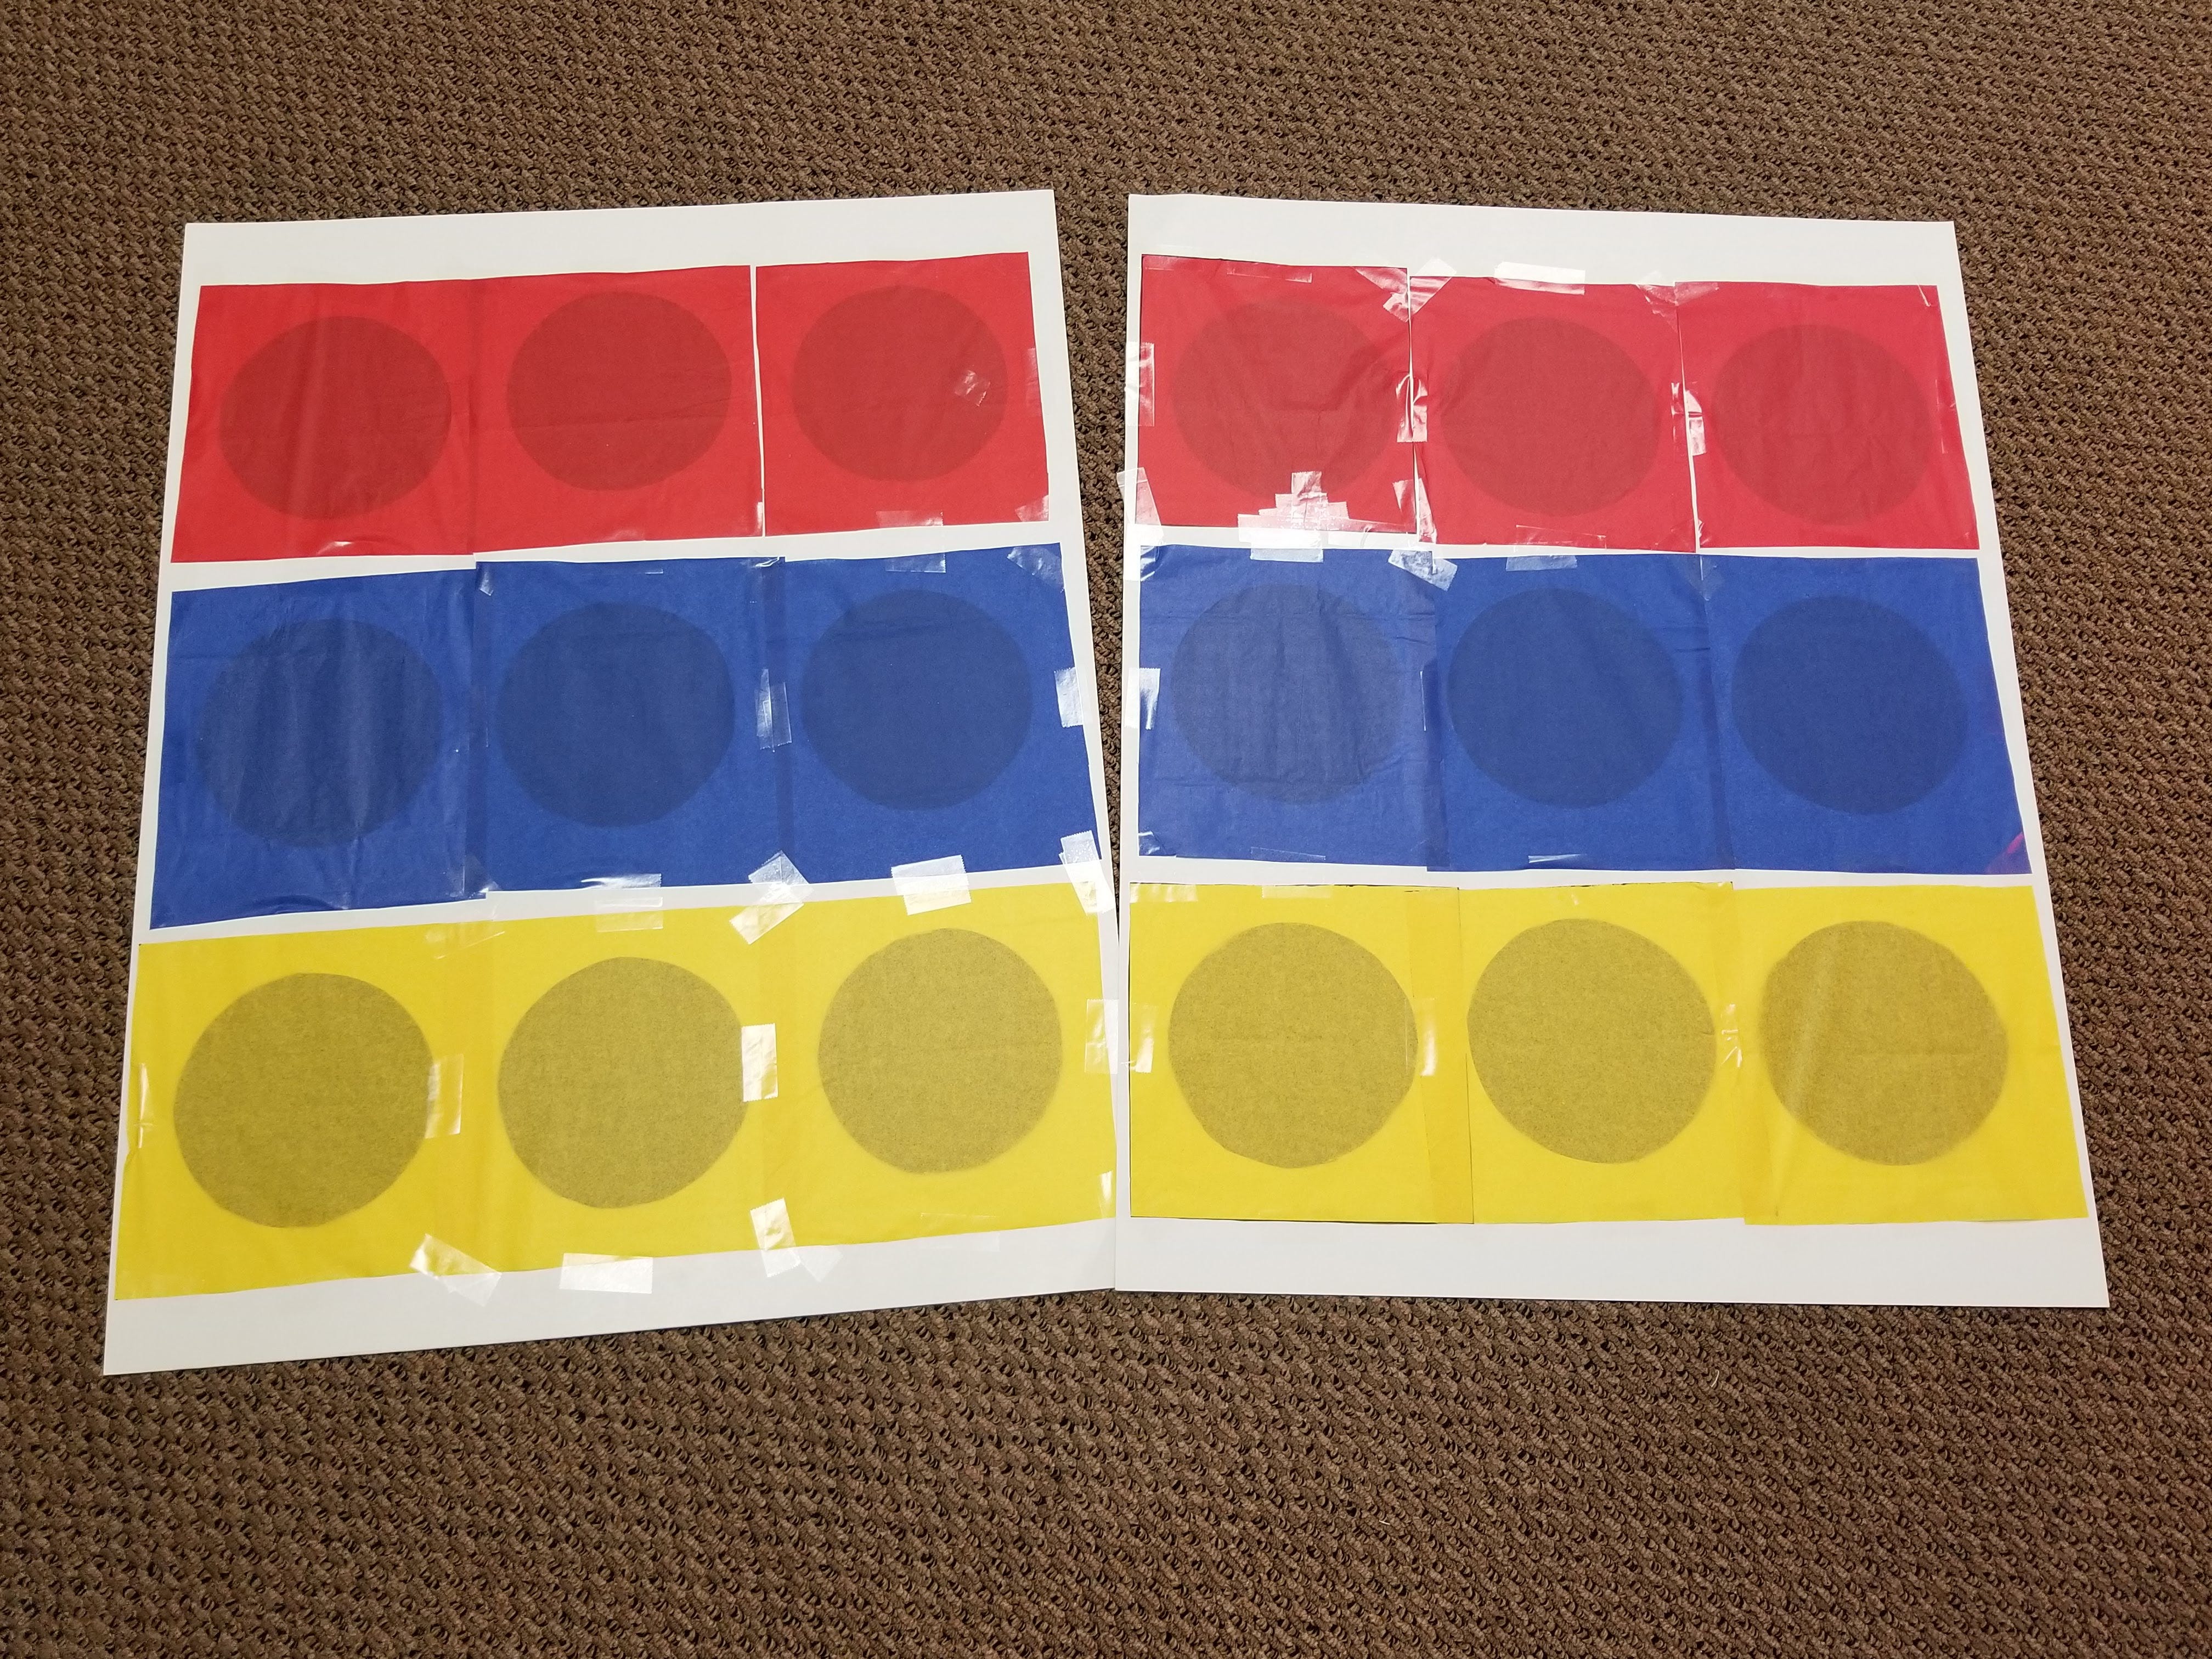
5. Now tape the tissue paper over one of your holes. Continue doing that until you’re done with that row of holes. Then move on to the next color, and do the same thing.
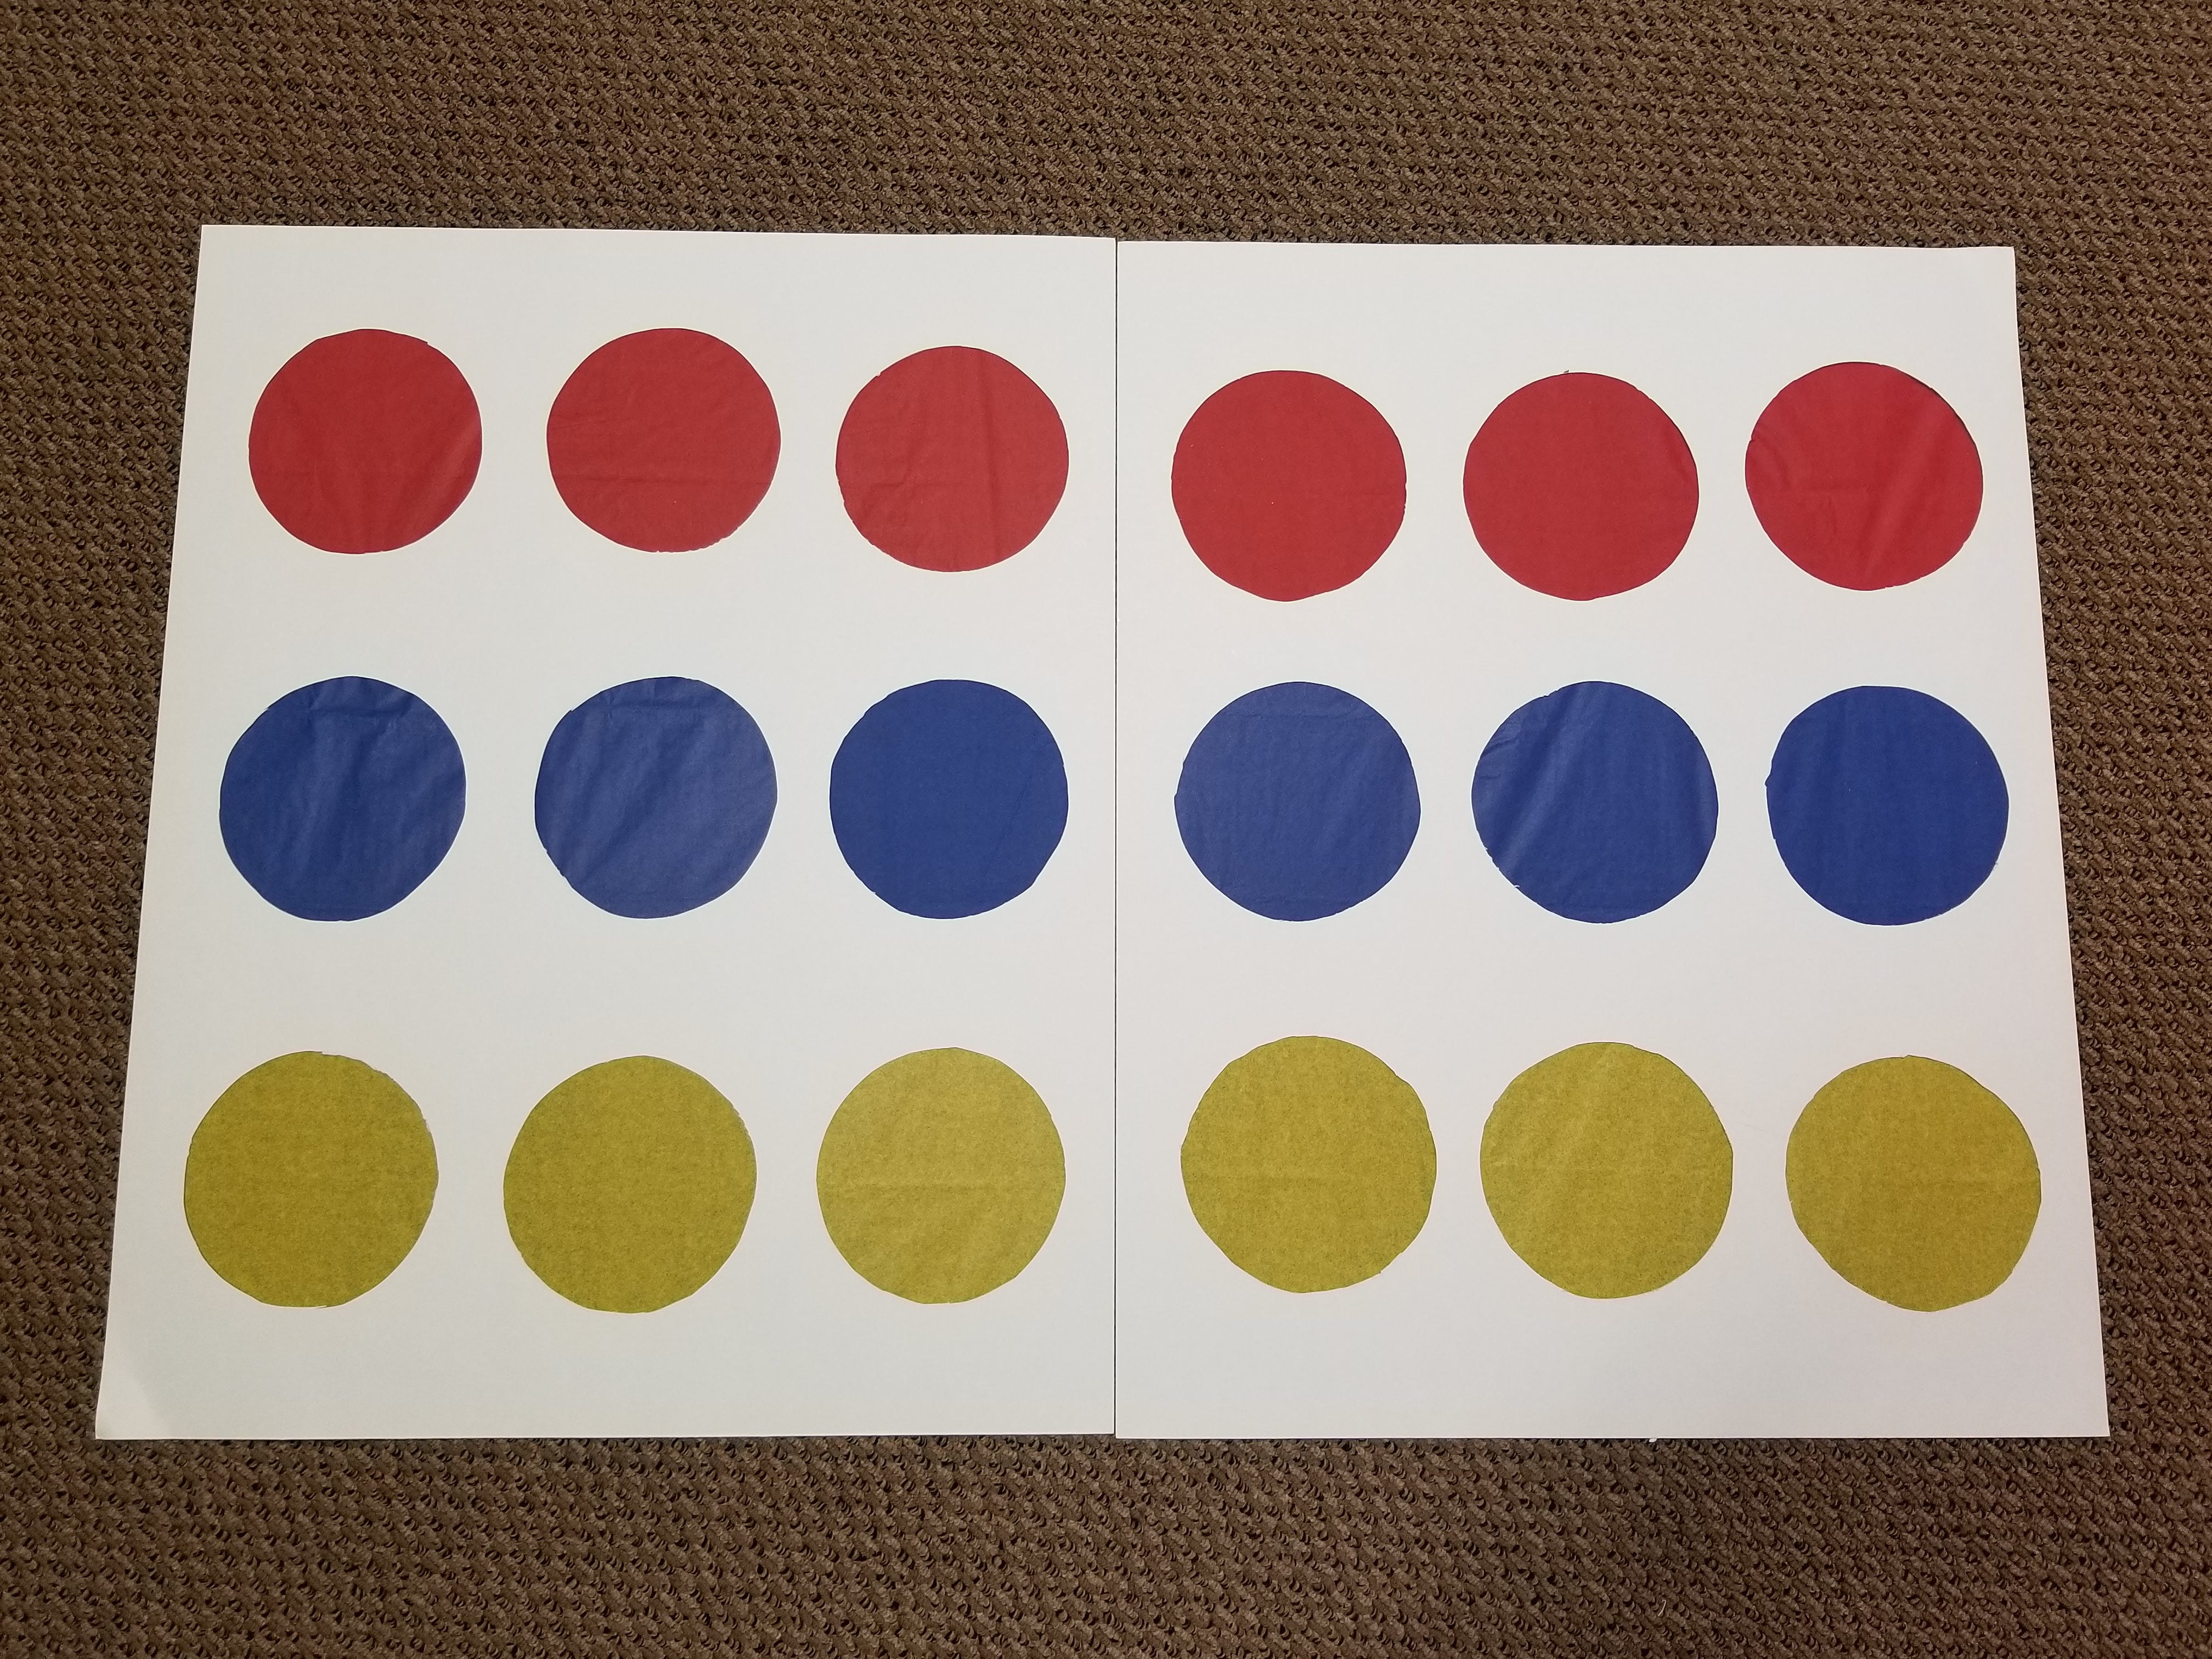
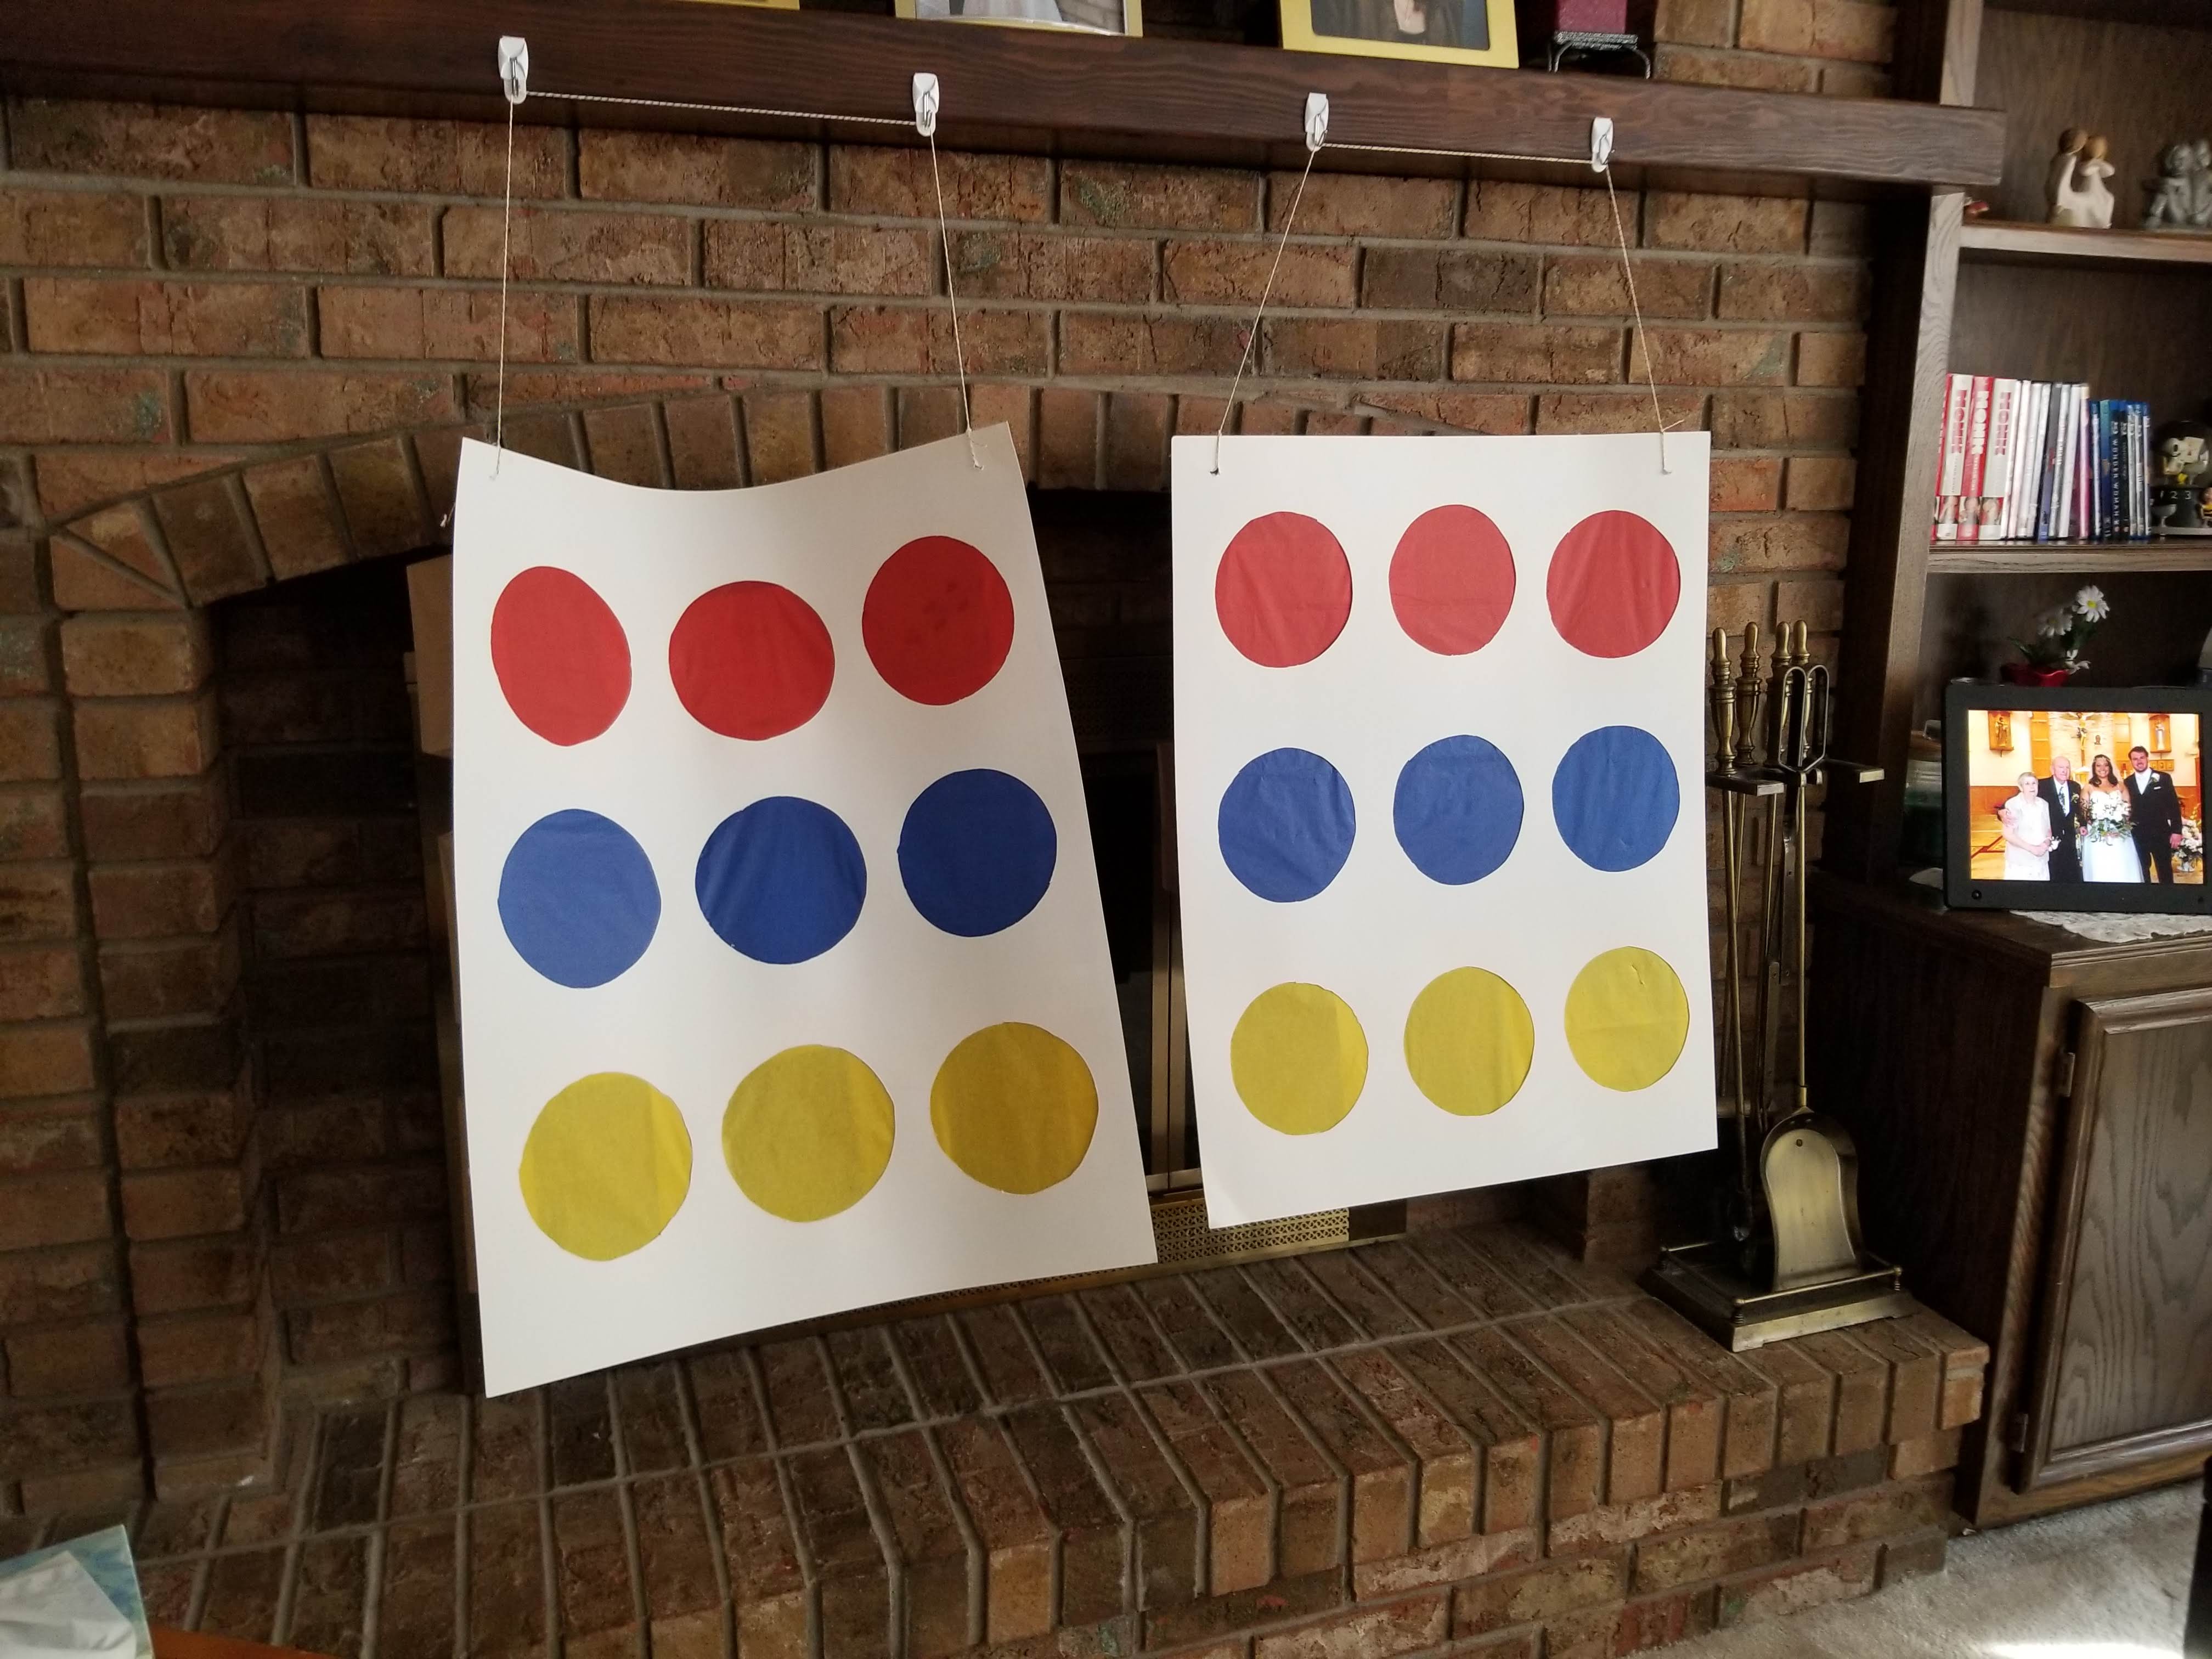
This is what the front of the board looks like!
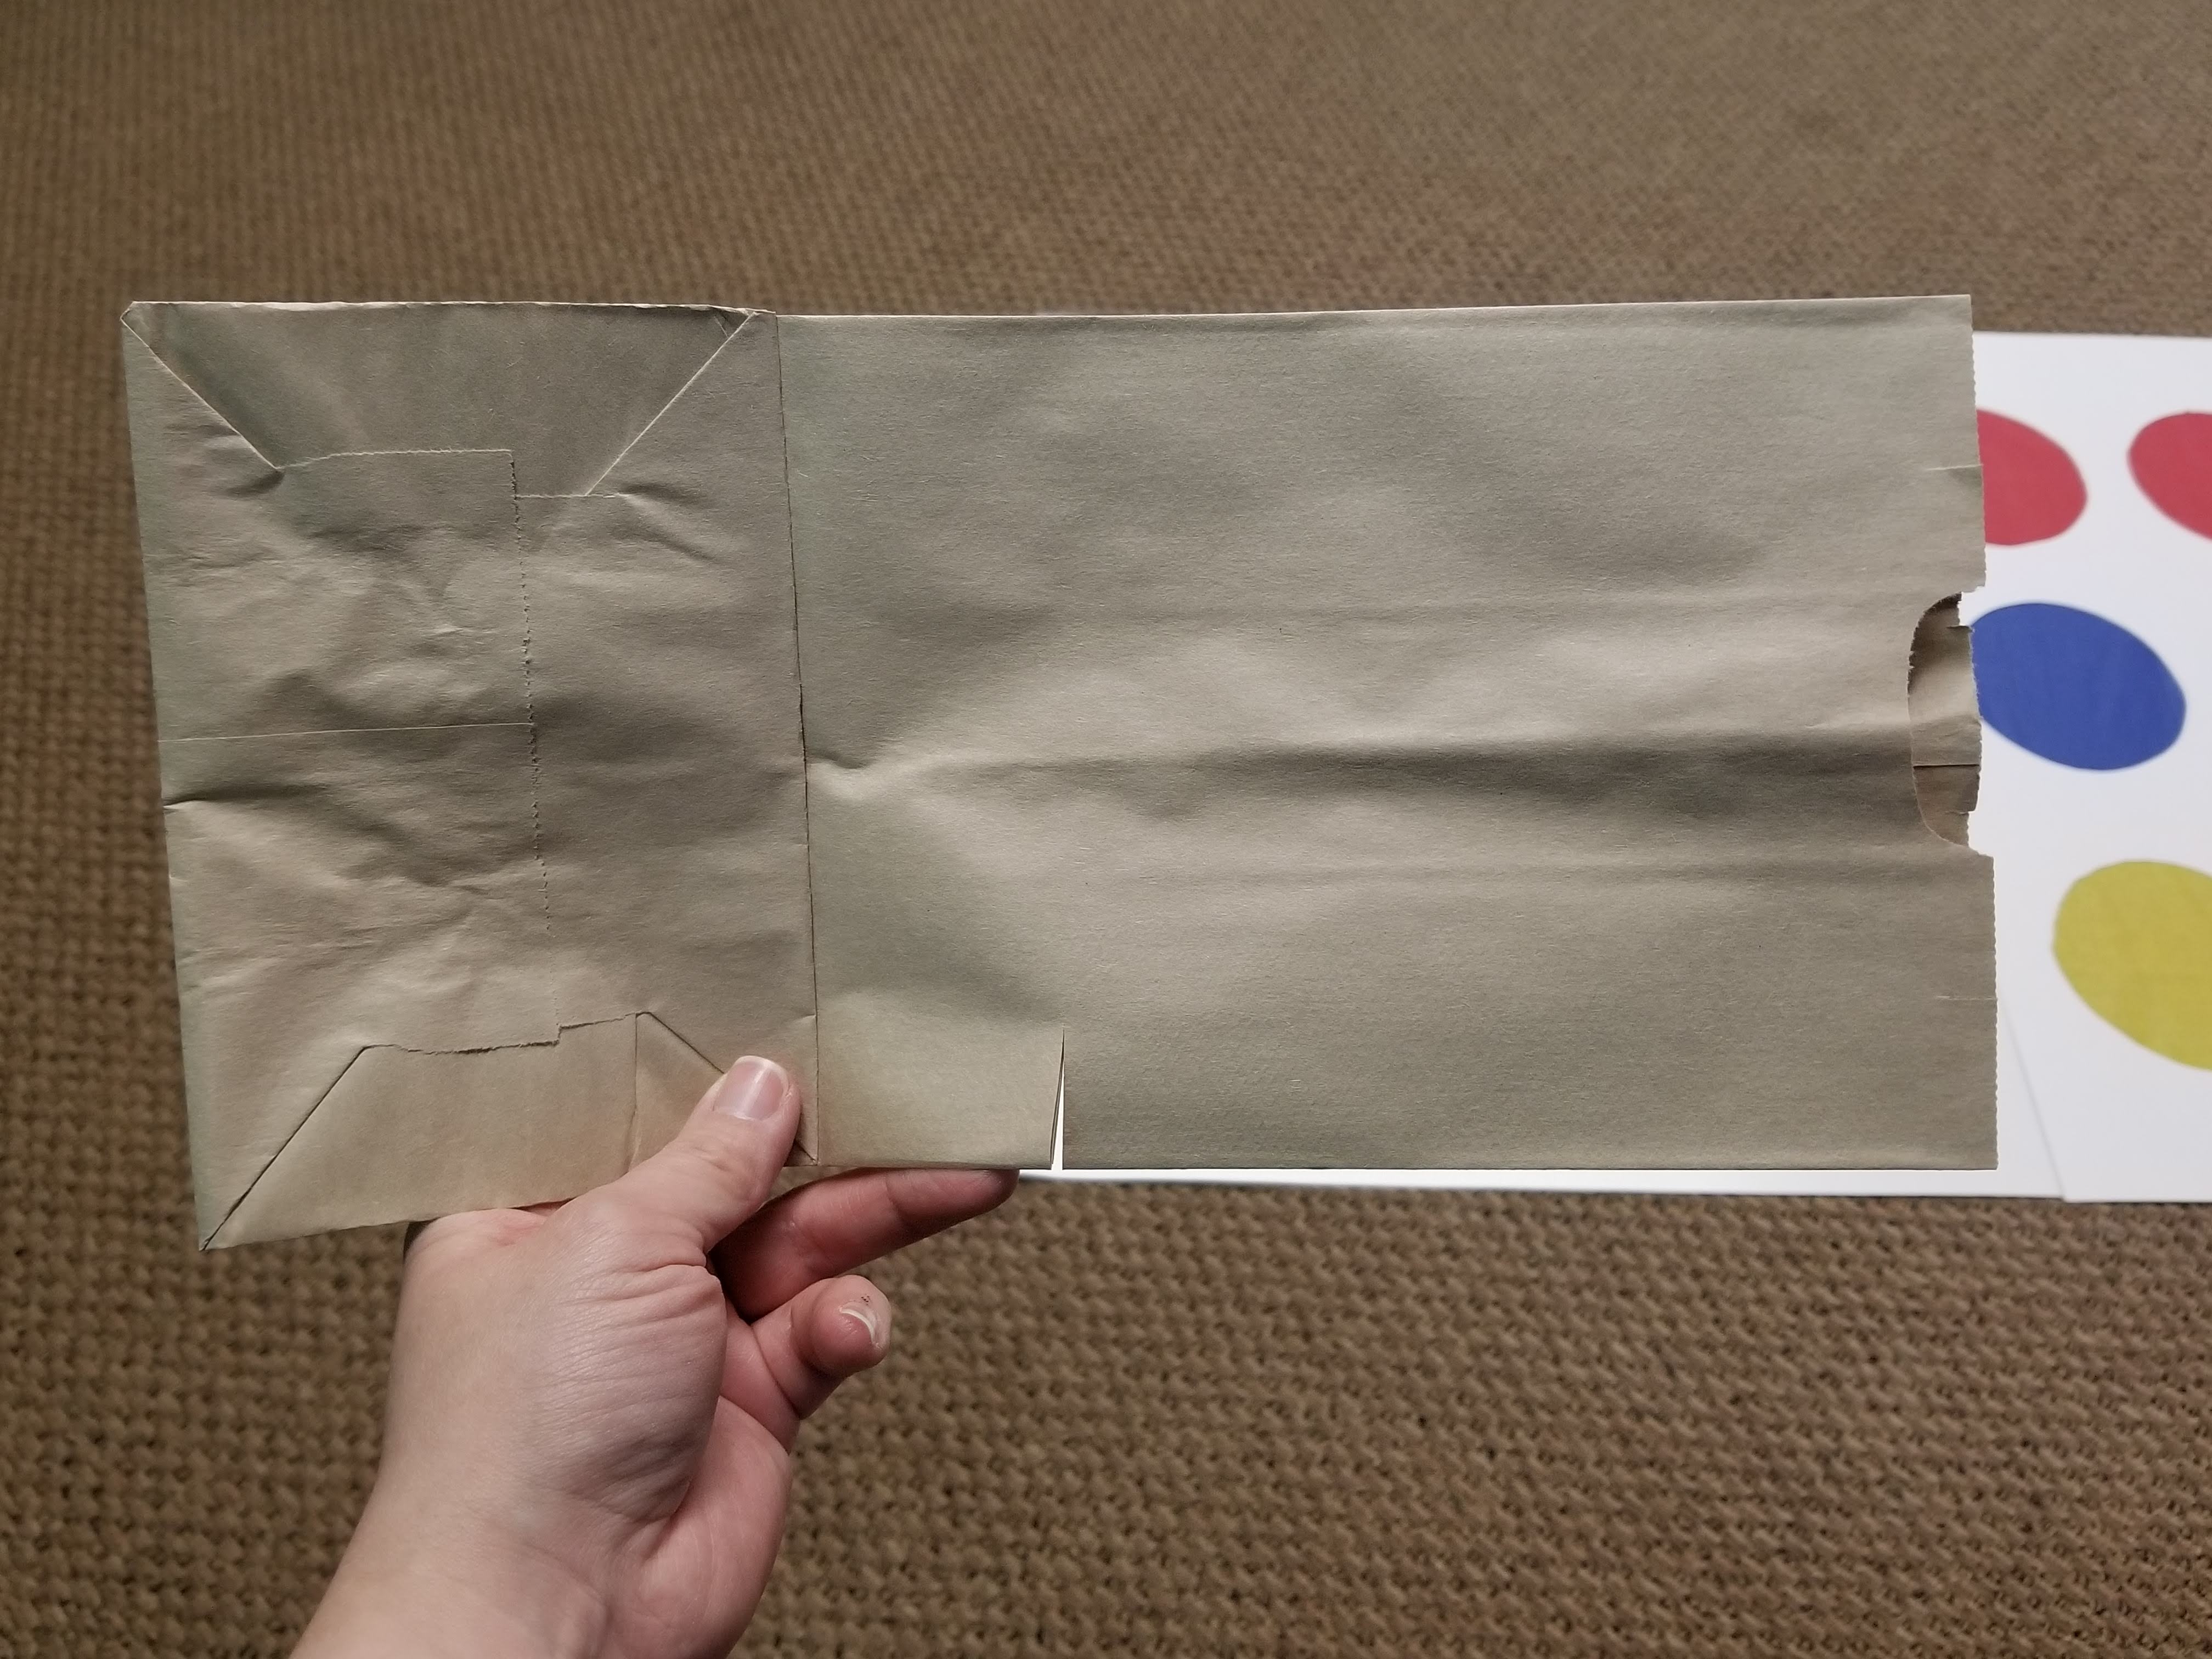
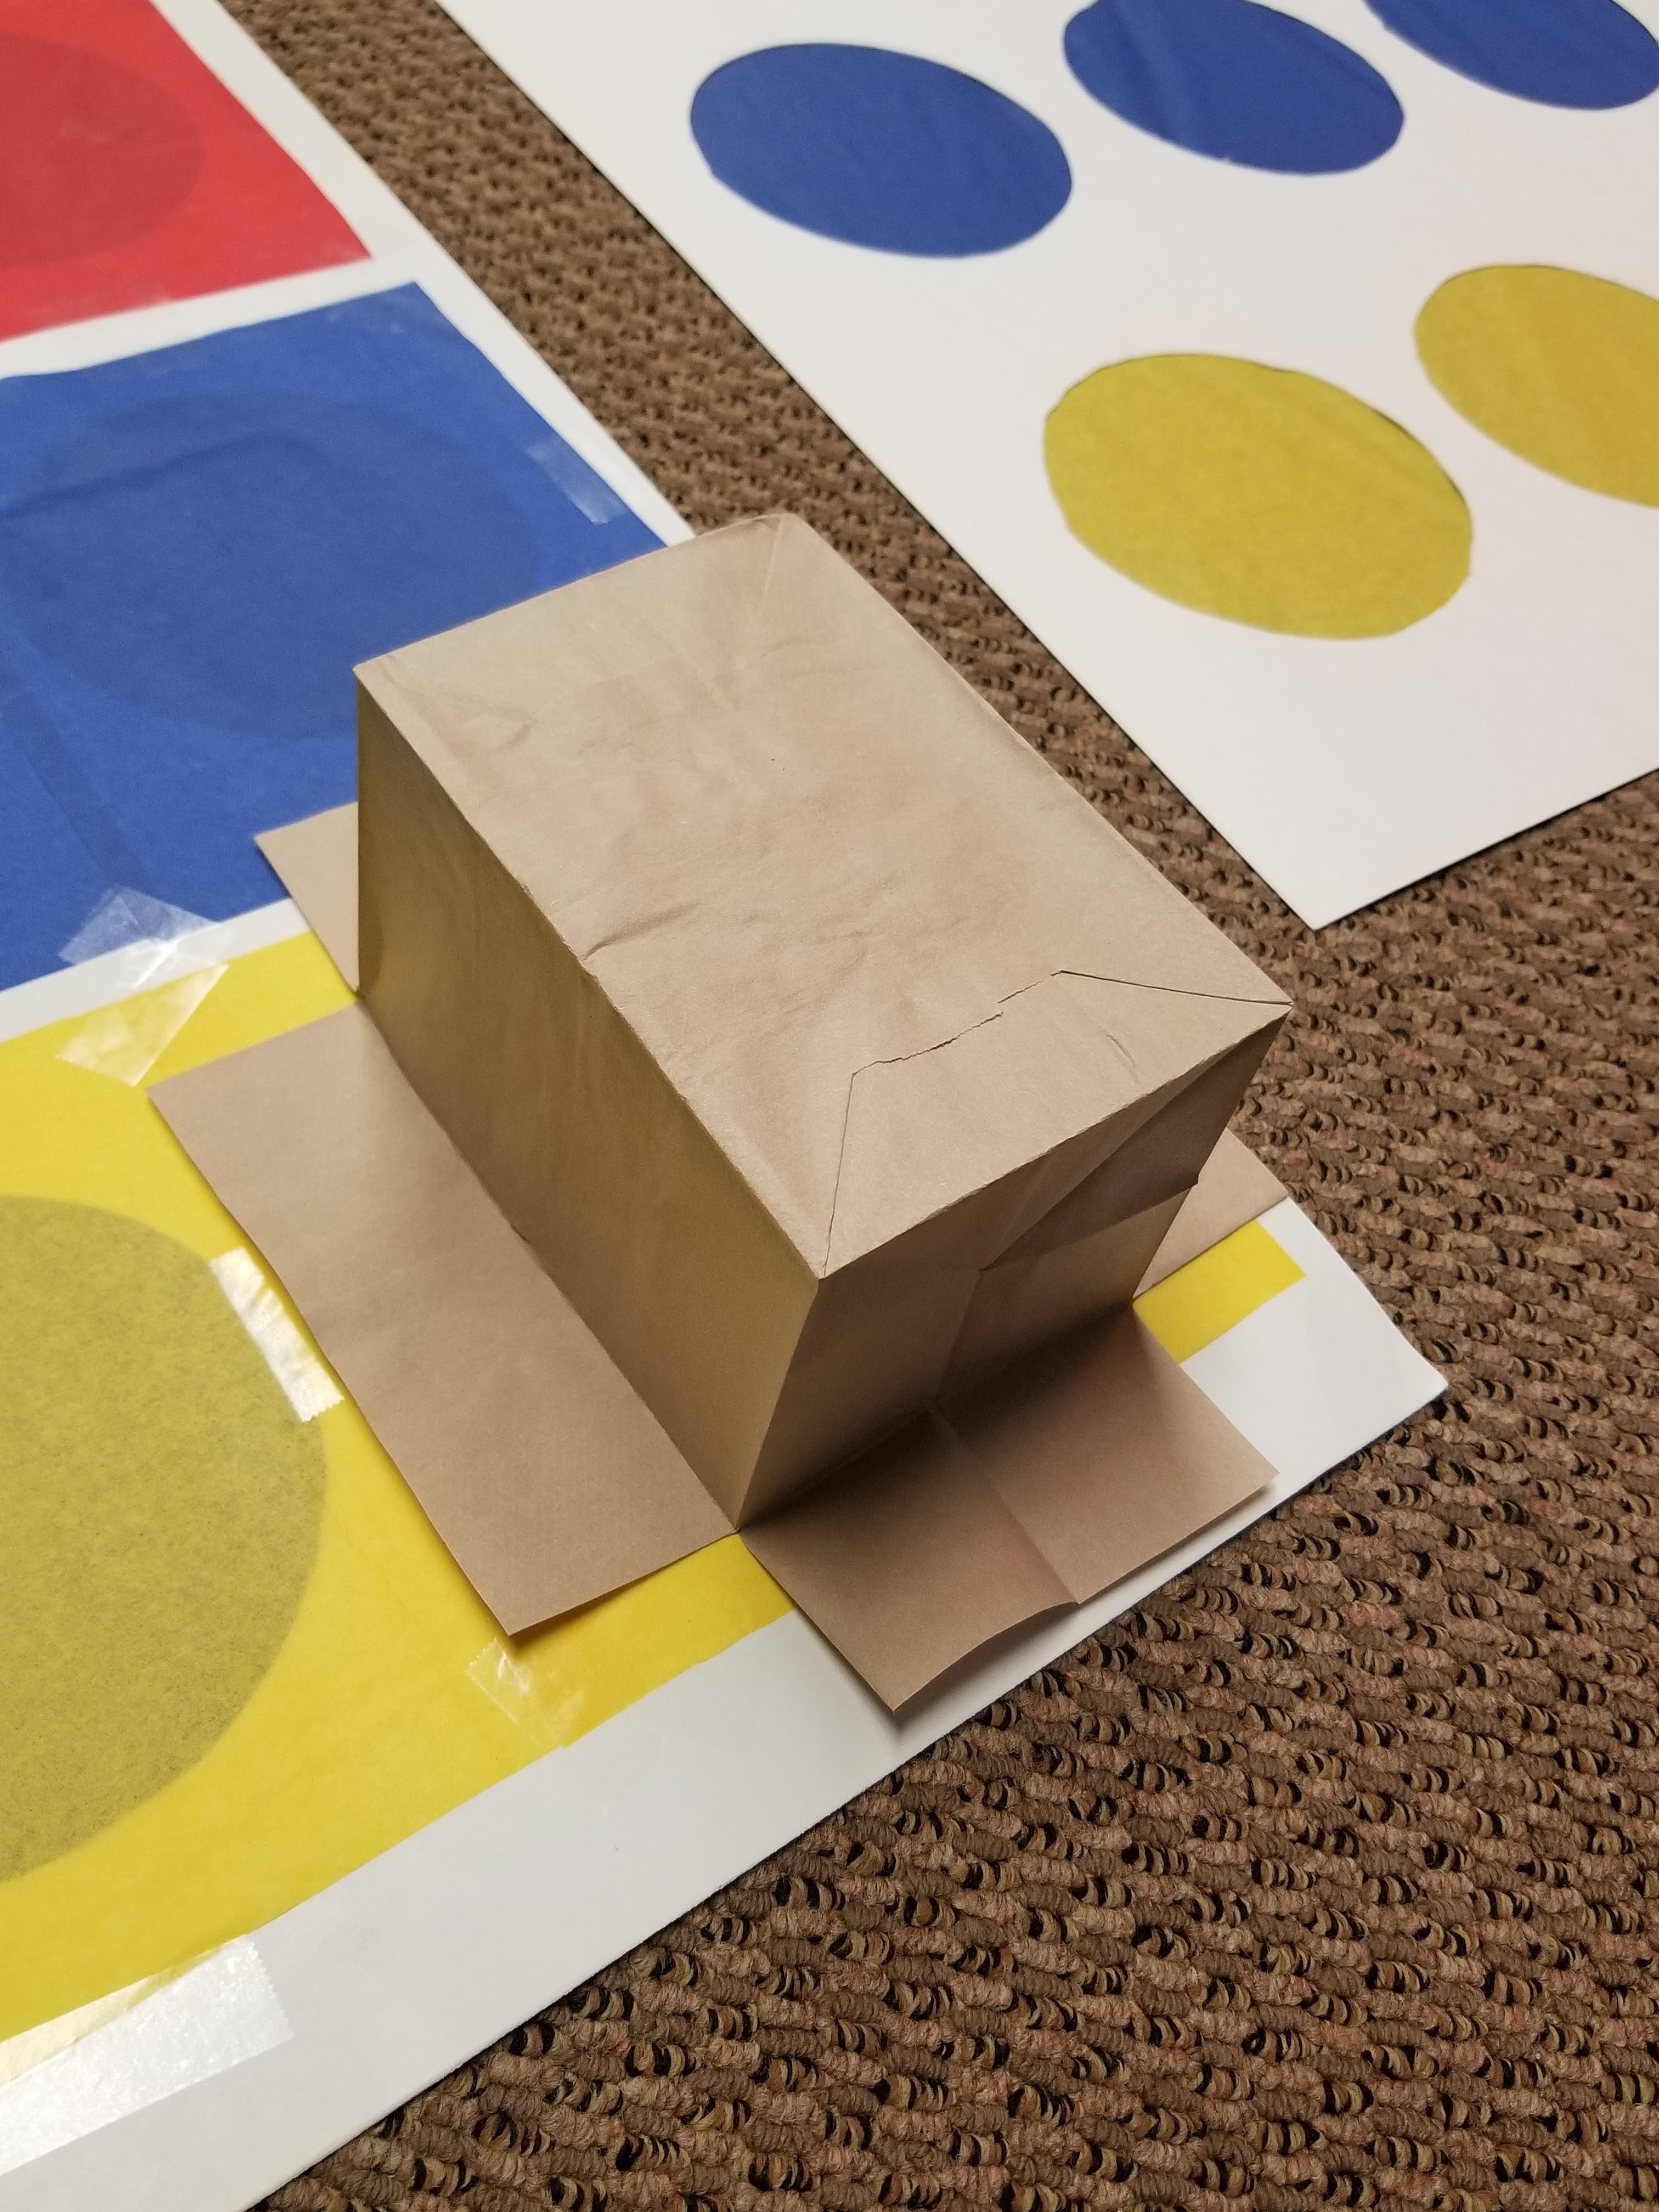
6. To hold the prizes in place, we’ll need to cut the paper bags. Start by taking off some of the length at top. (Note: for longer prizes, open up the bag and put the prize in to see how much you should take off. You’ll want to leave an inch or so extra length from the end of the prize so the bag can be taped to the board.)
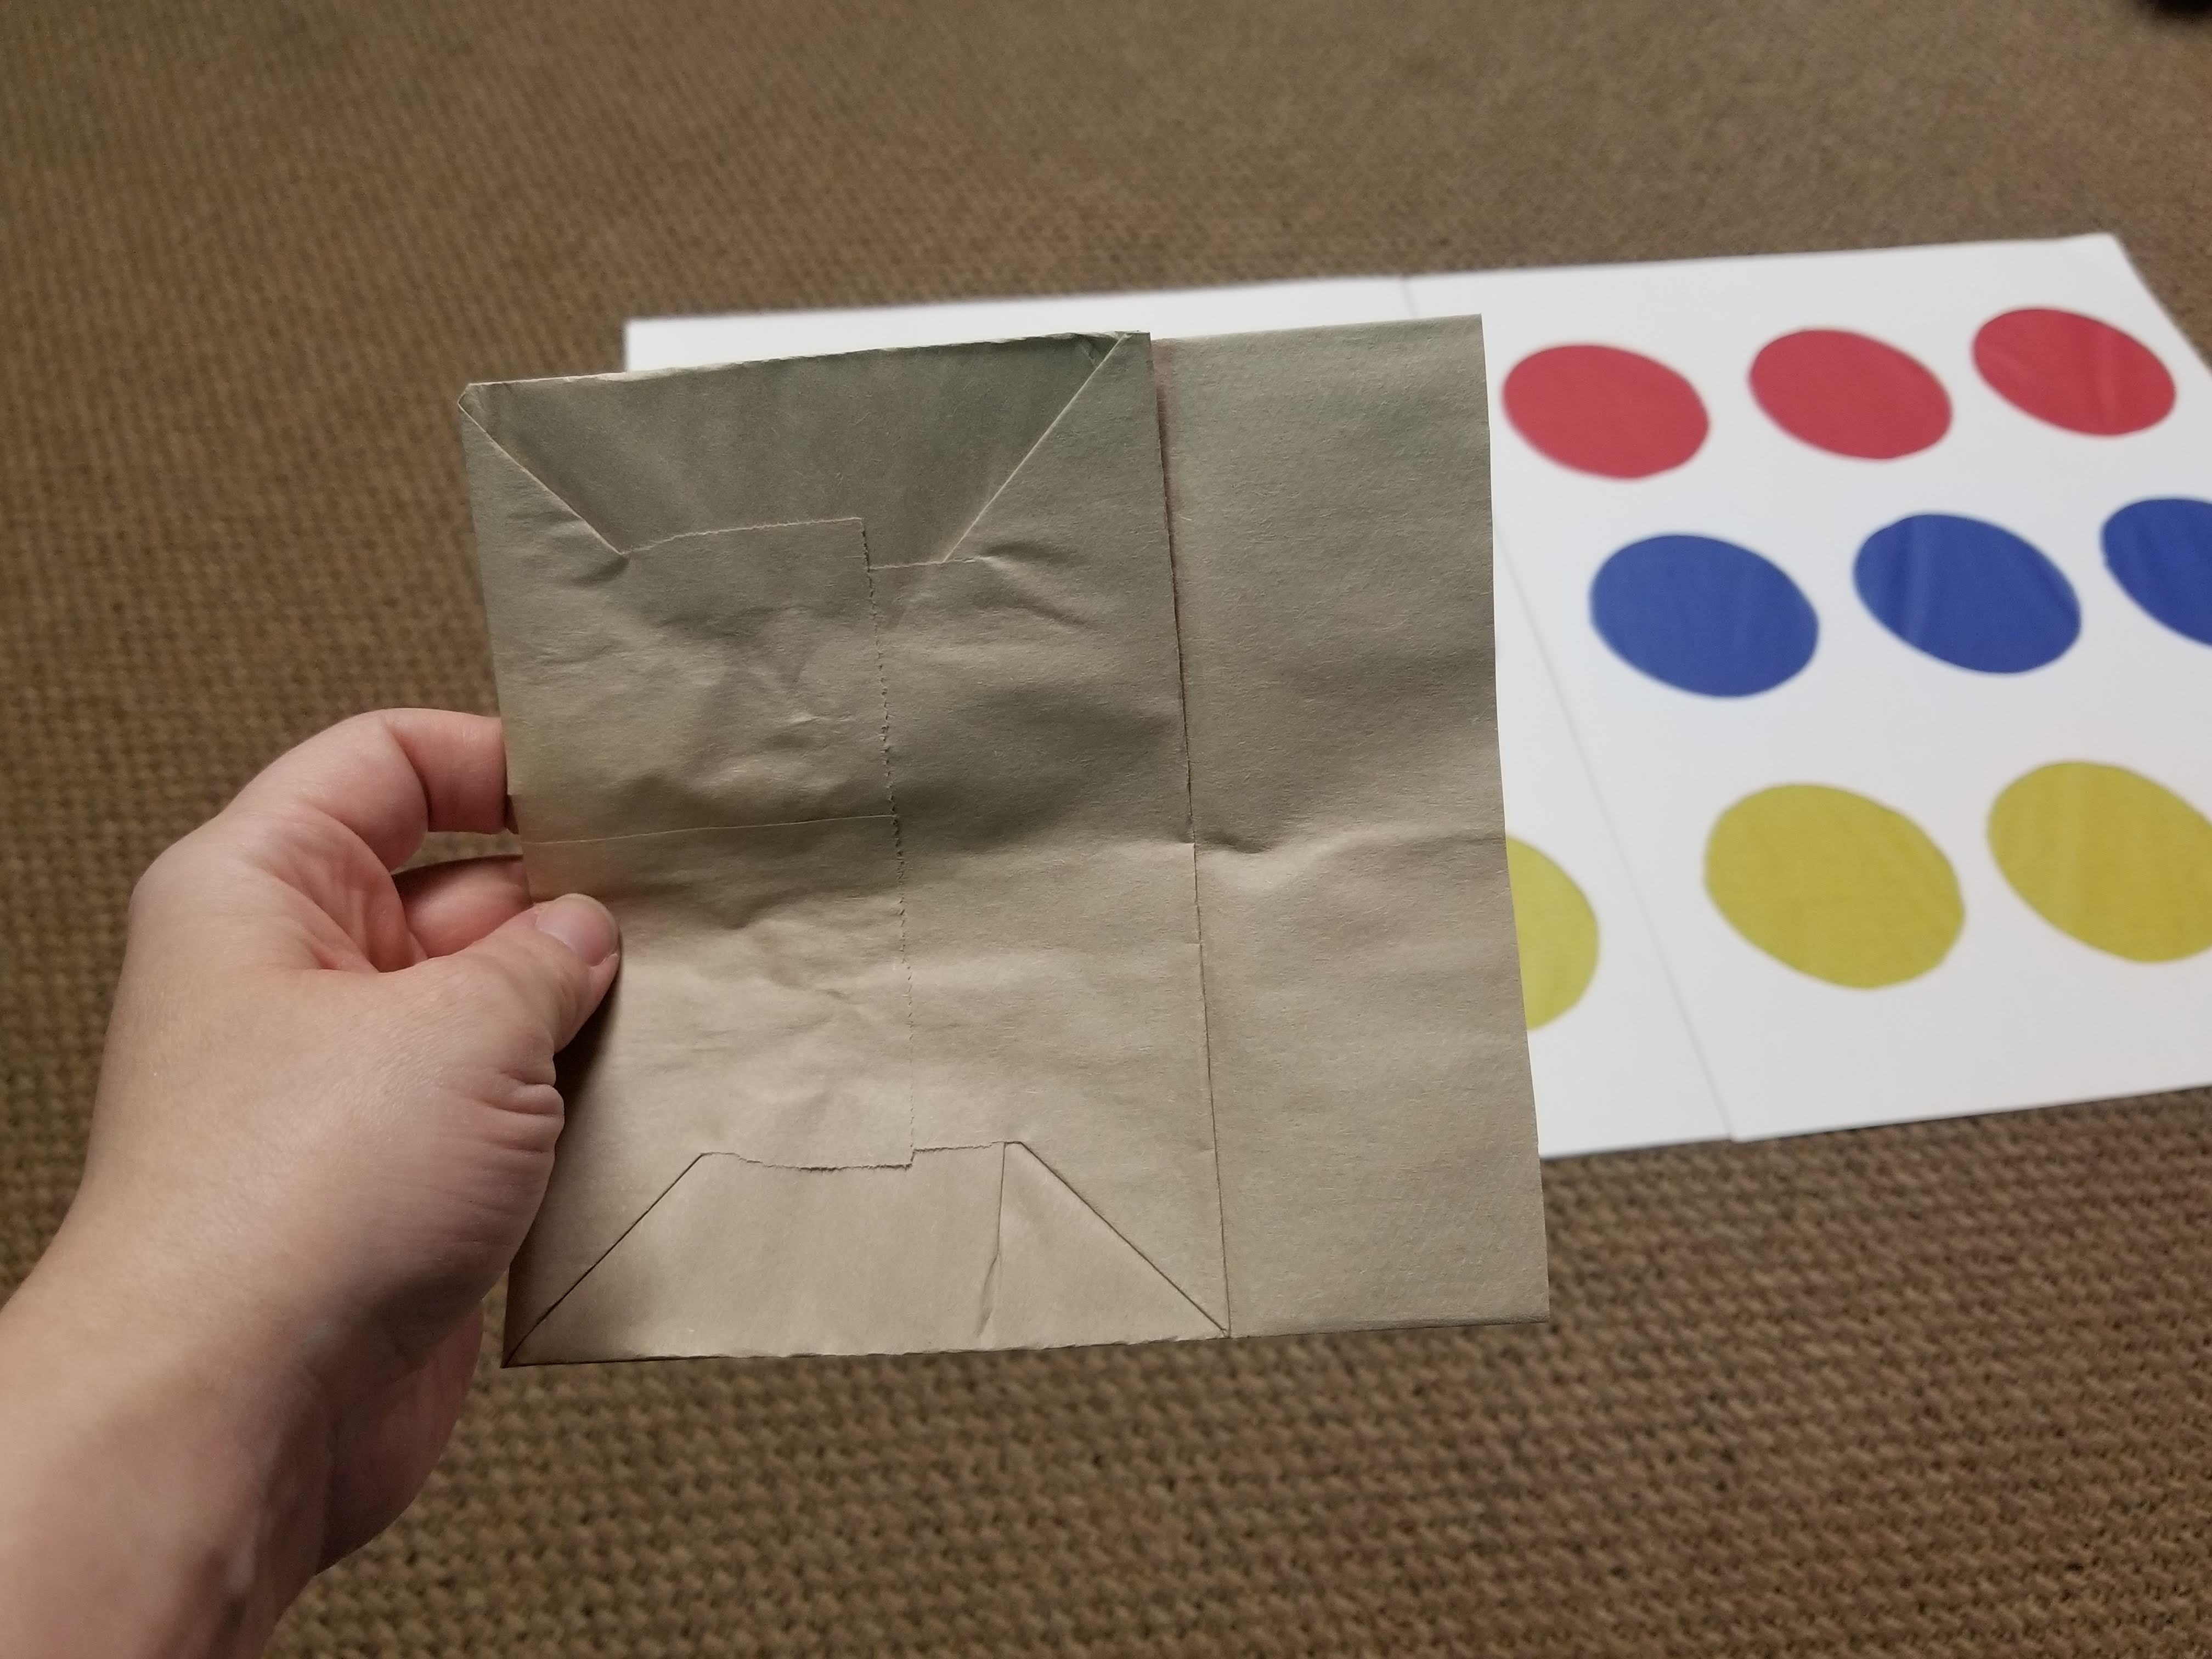
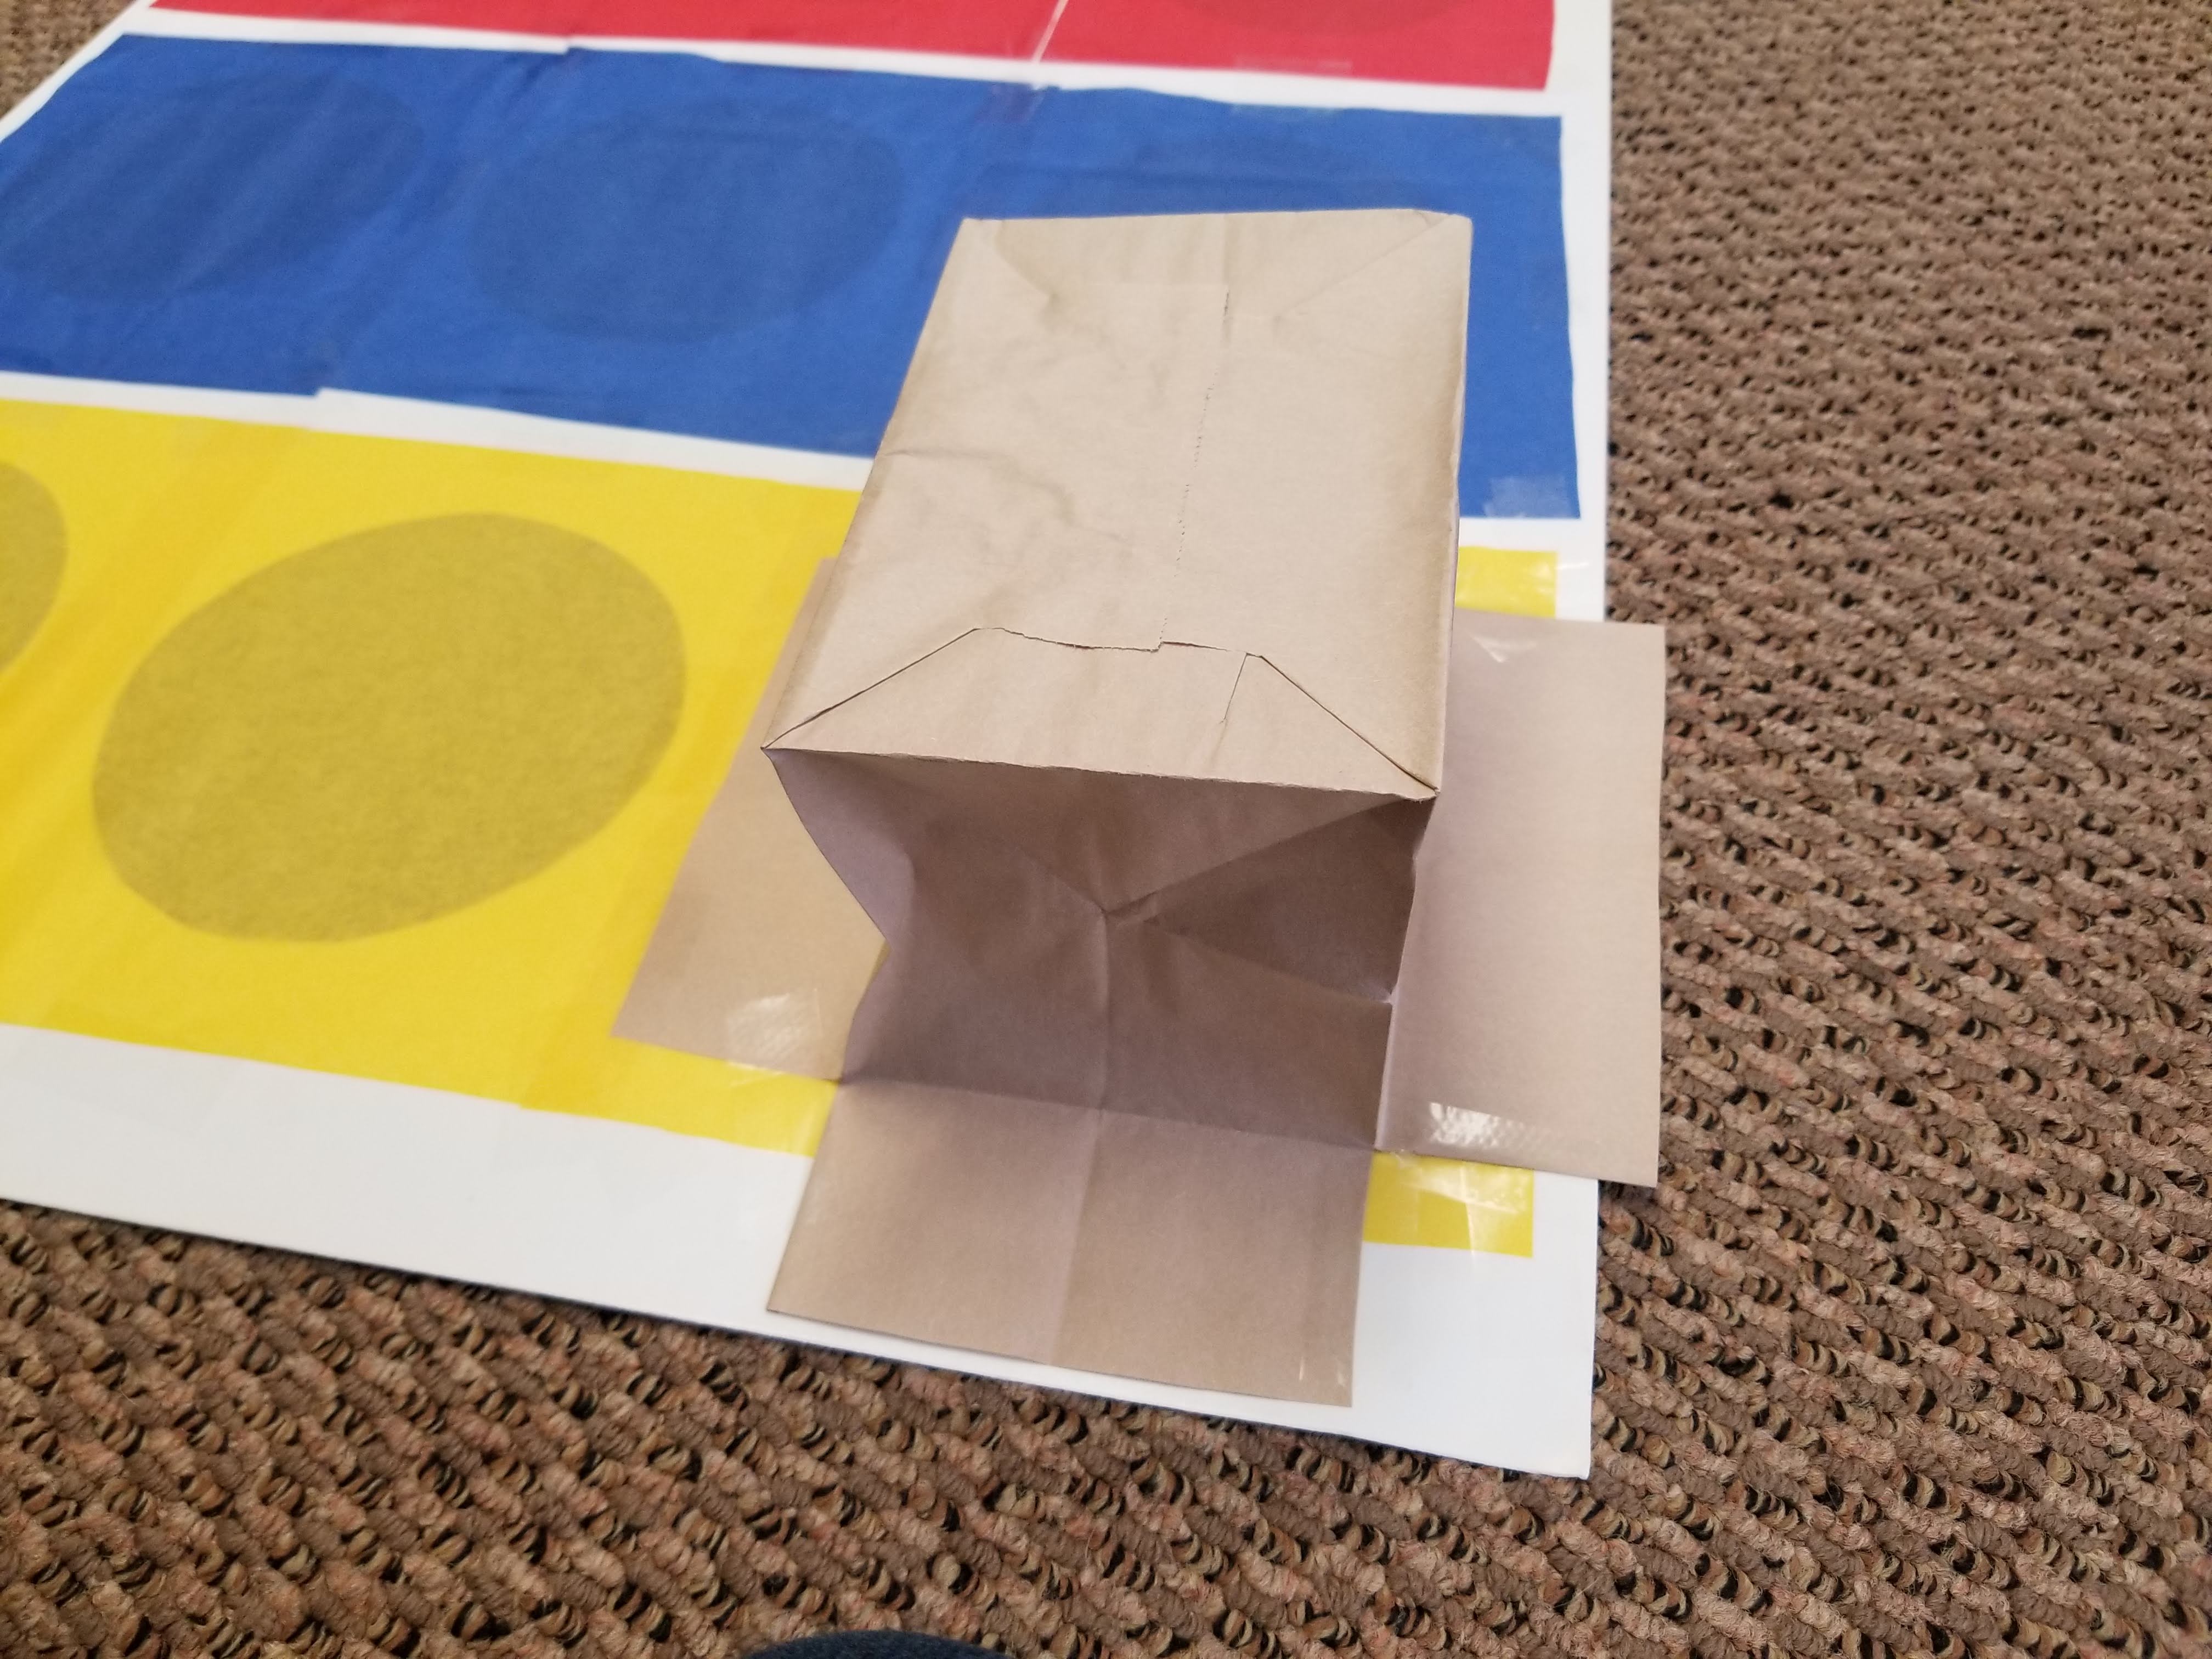
7. Now cut an inch or so along the folds of each of the 4 corners of the bag.

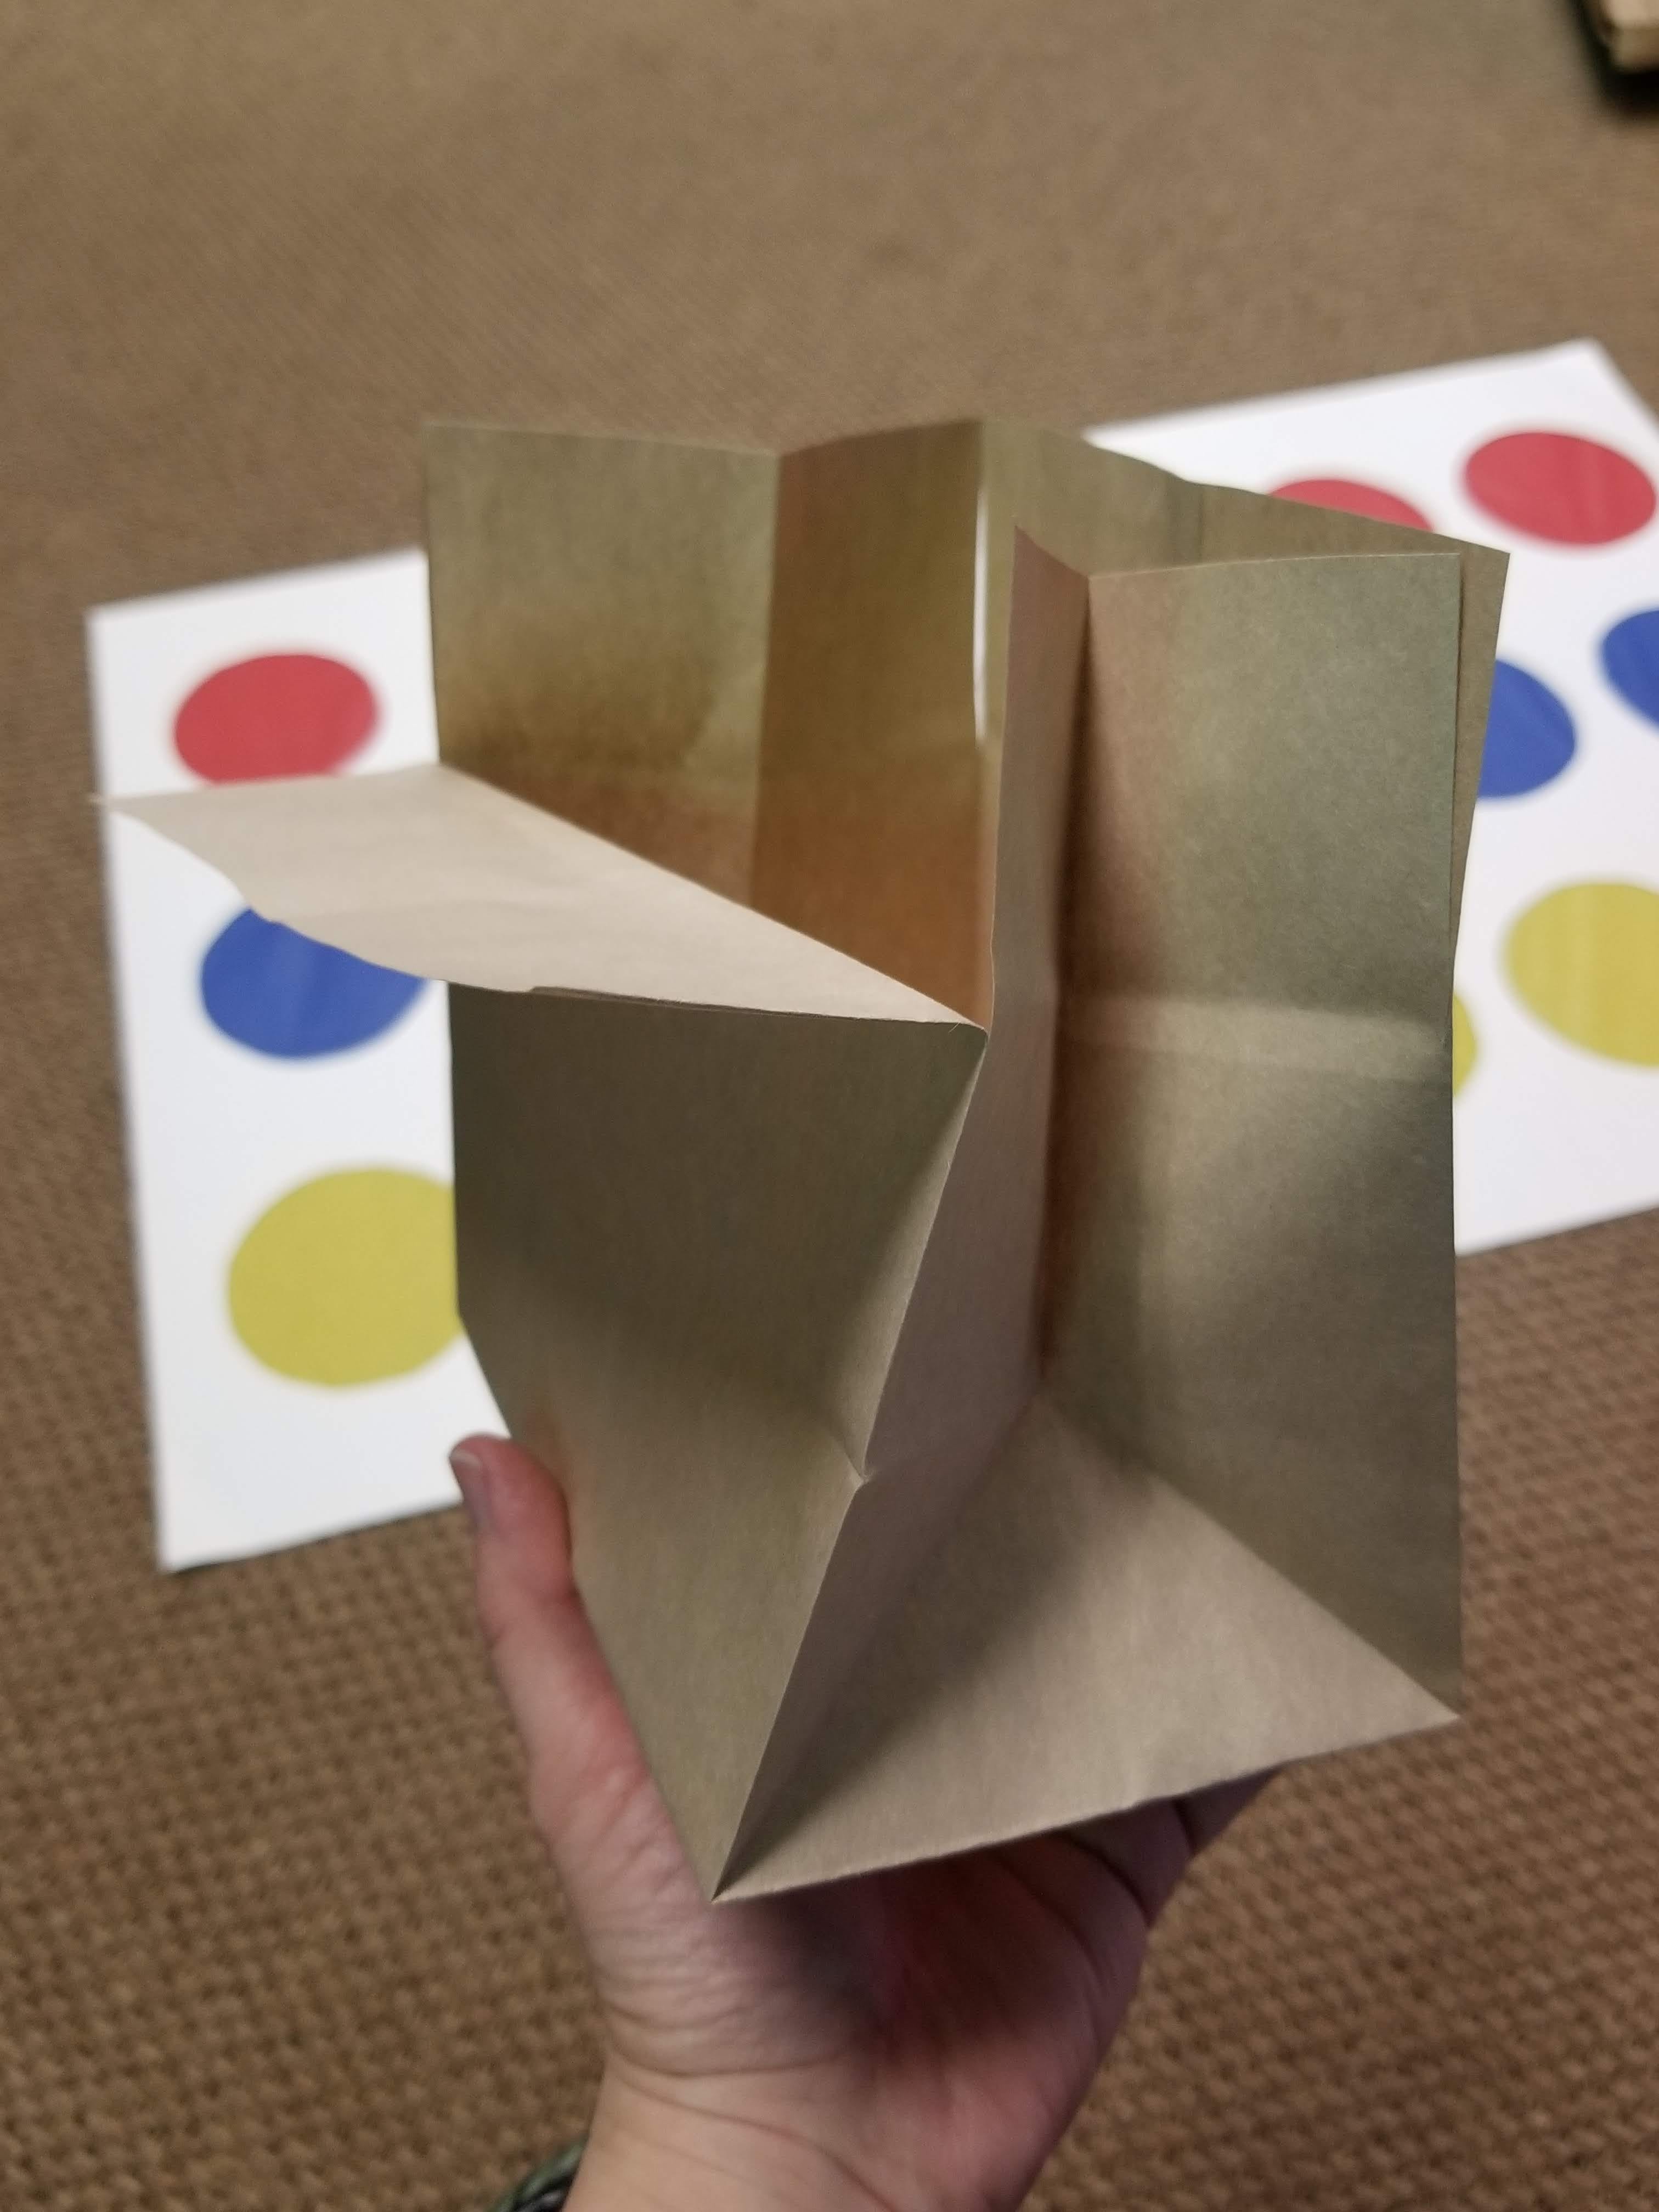
8. Once all 4 corners are cut, fold the sides over.
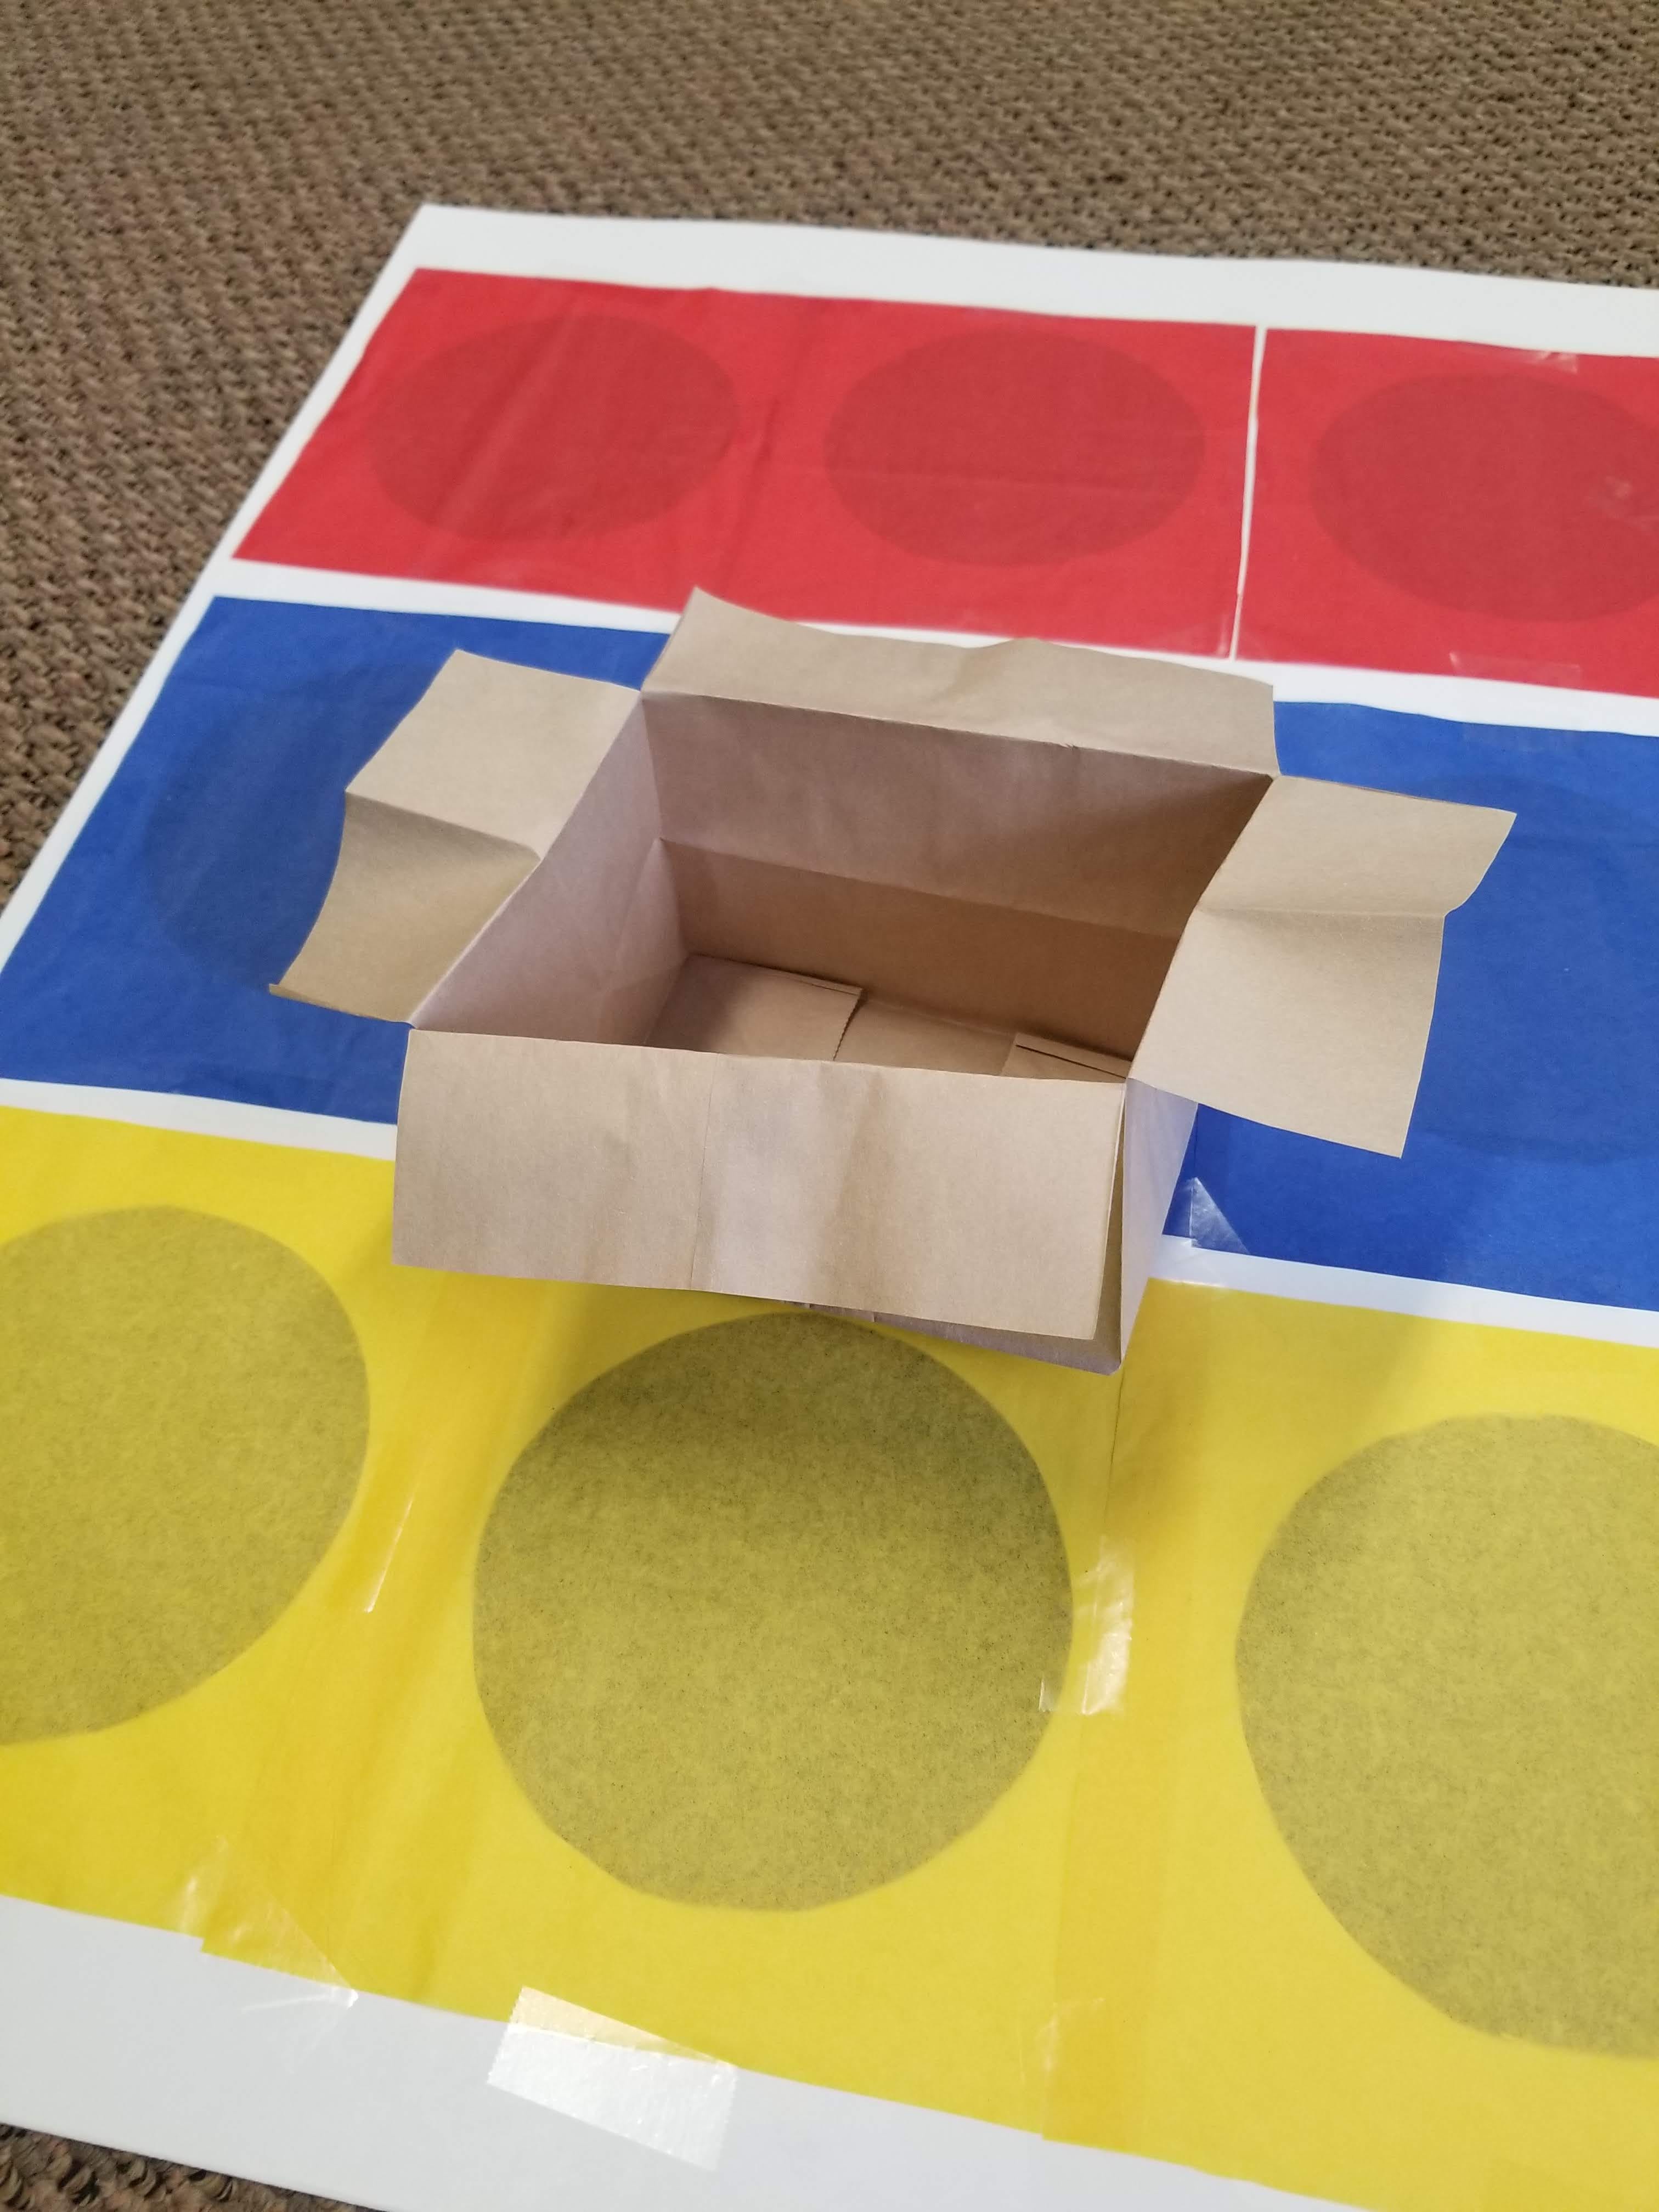
9. Take one of your prizes and place it in the center of one of your tissue paper squares.

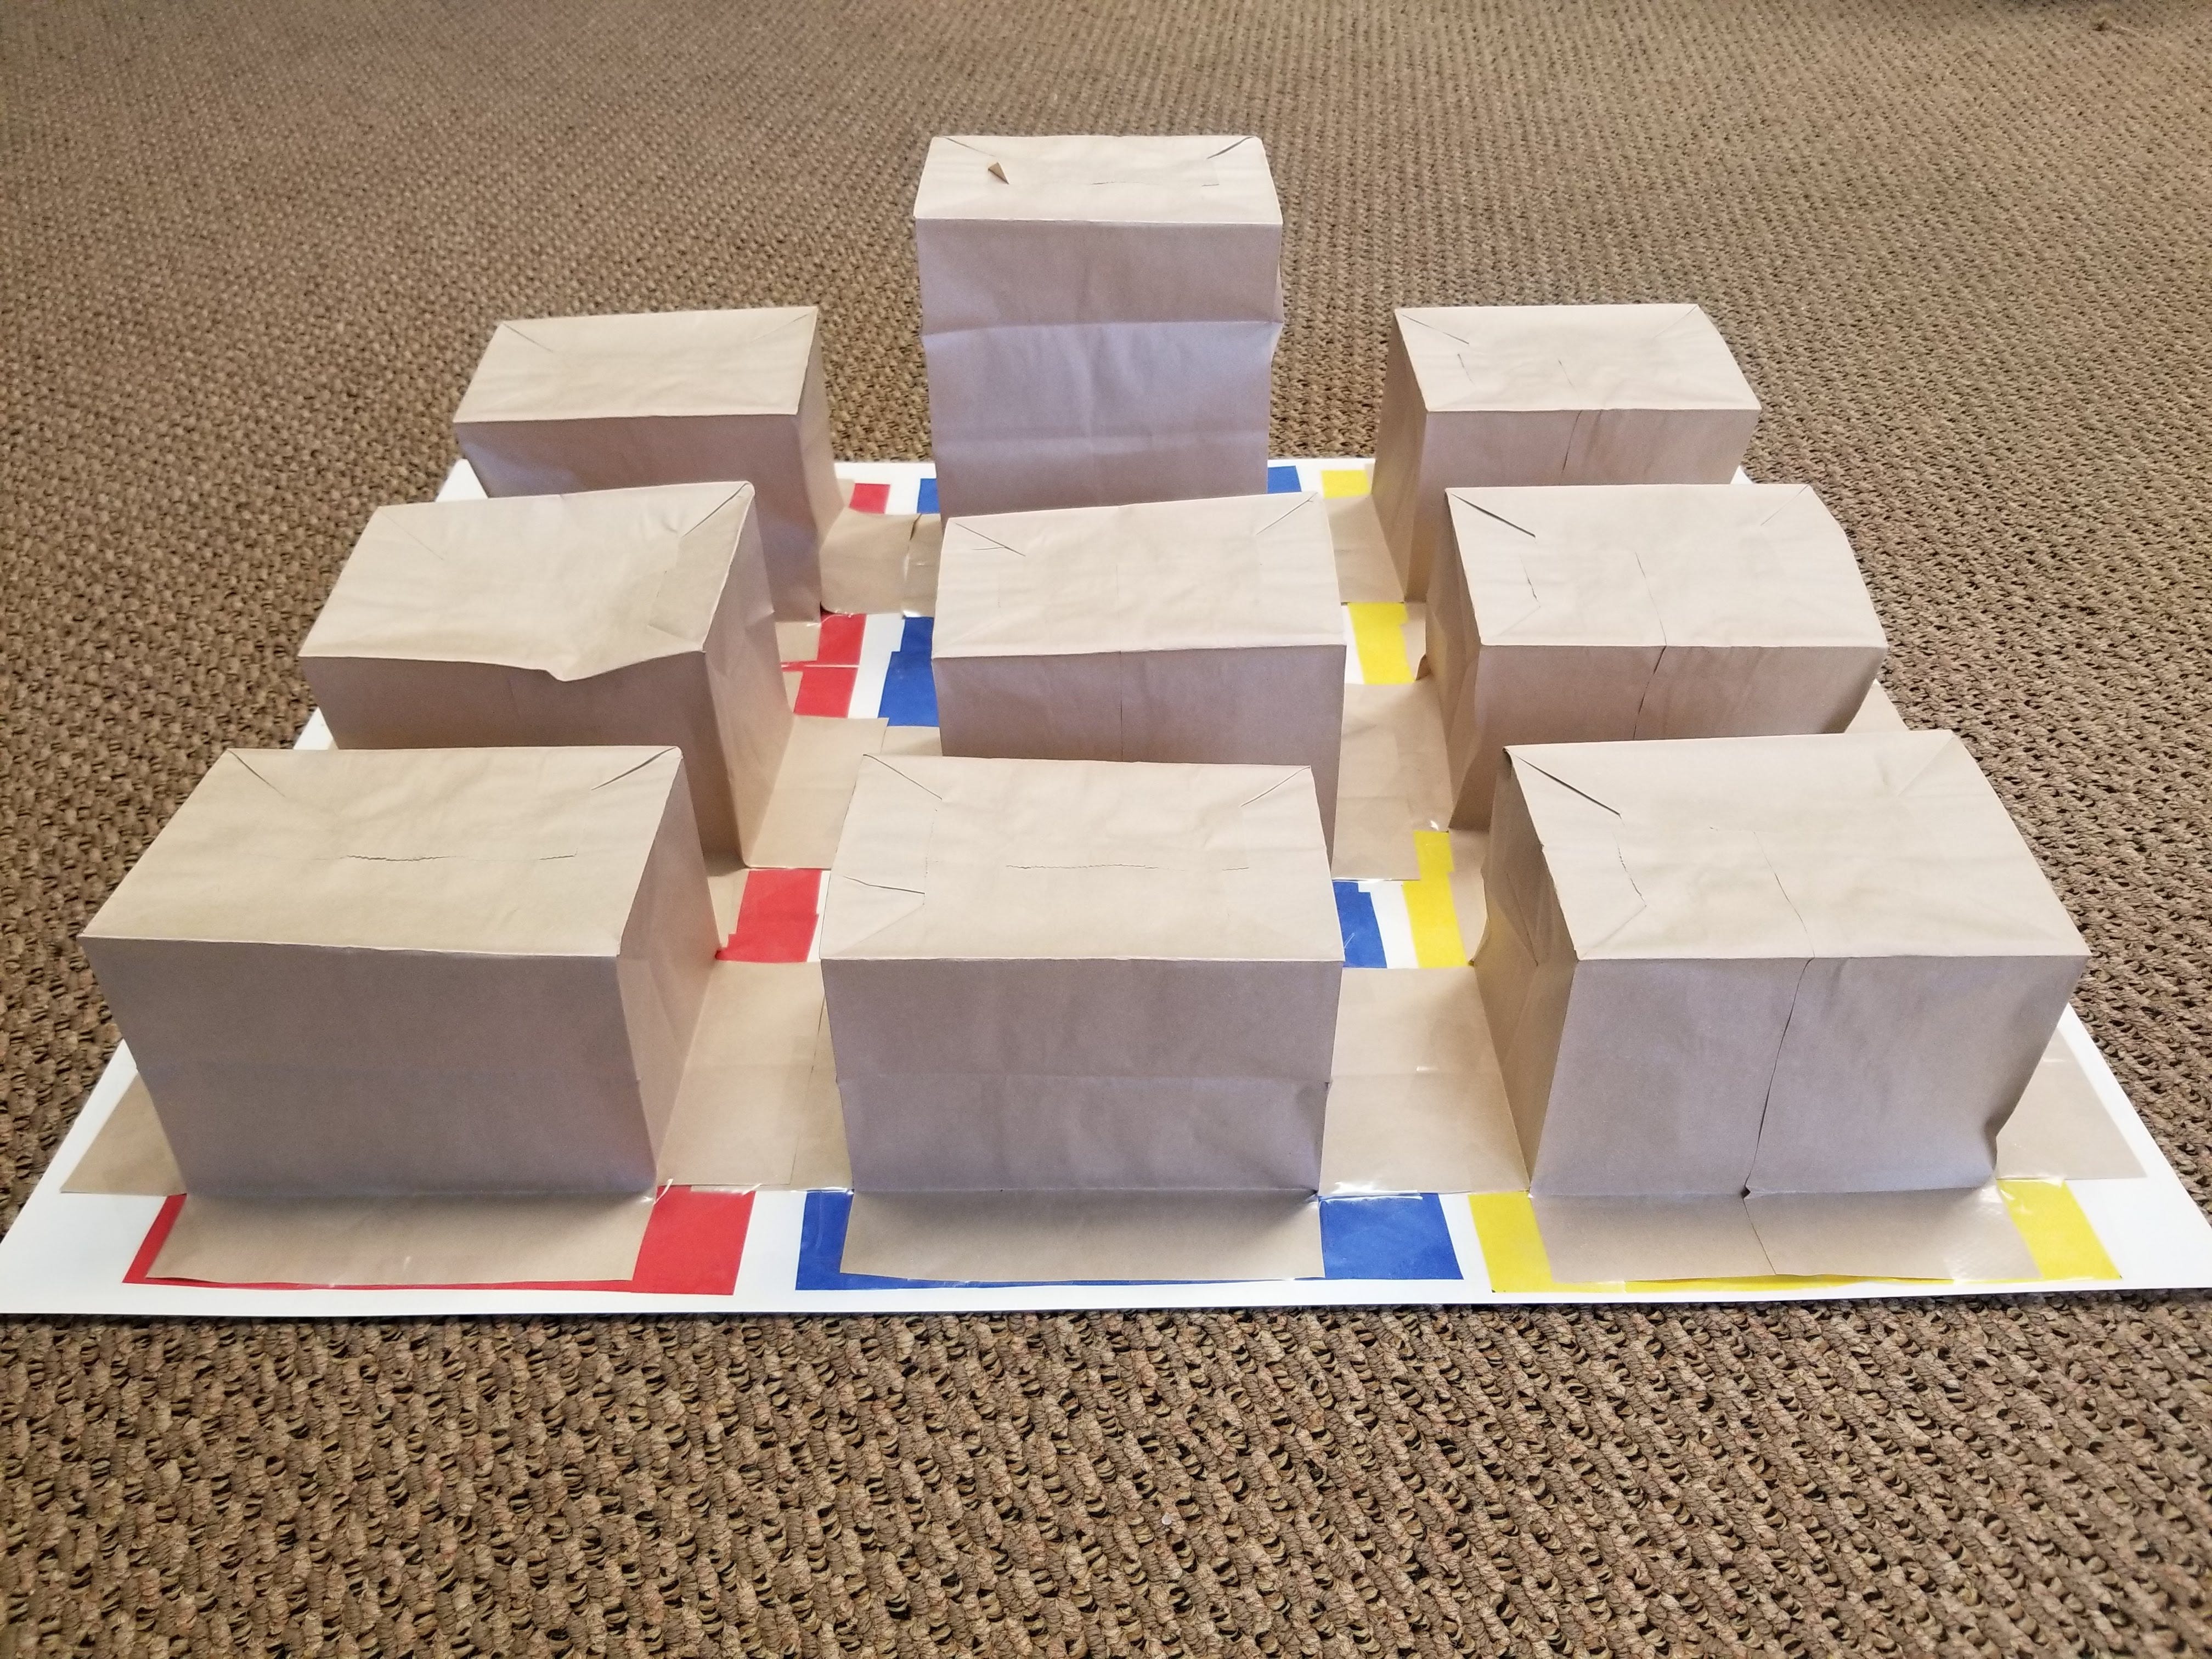
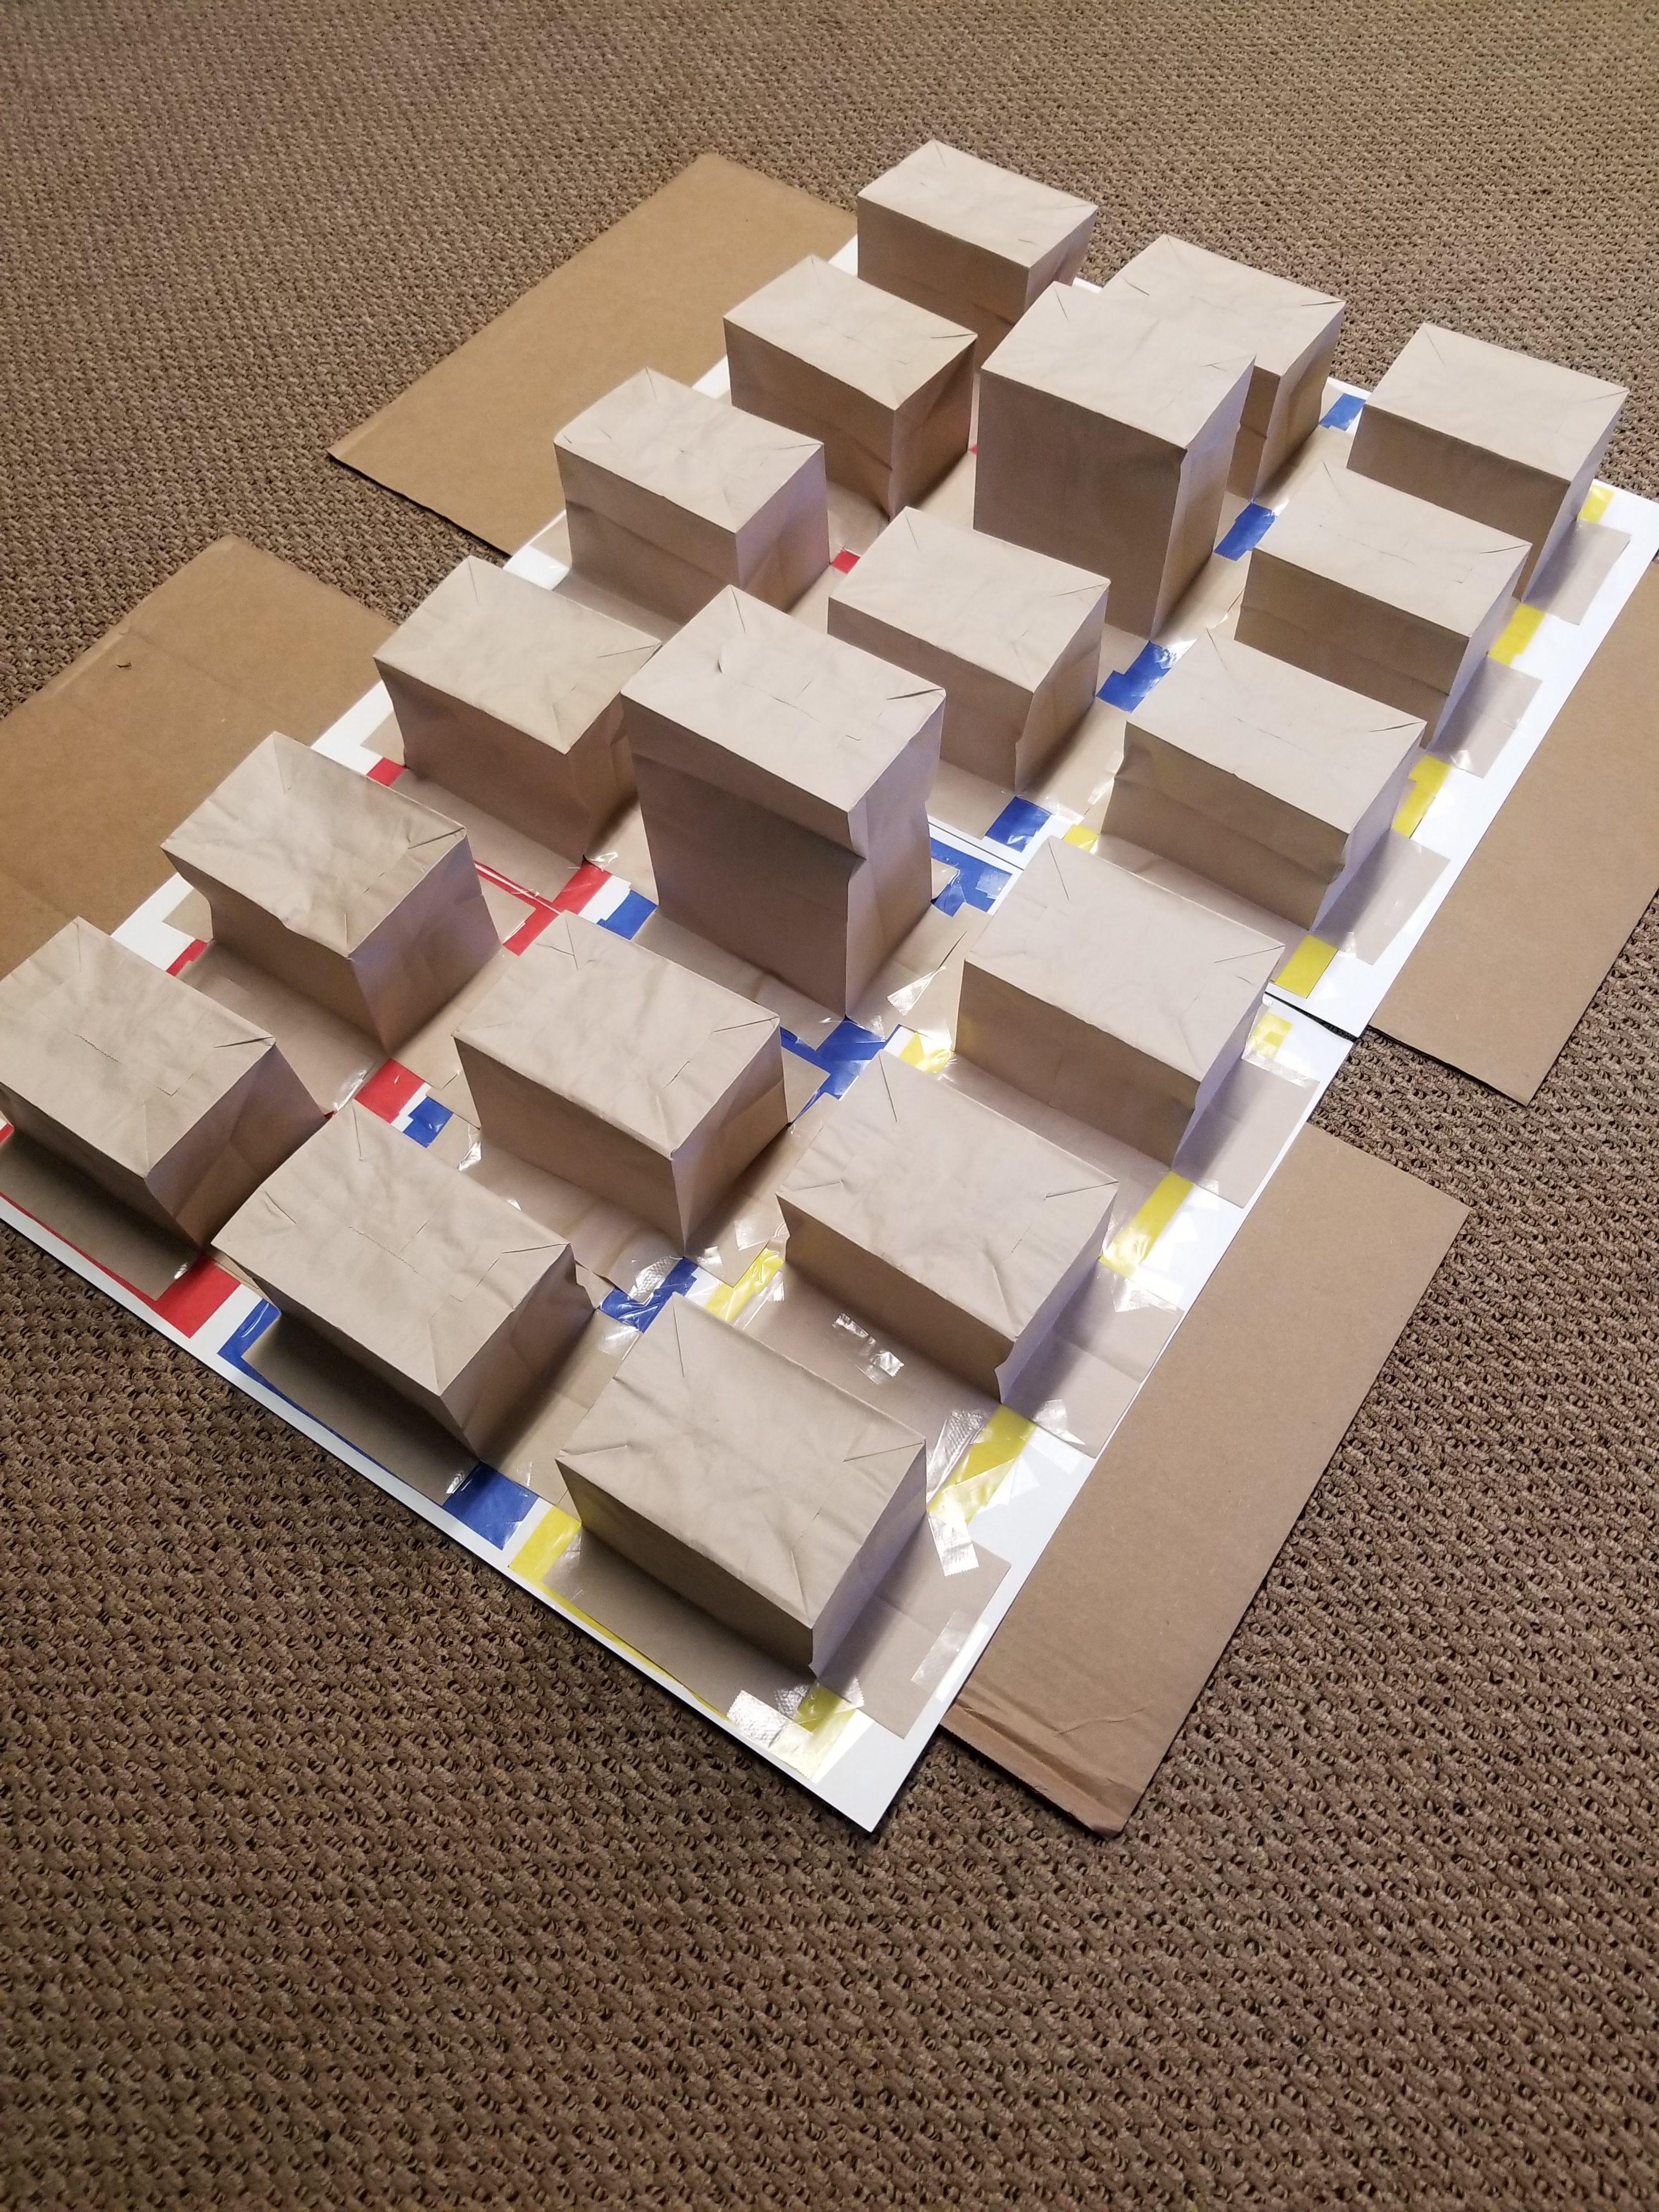
10. Place the paper bag over it. Tape down all sides. If the bag goes over the edge, just cut off the extra length.
11. Continue doing this until all your circles have prizes.
12. Get a piece of cardboard, and slide it under the poster boards to help you move them. This prevents the prizes from popping out of the tissue paper.
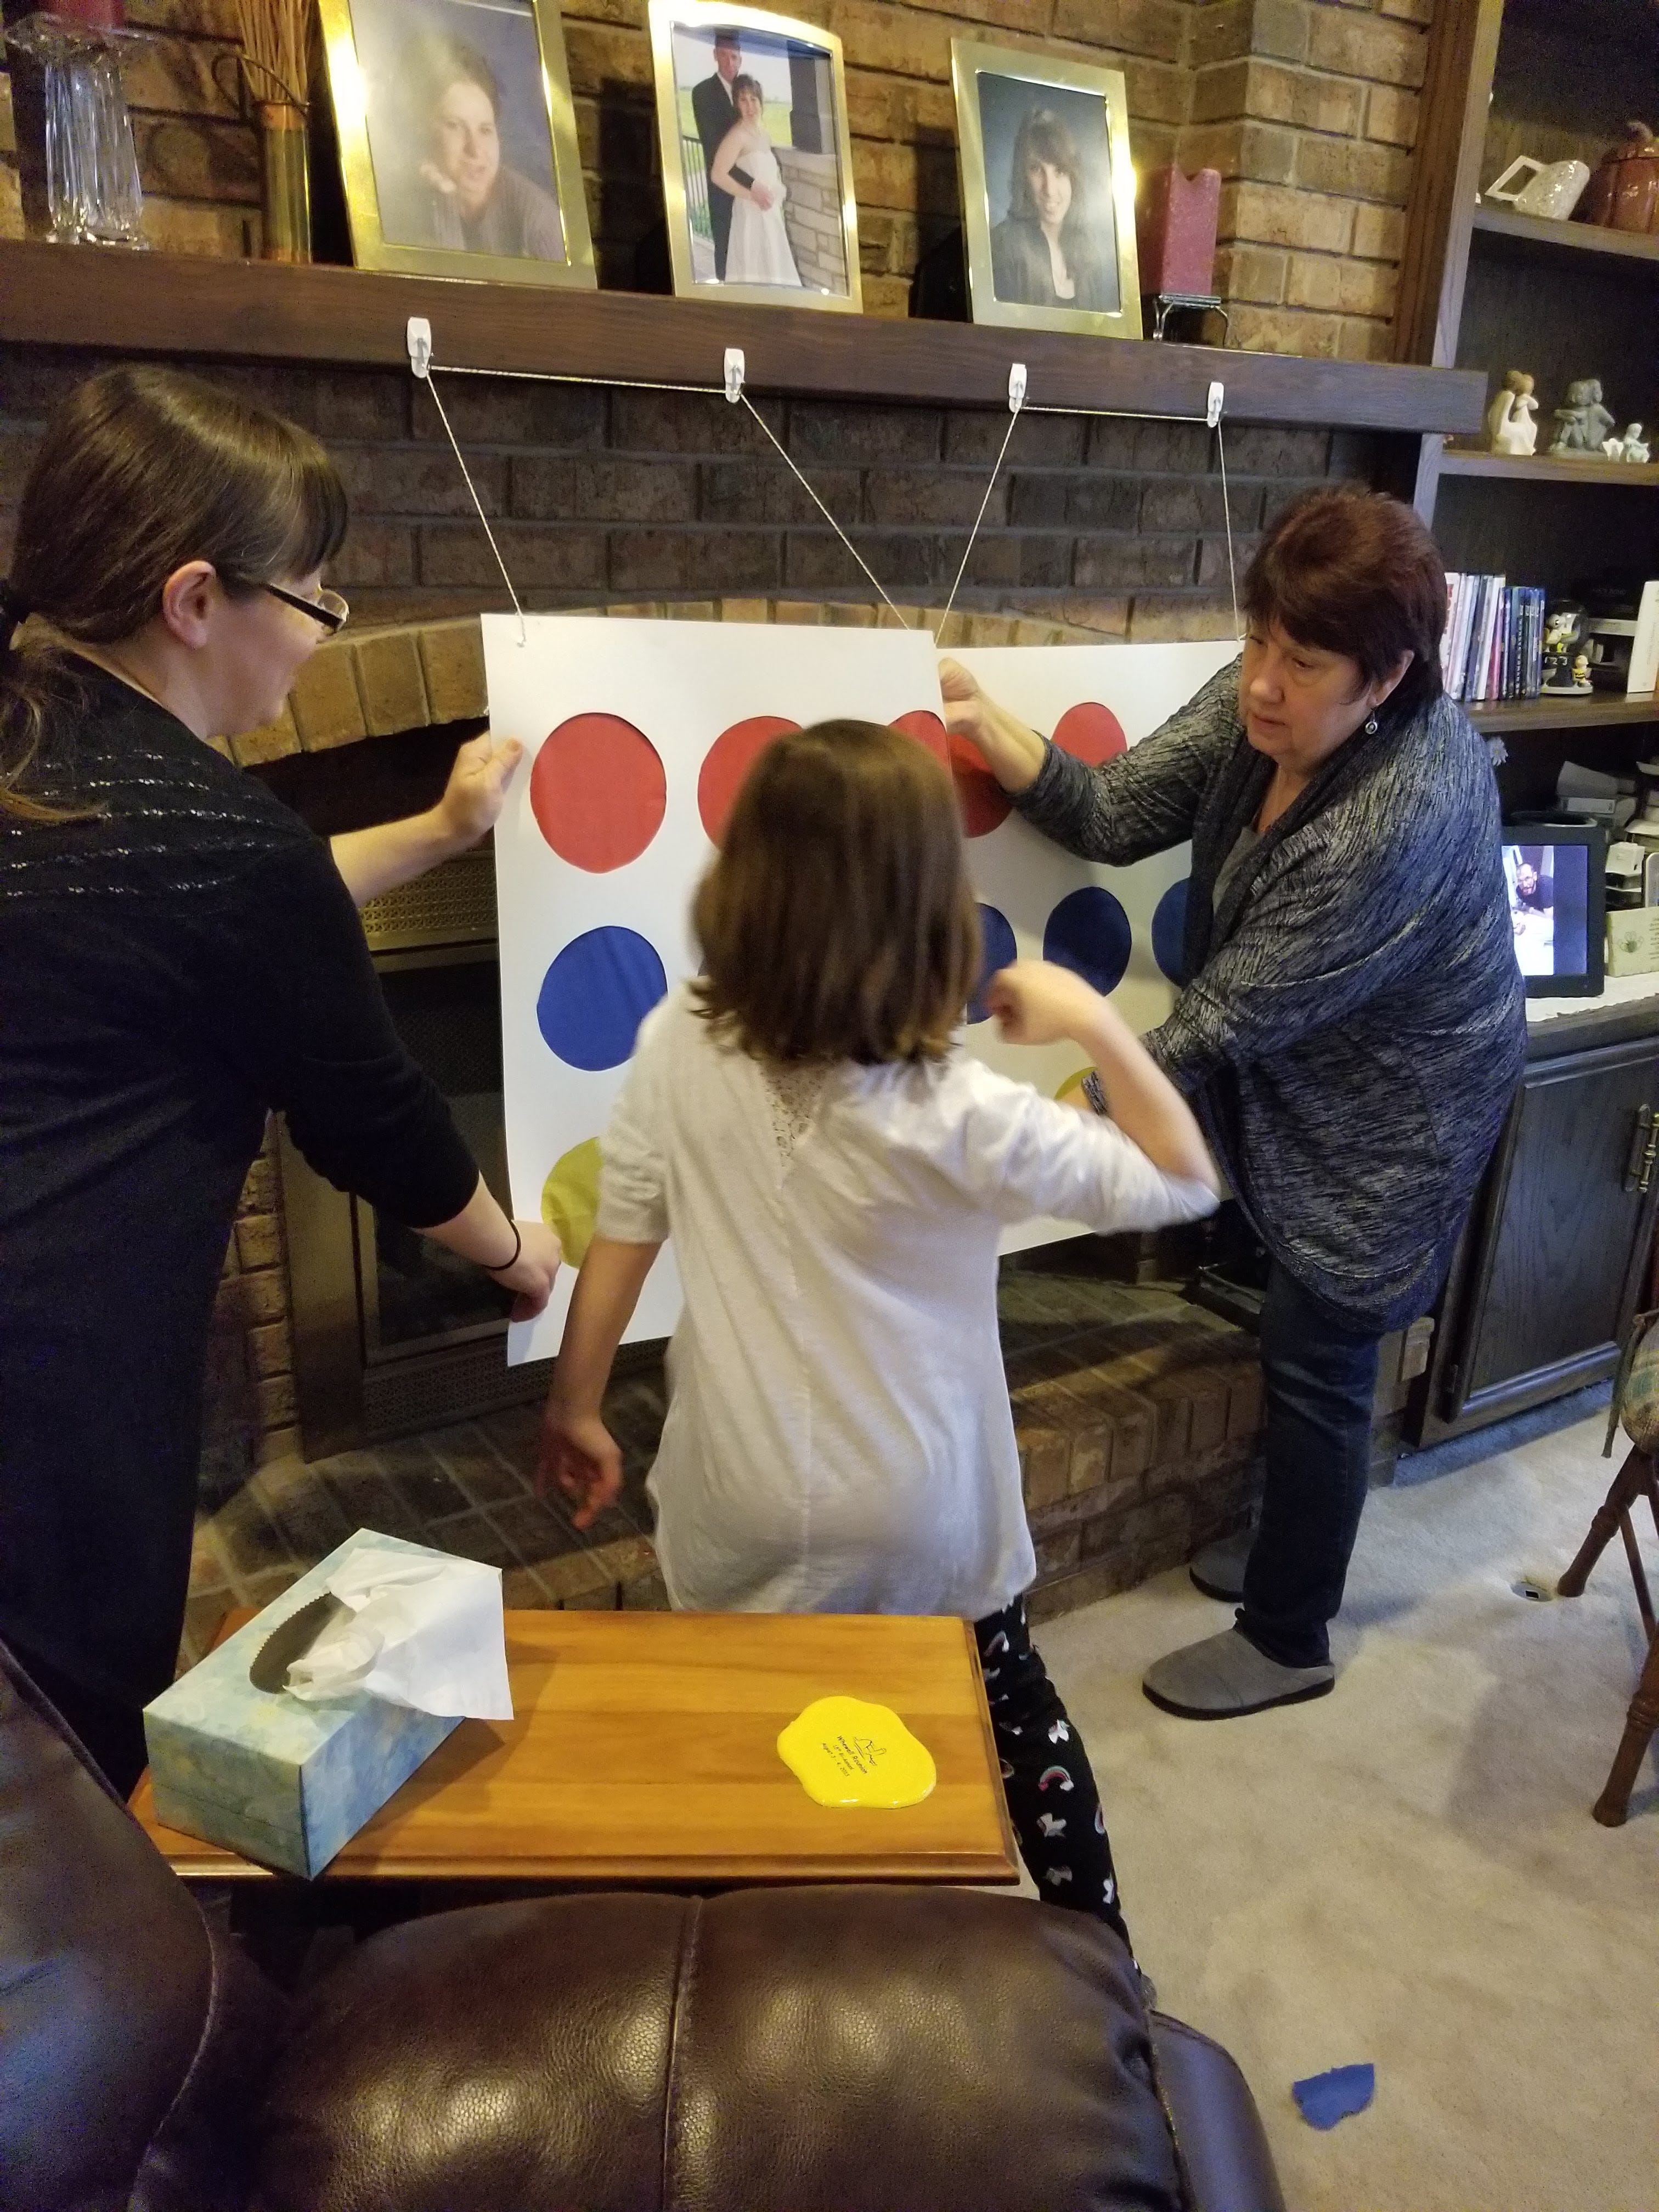
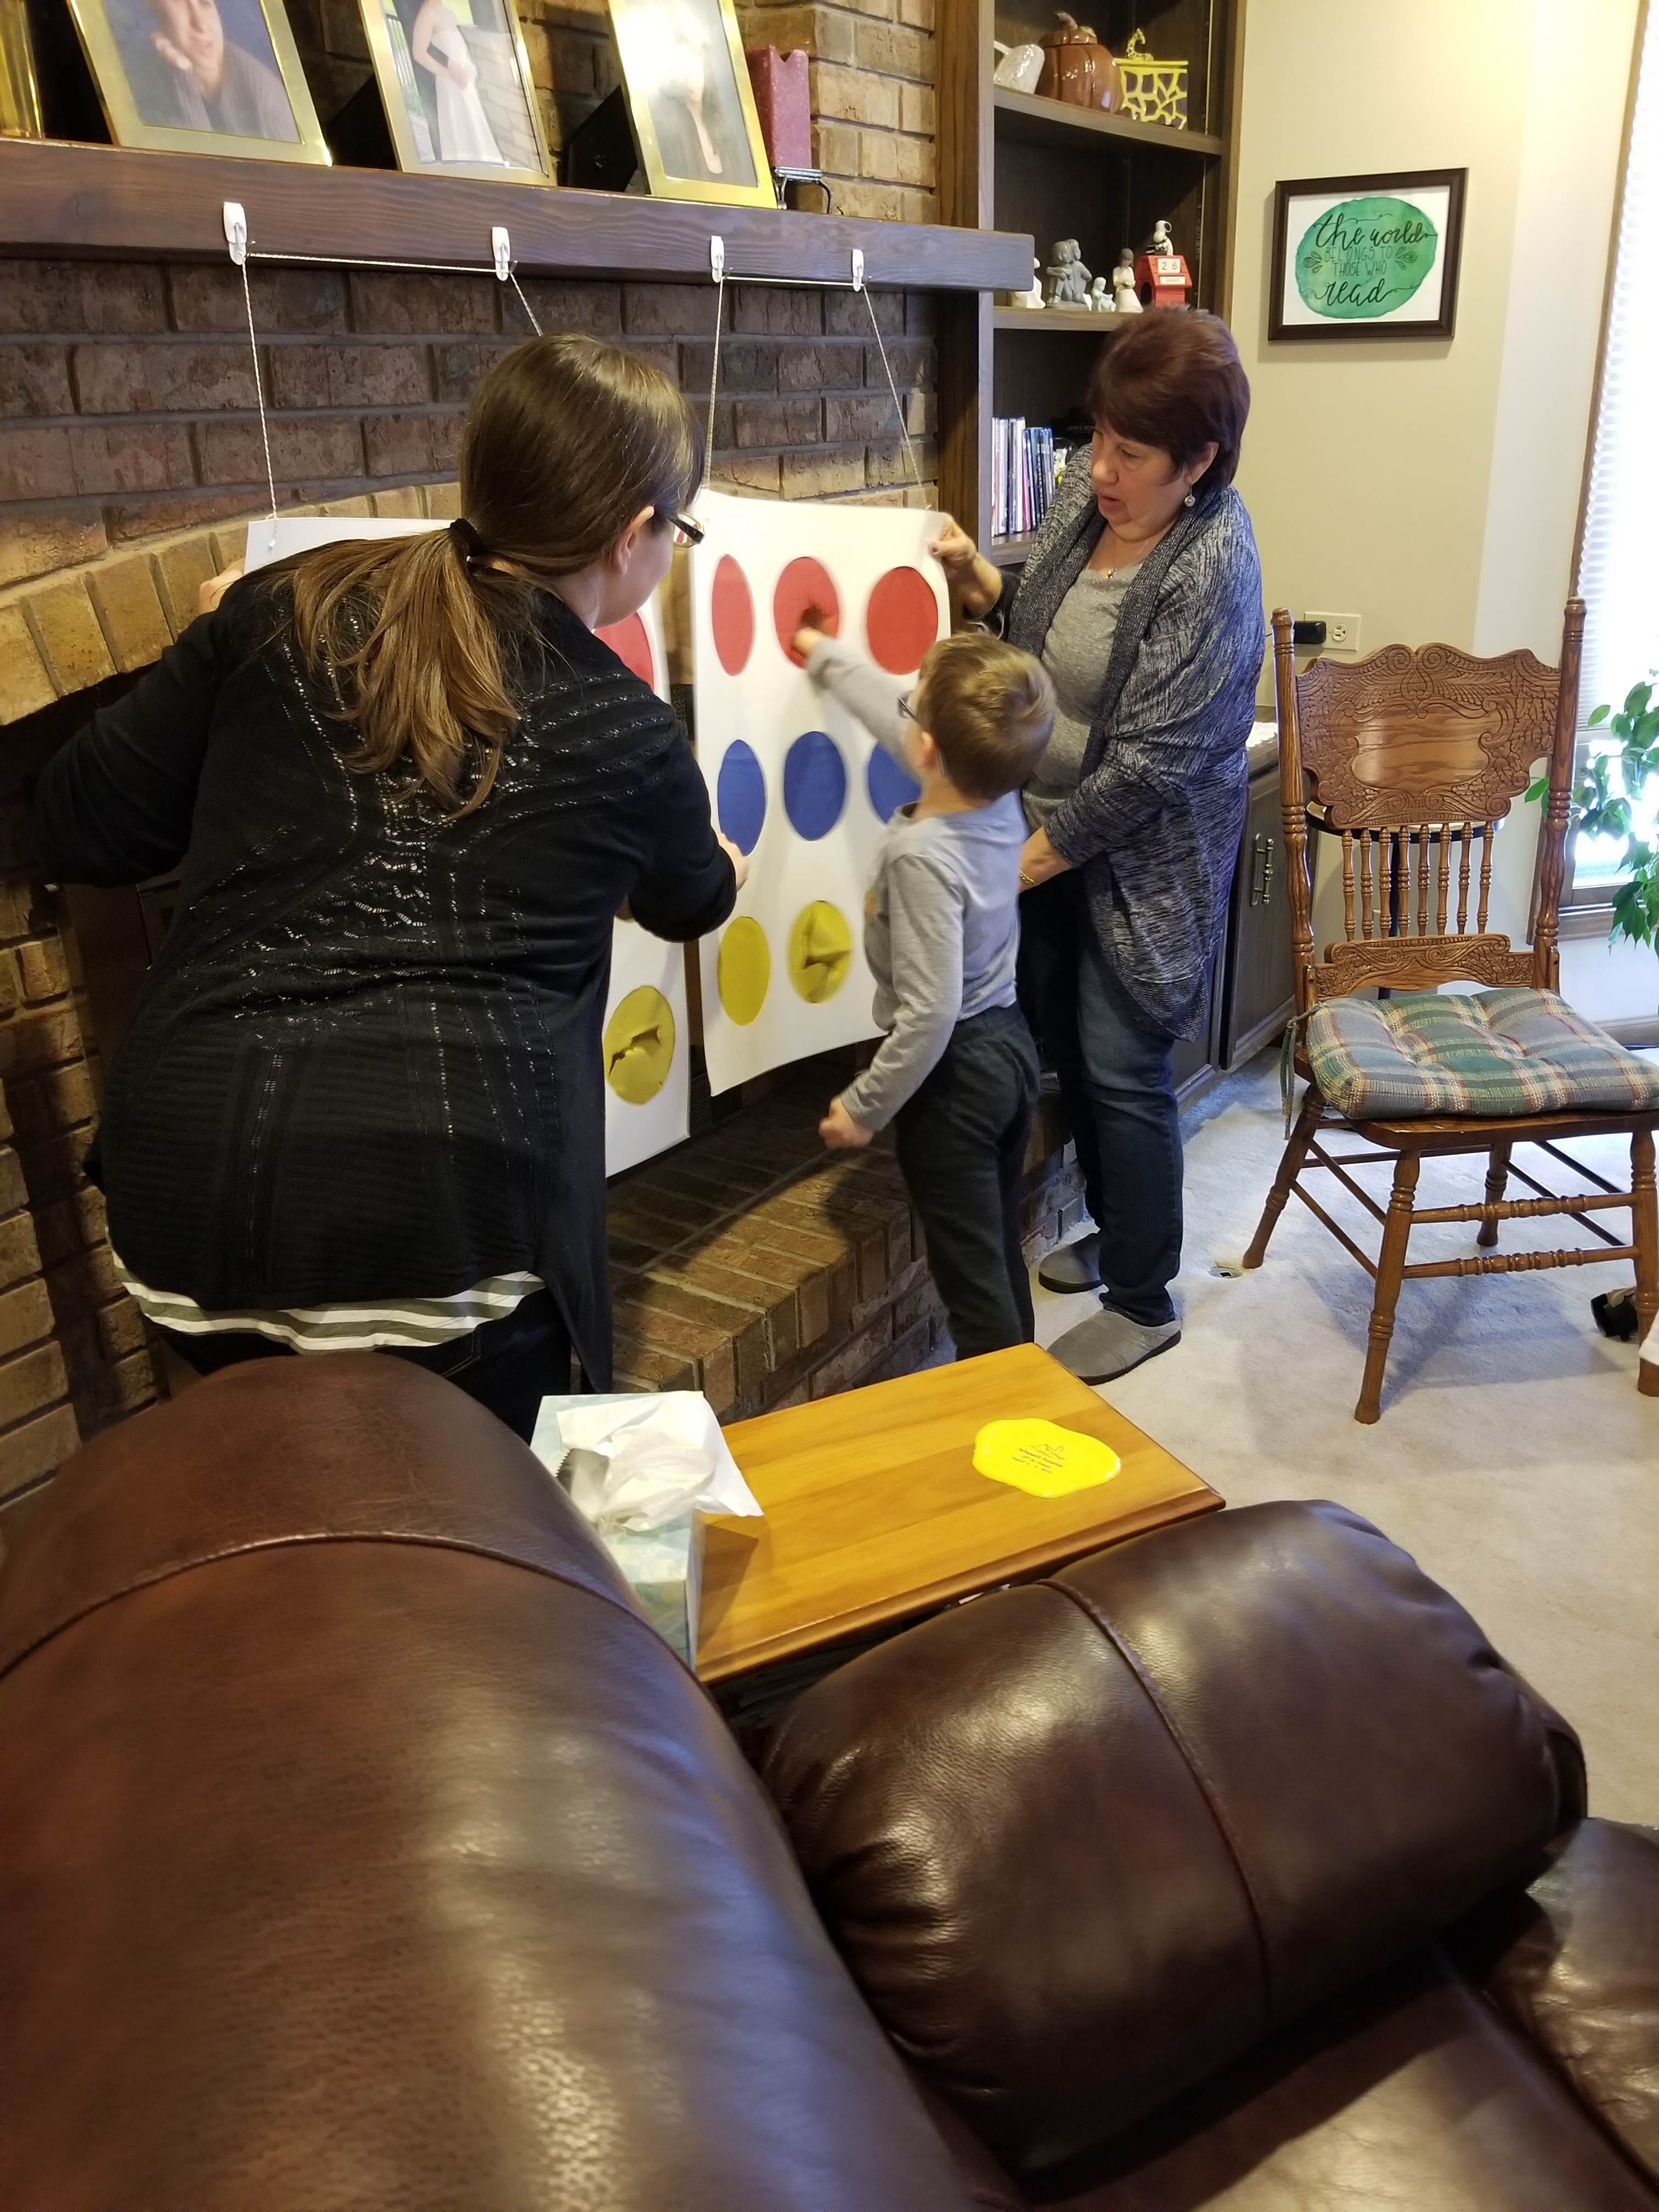
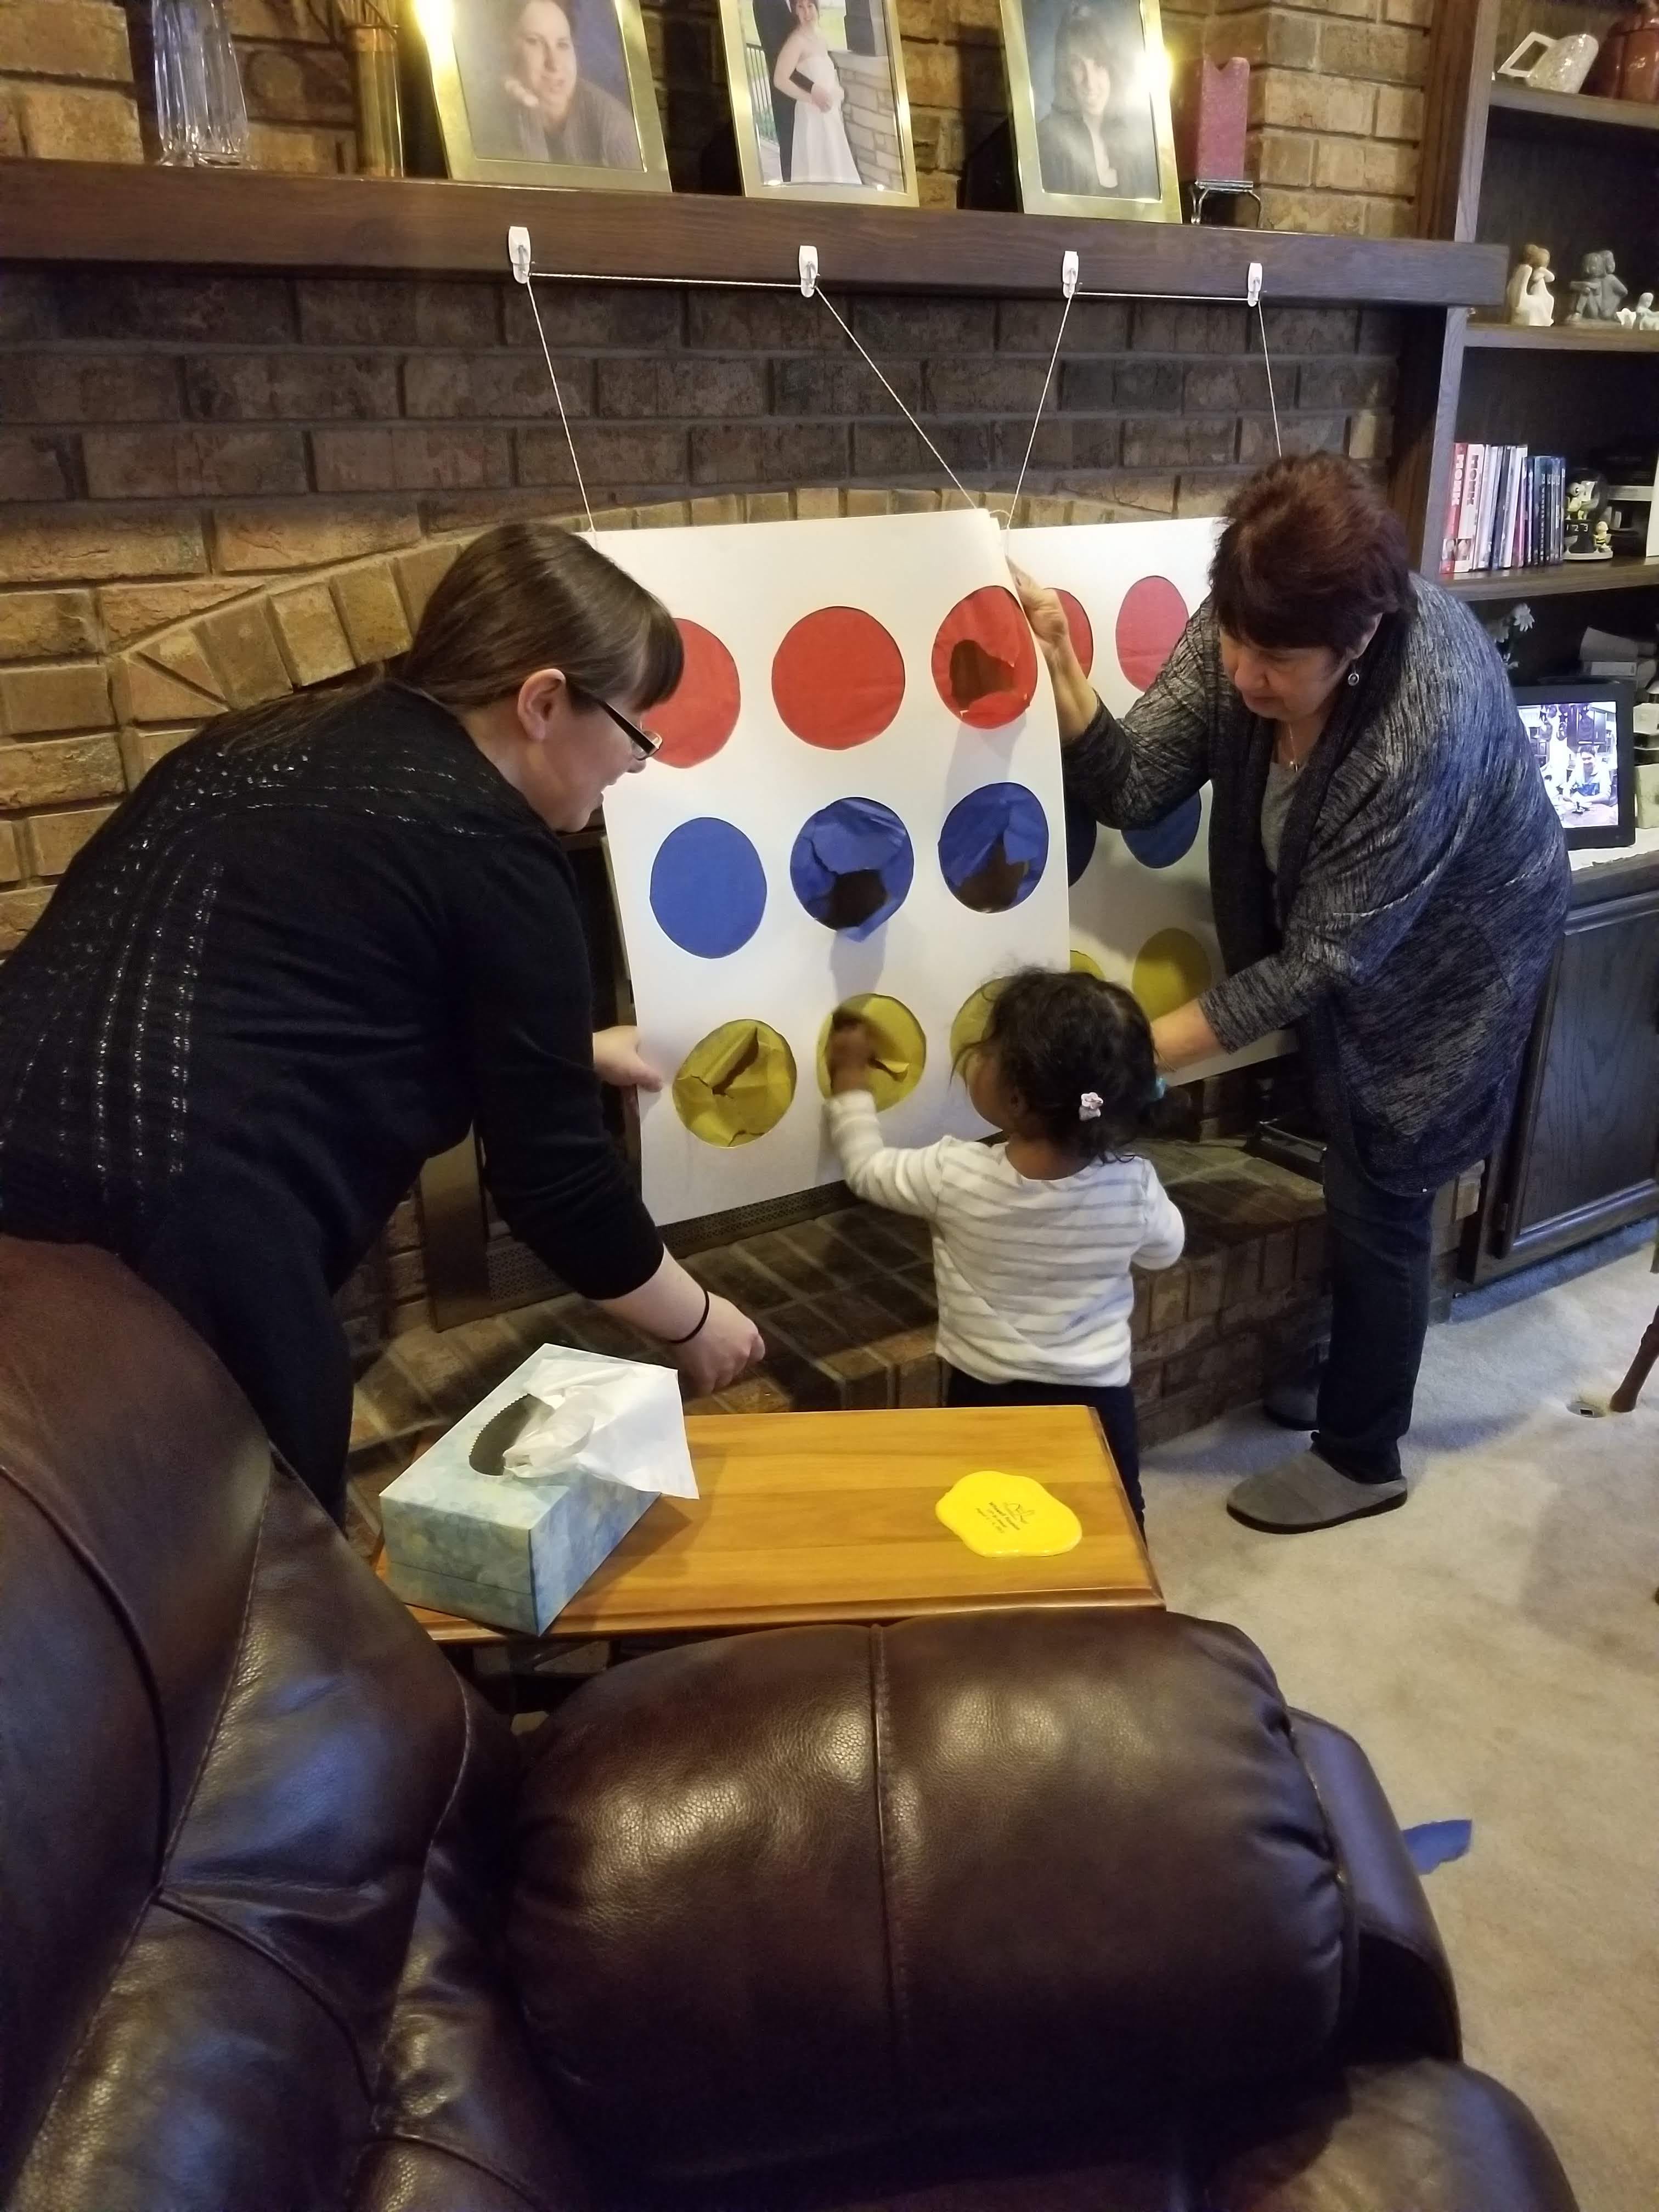
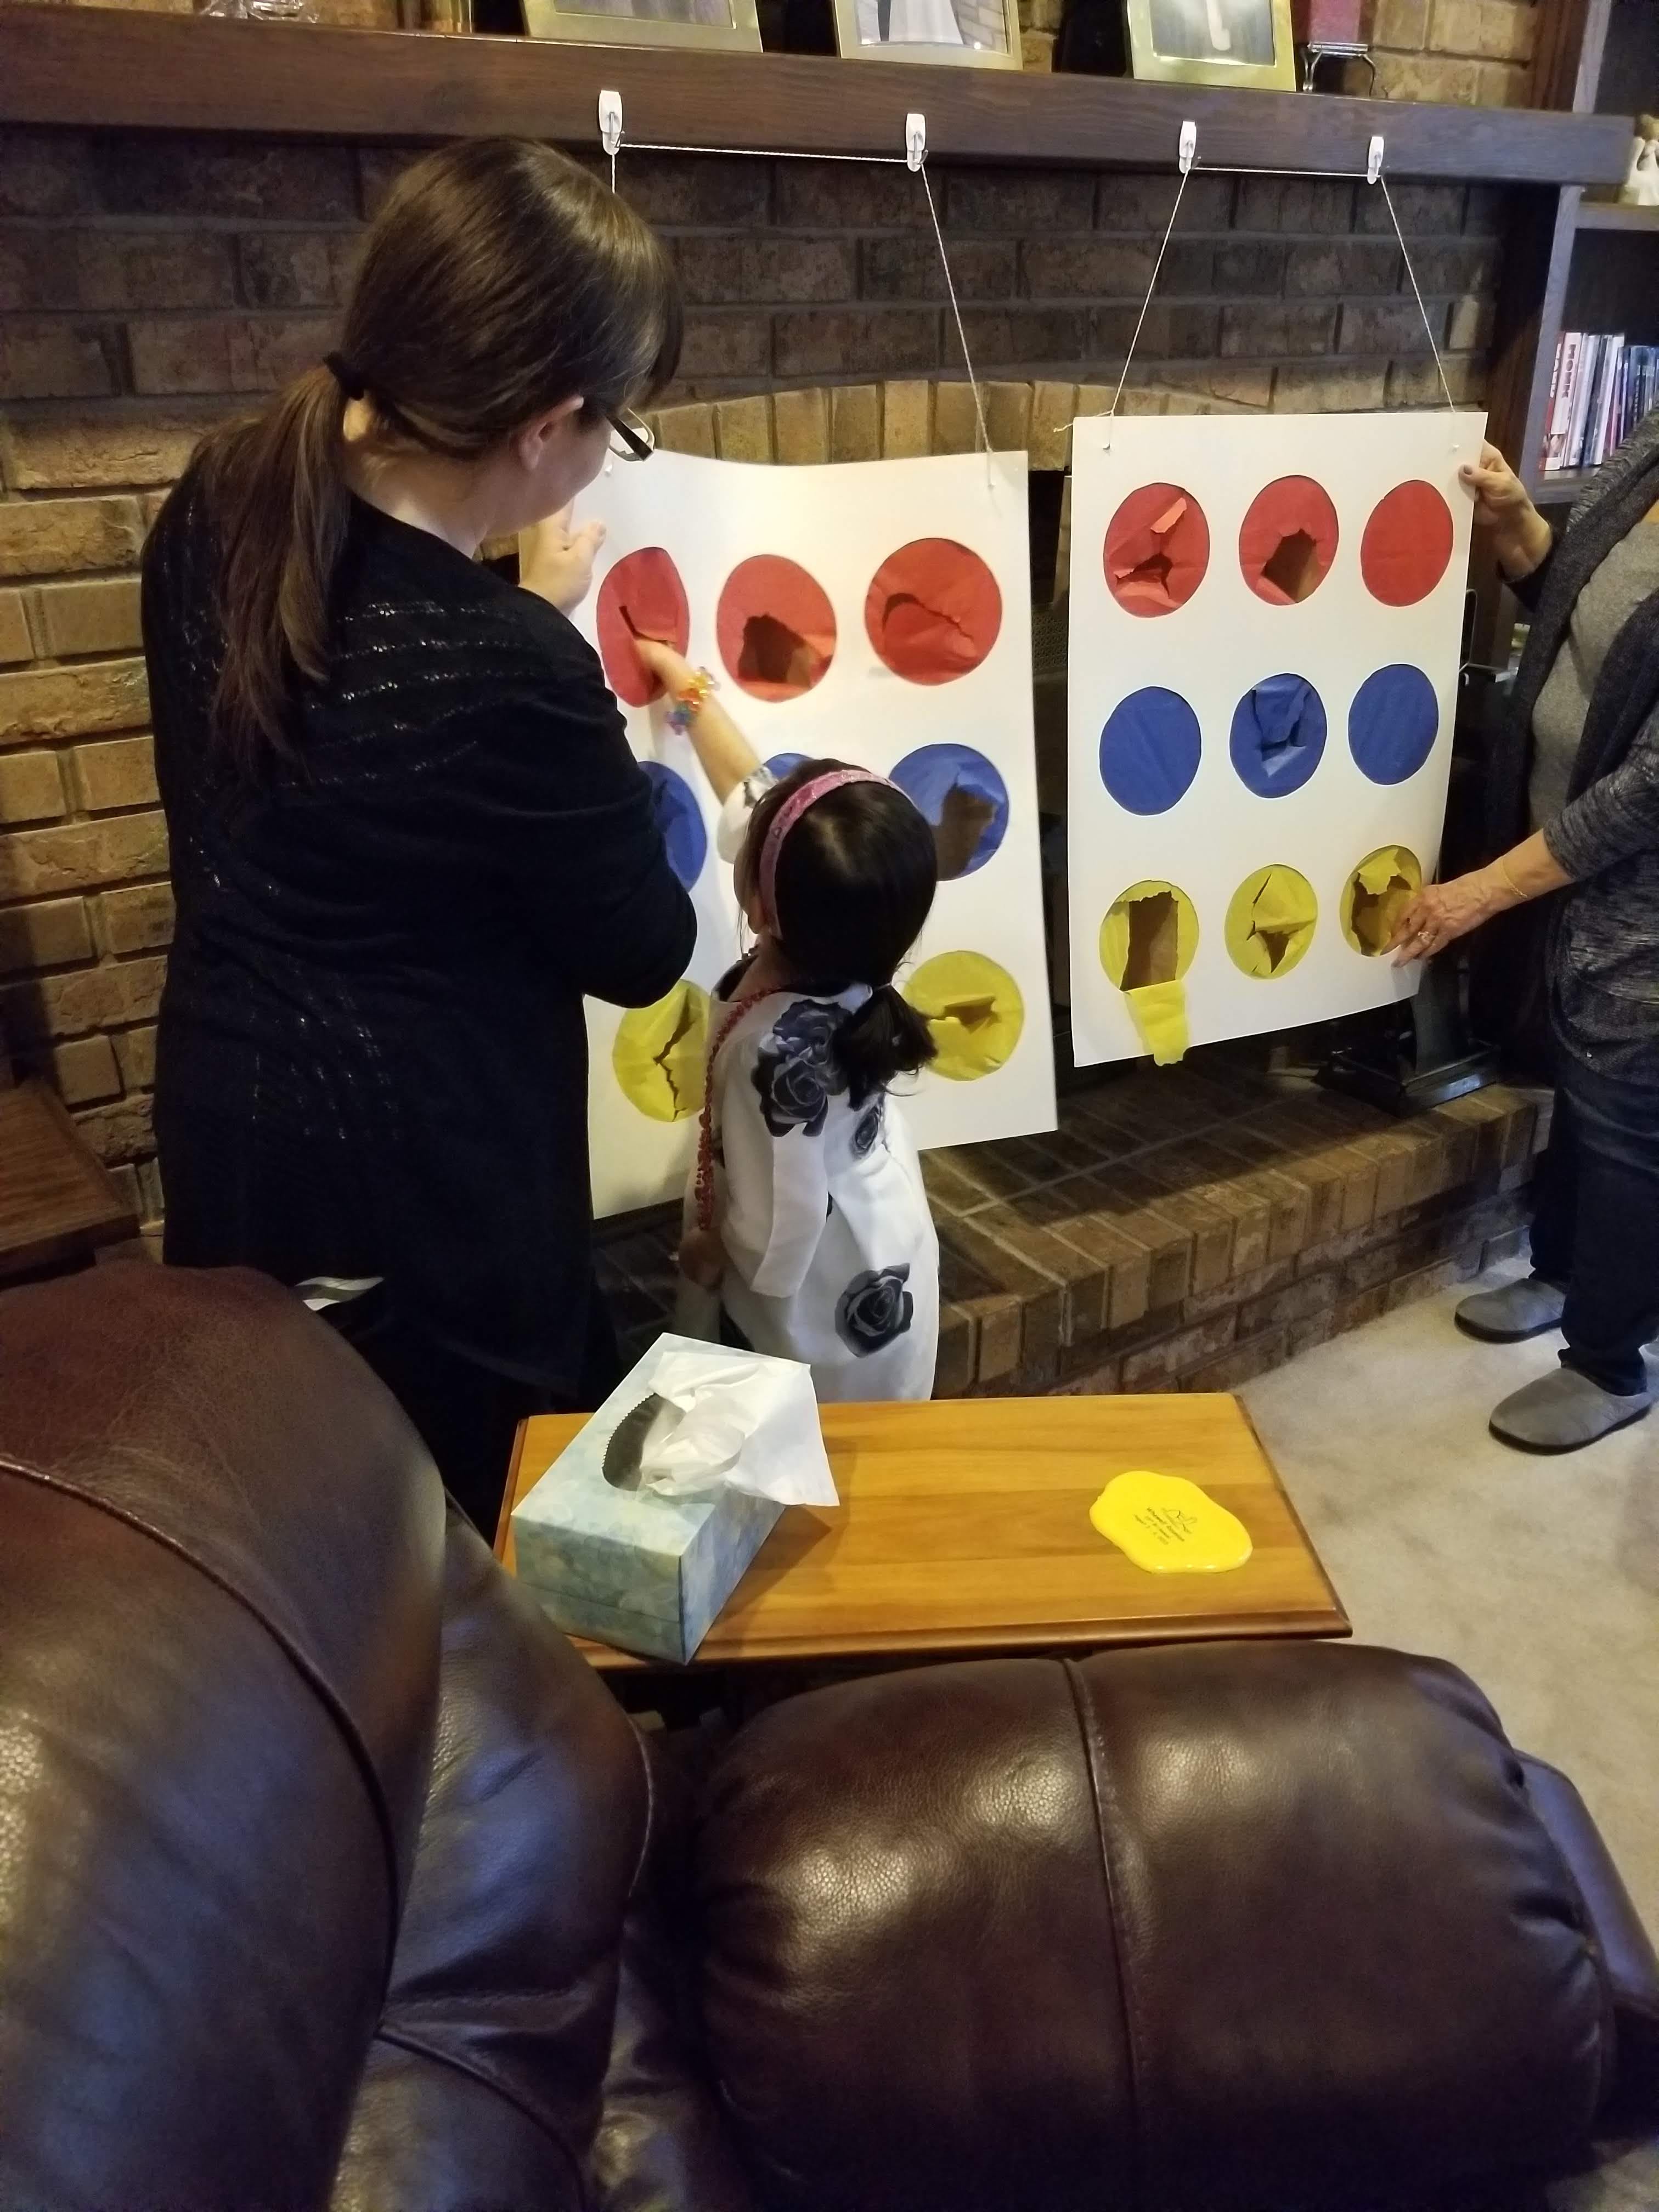
13. Hang the boards in whatever way you find easiest. I ended up using twine and a few command hooks. The boards were a bit heavy and bowed after being hung, so I cut a long, thin piece of cardboard and taped it on the back of the board along the top. We also held the boards in place as the kids hit into them.
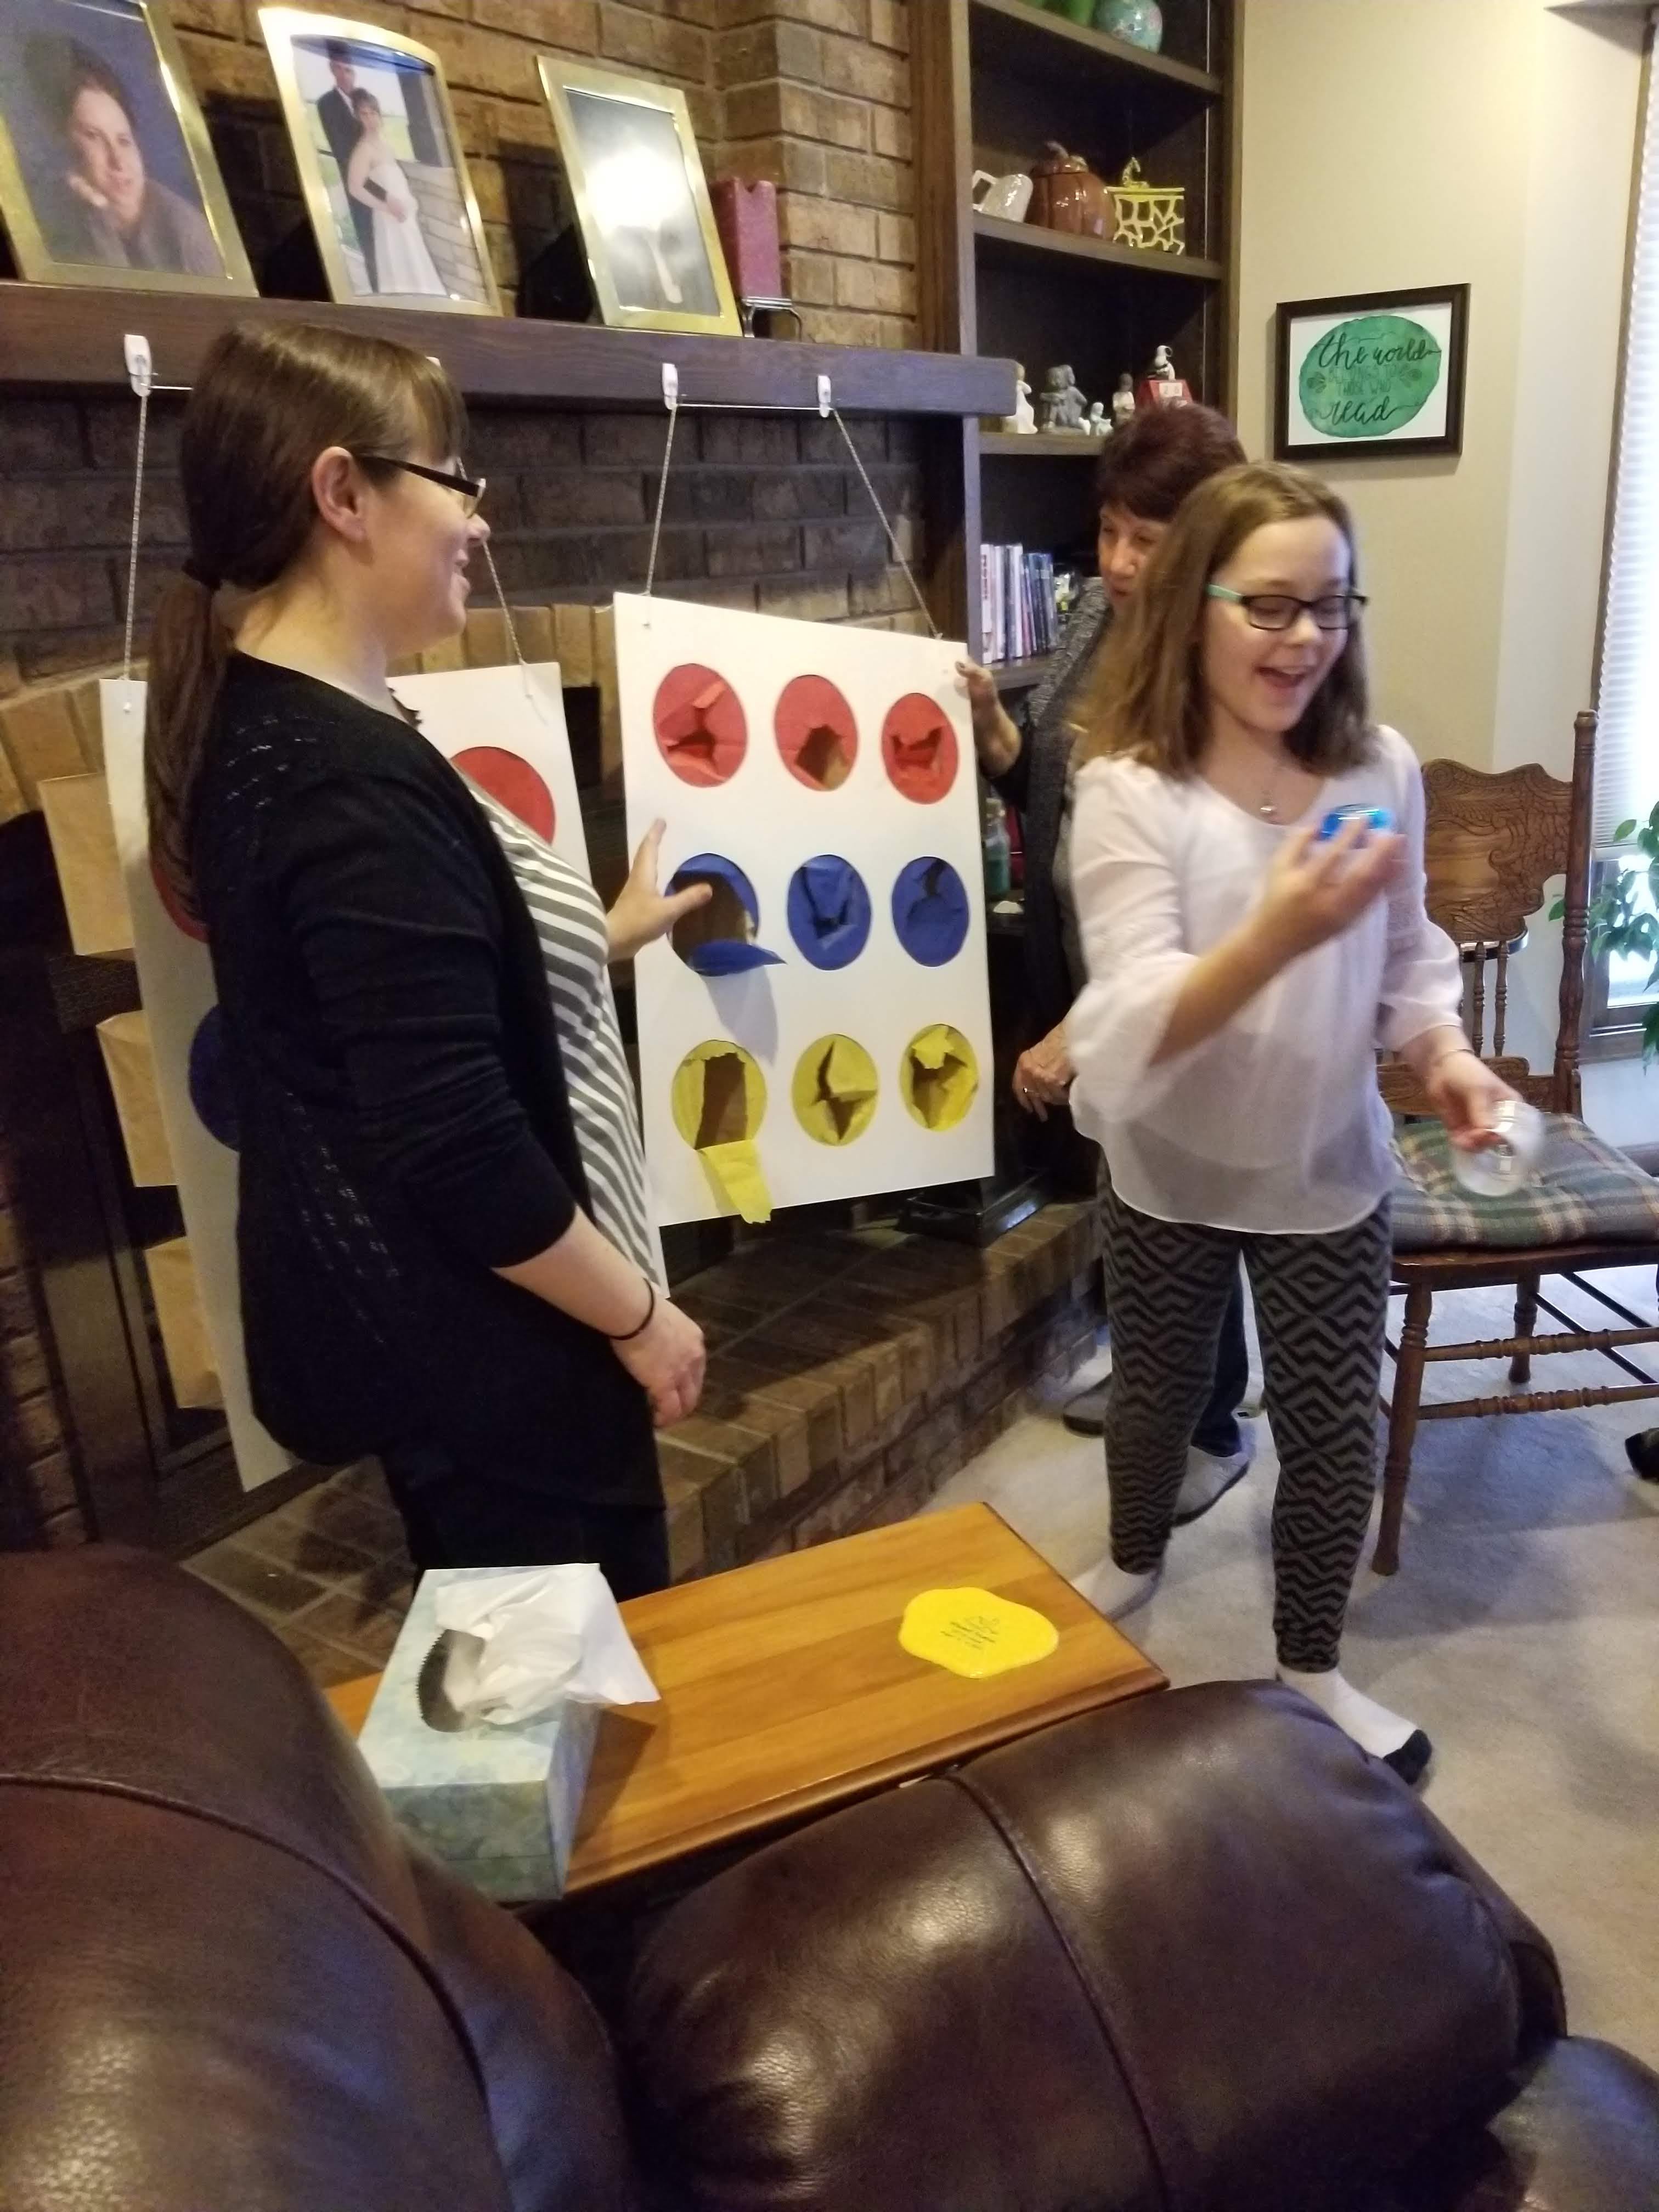
The kids LOVED this game. They were so excited to see what prizes they got. I was even told this was a “Pinterest win” by one of the adults at the party. Now, that’s a high compliment!
Have fun making your own, and let us know how it turns out! Tag @PutMeInTheStory on Instagram so we can show off your skills!